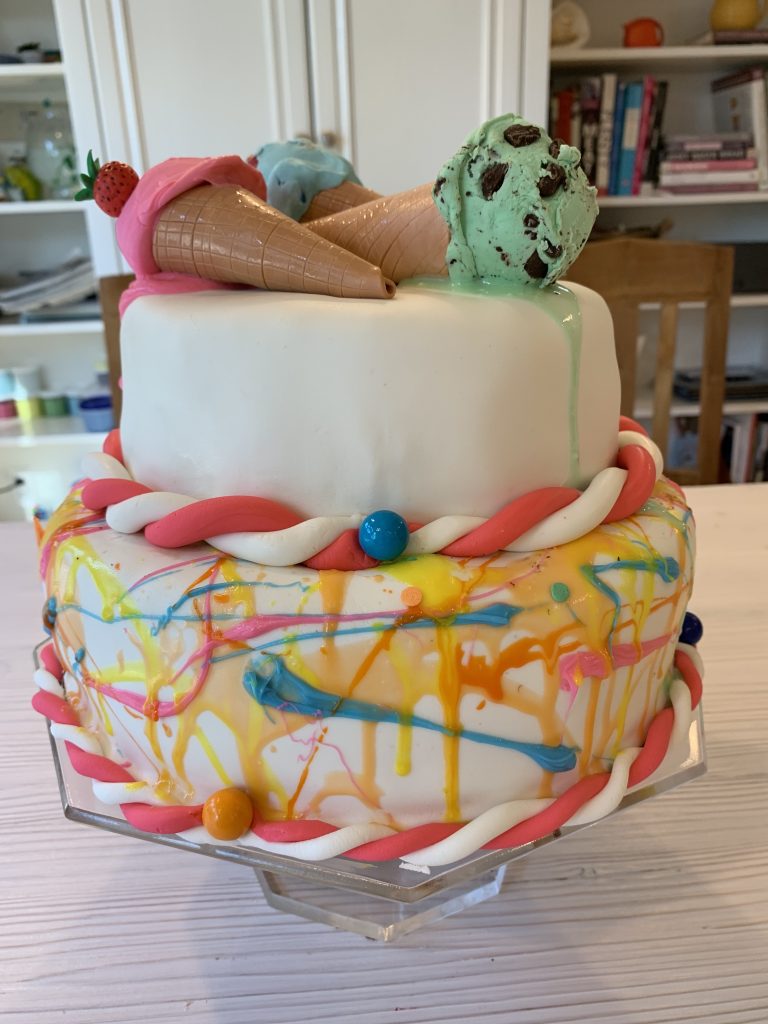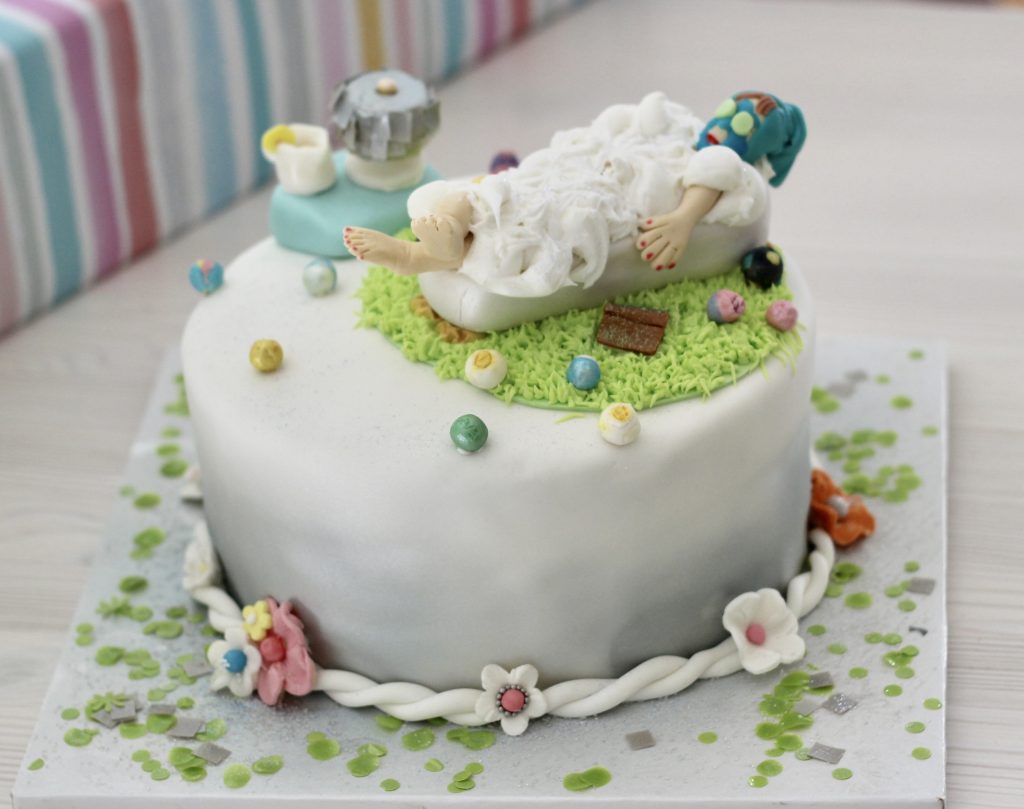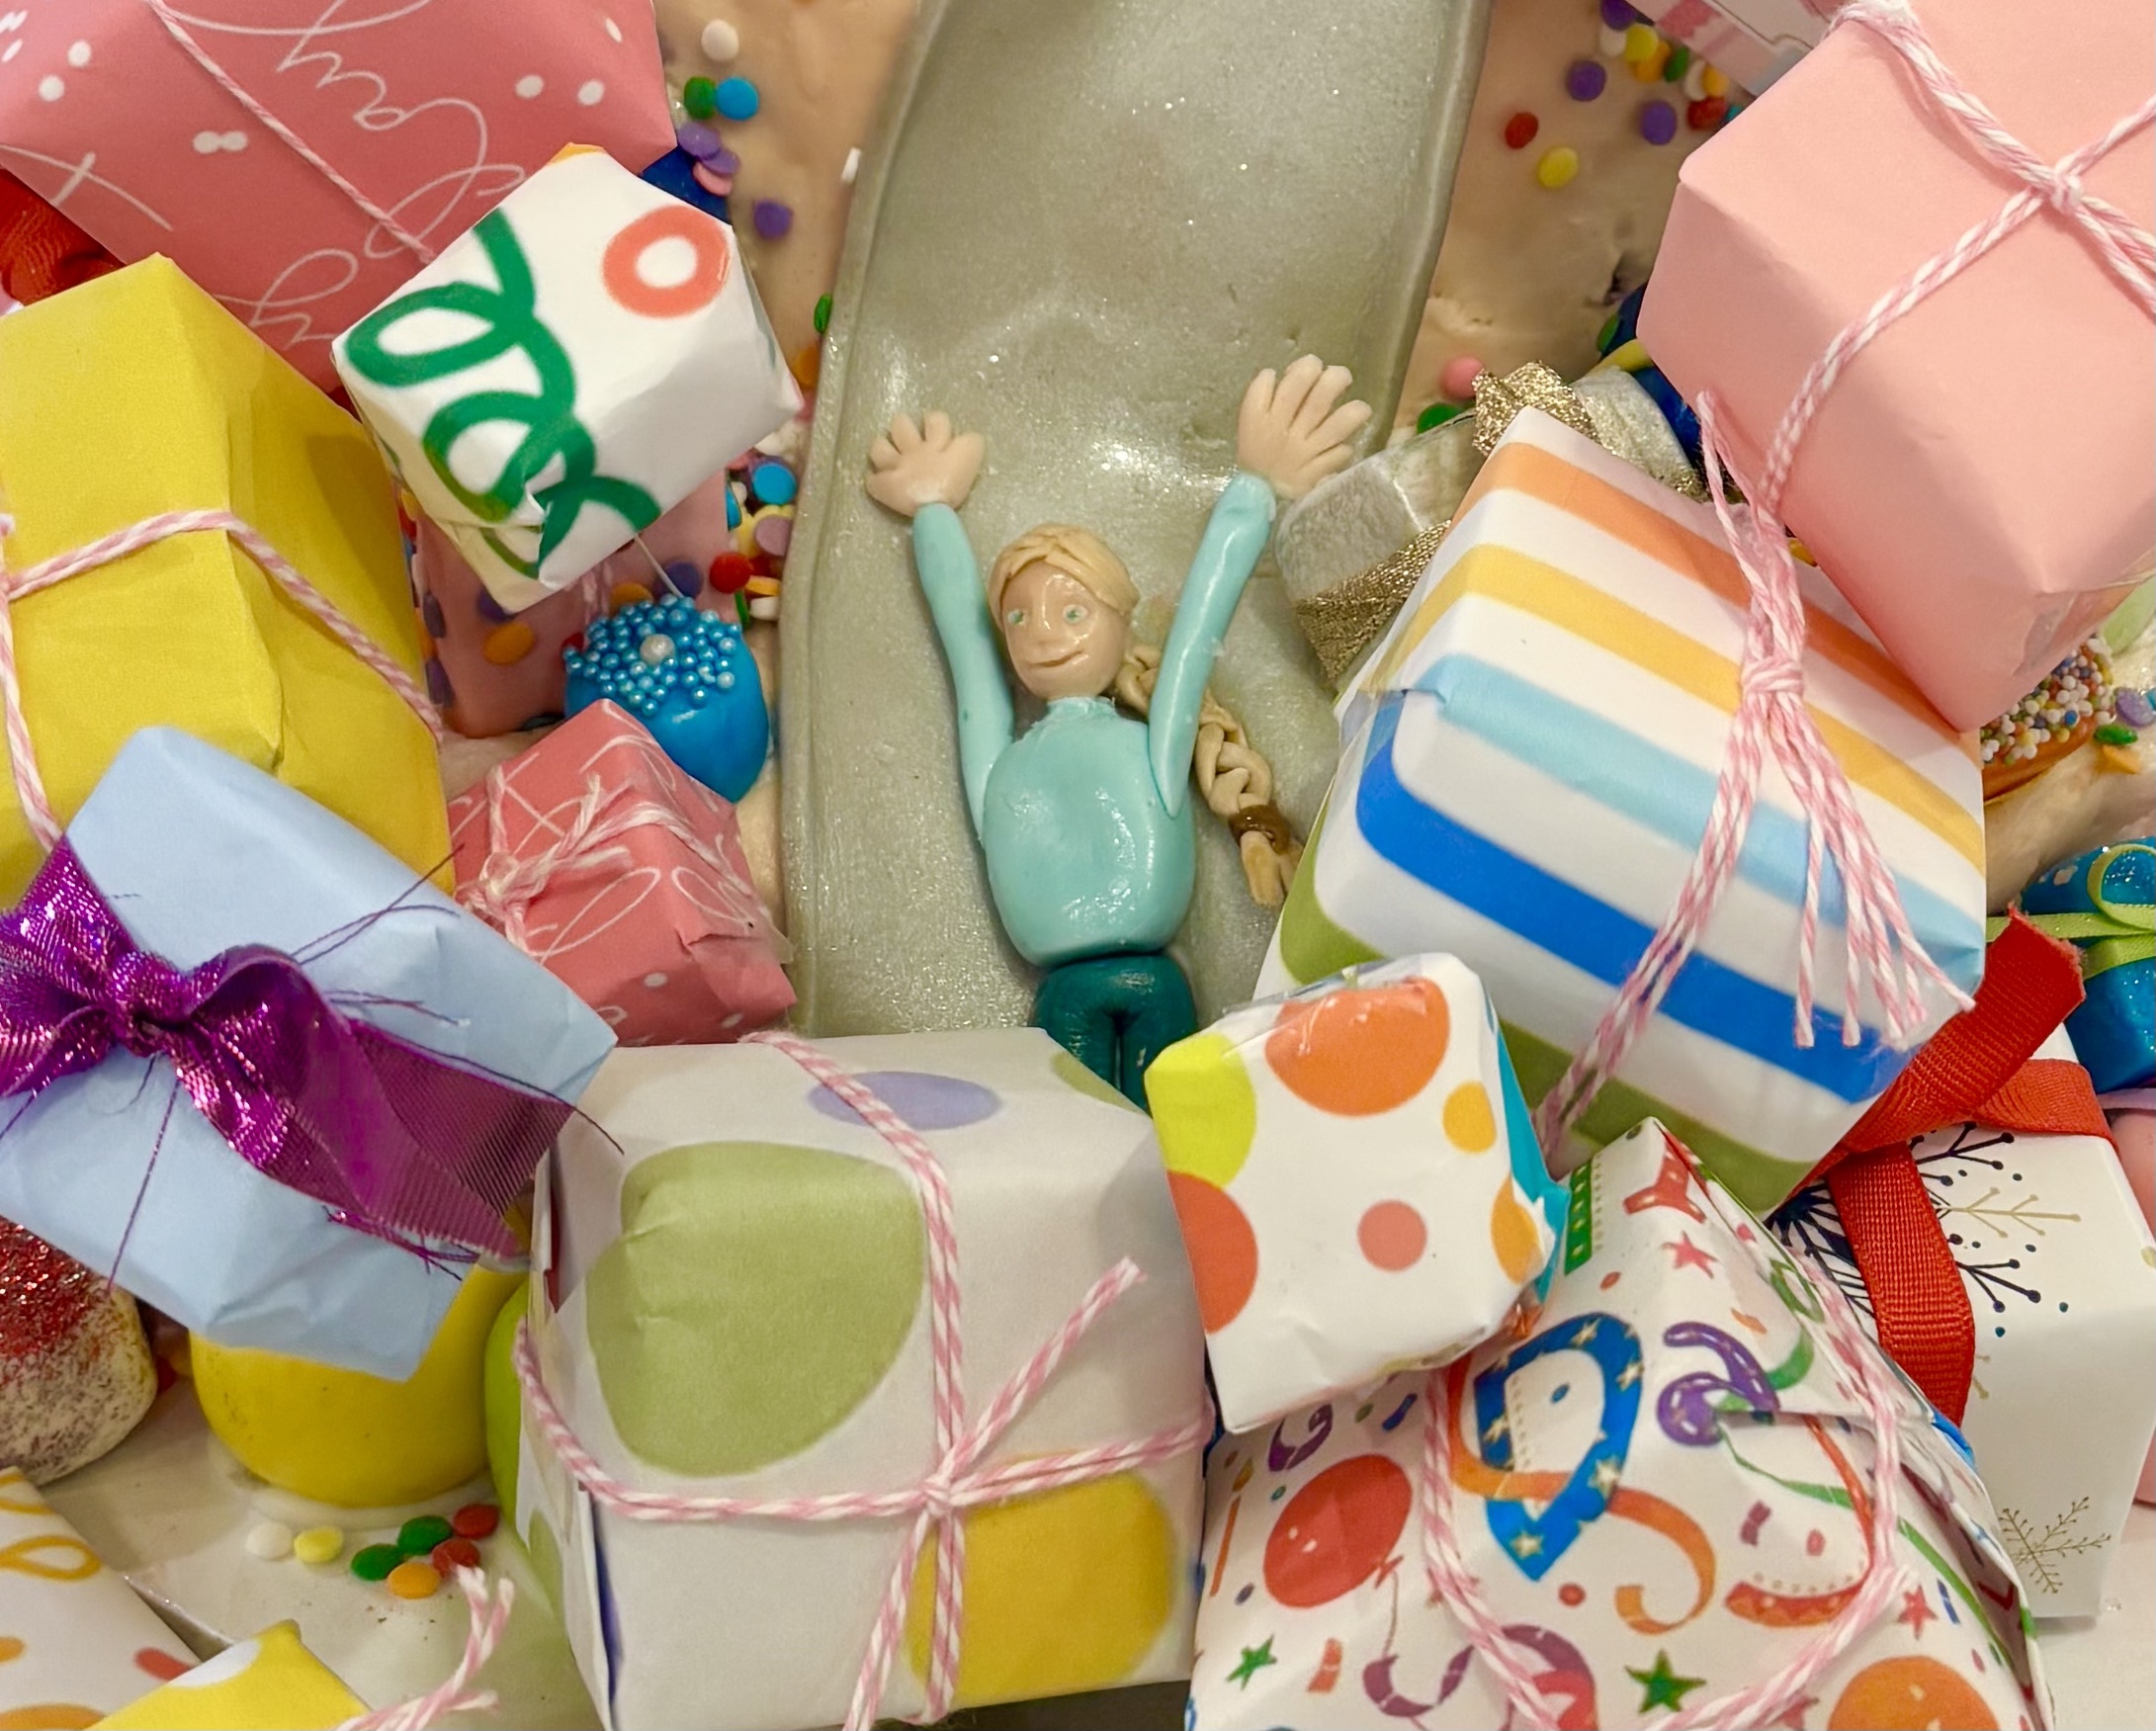
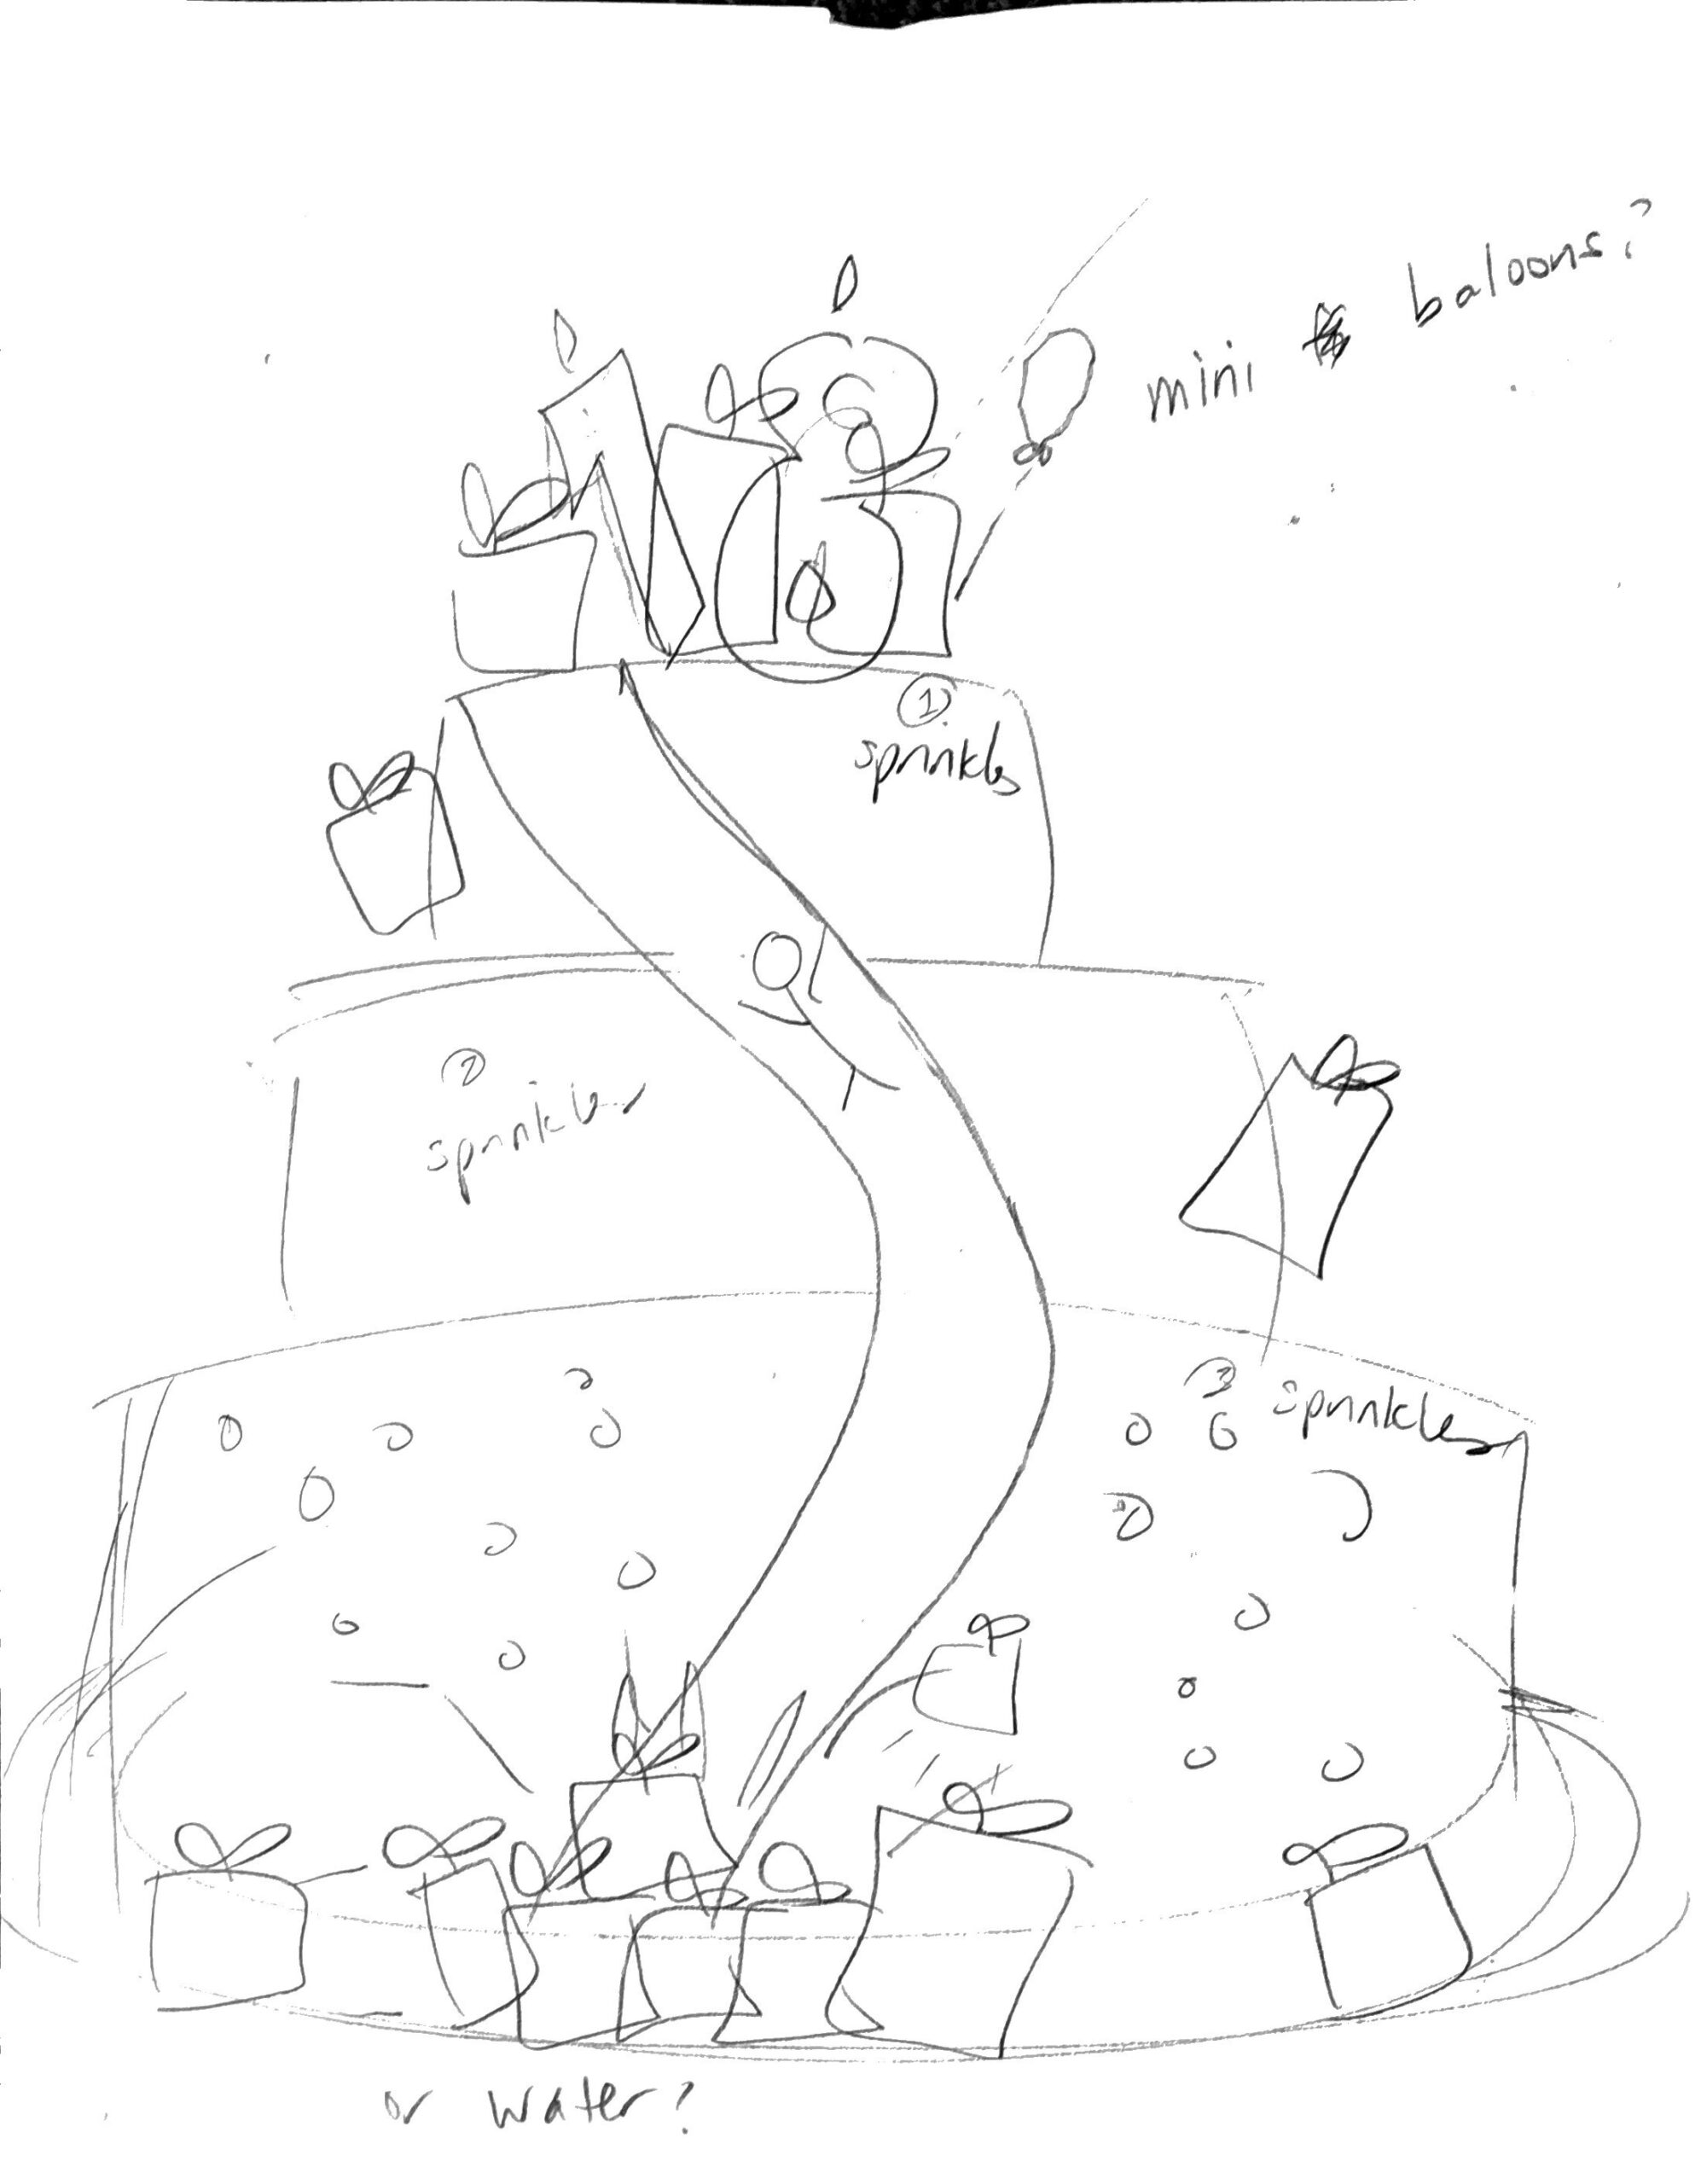
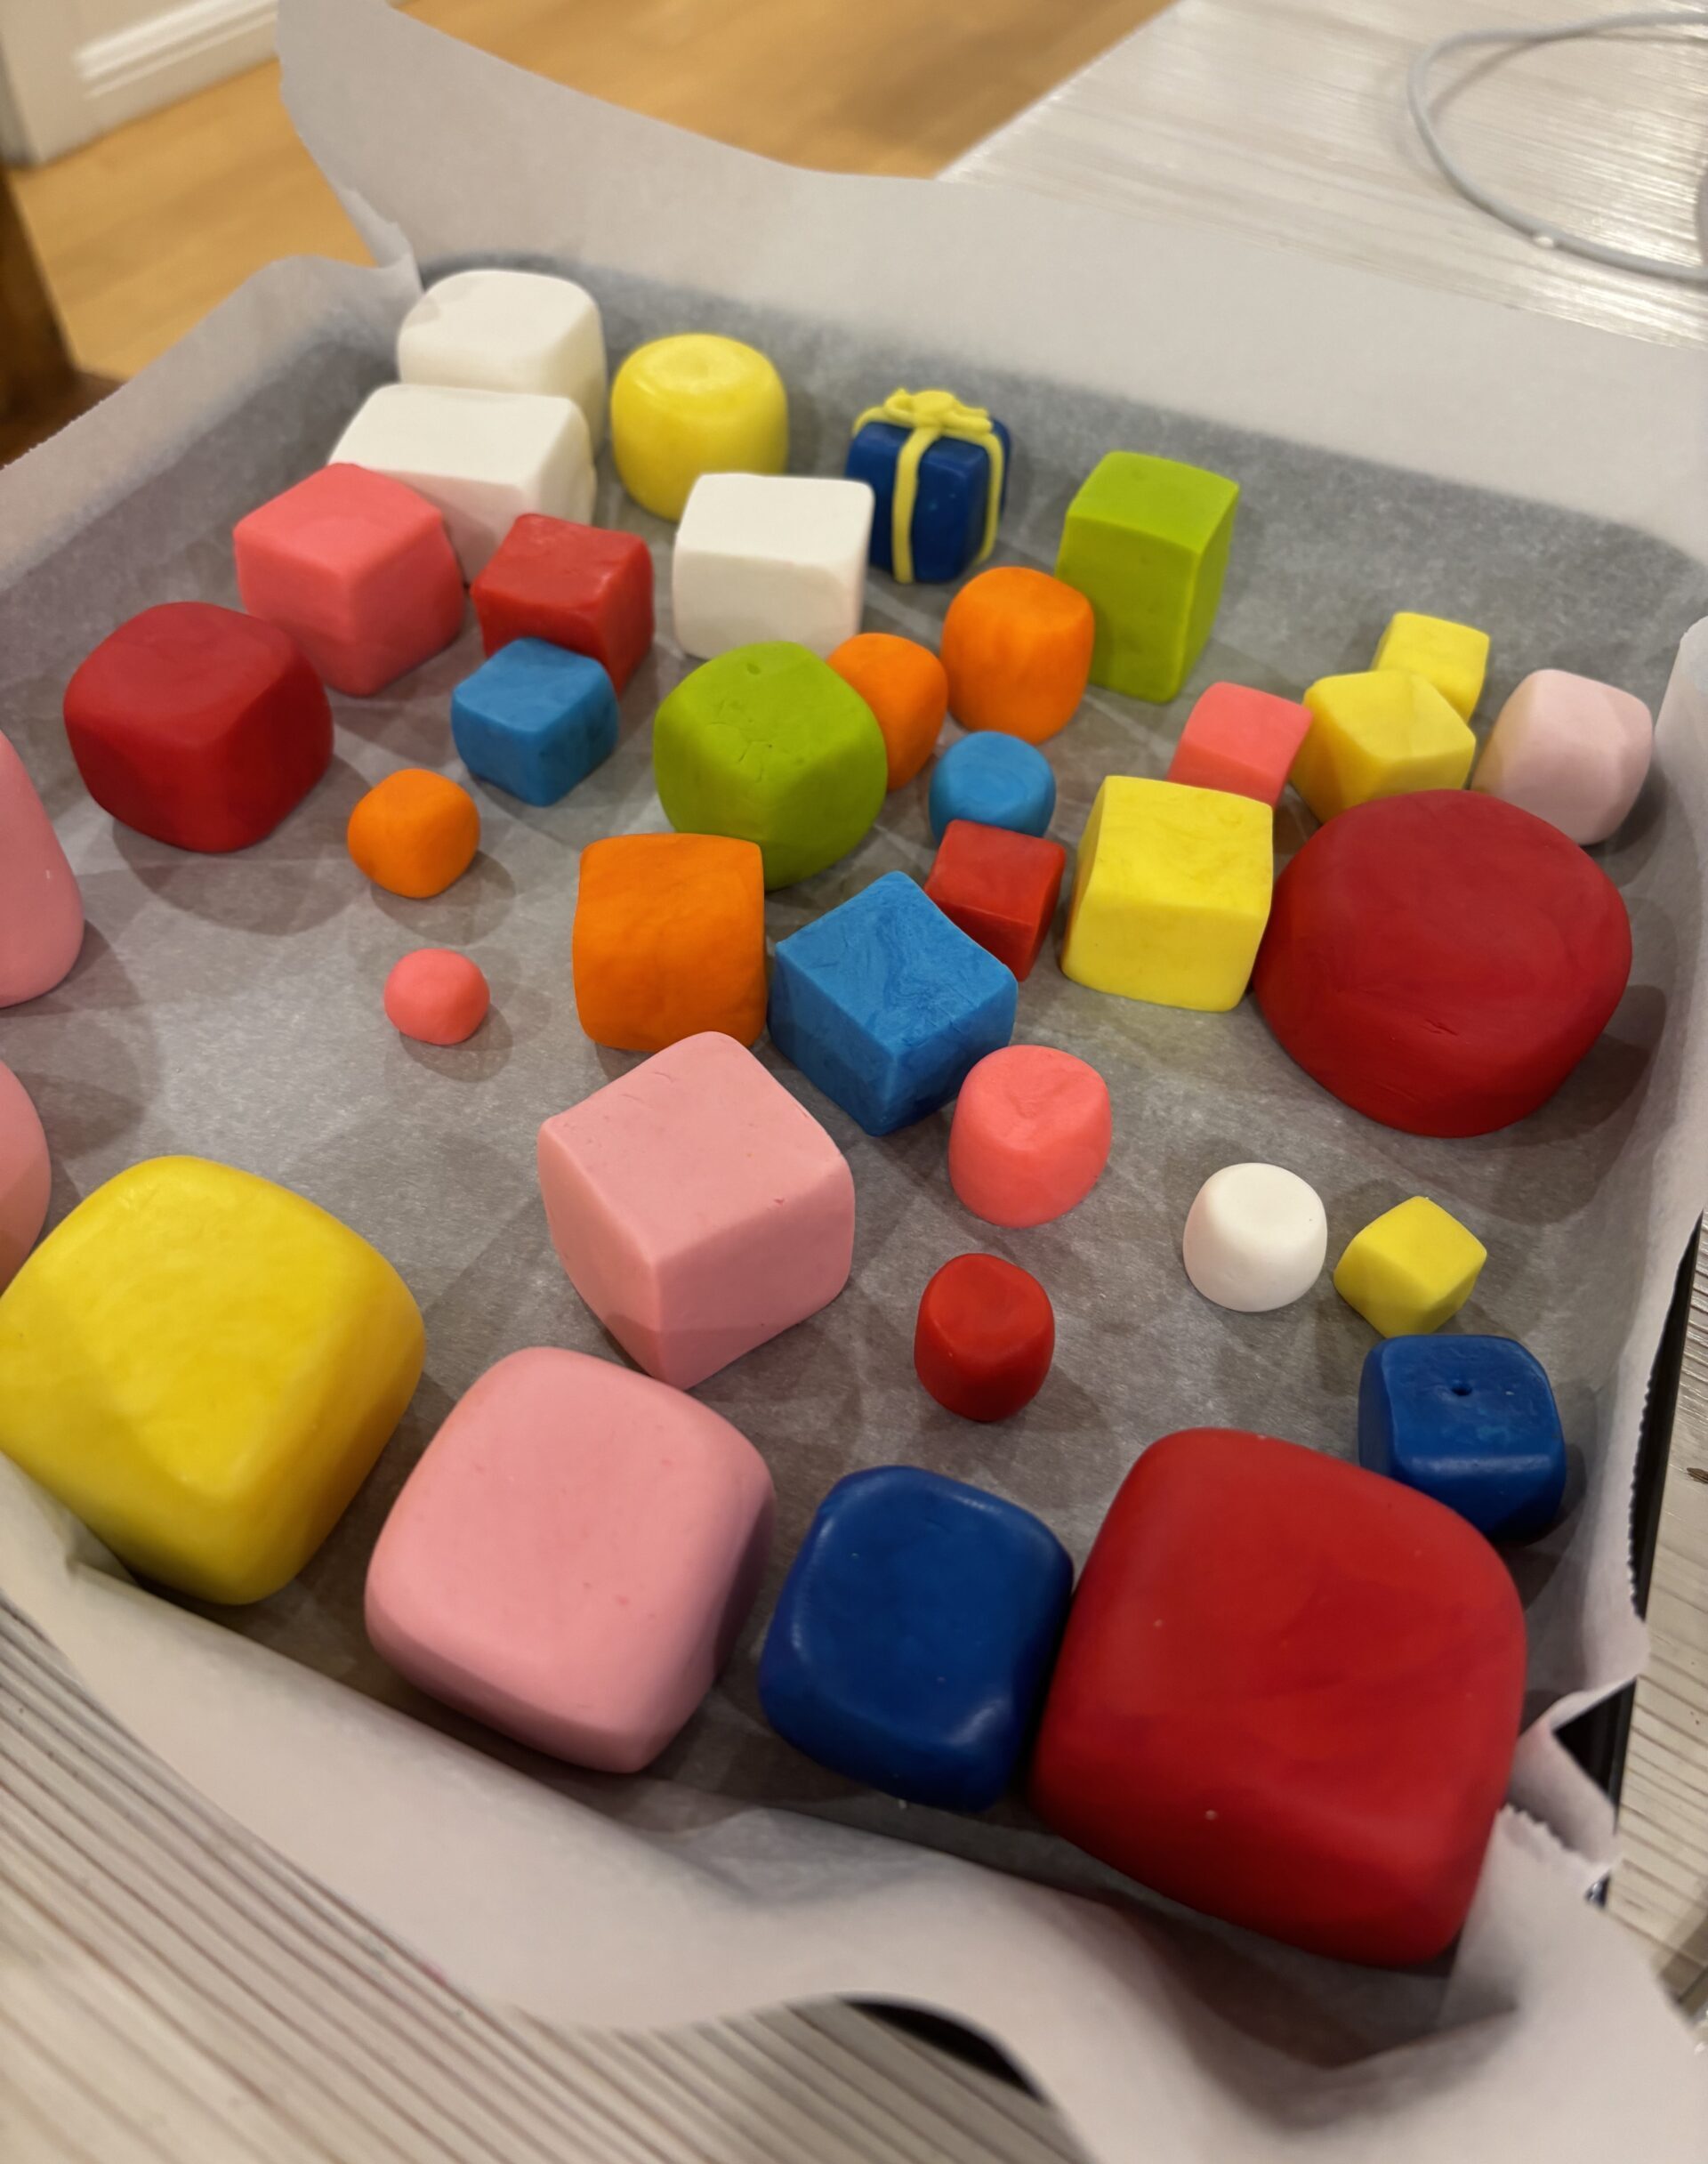
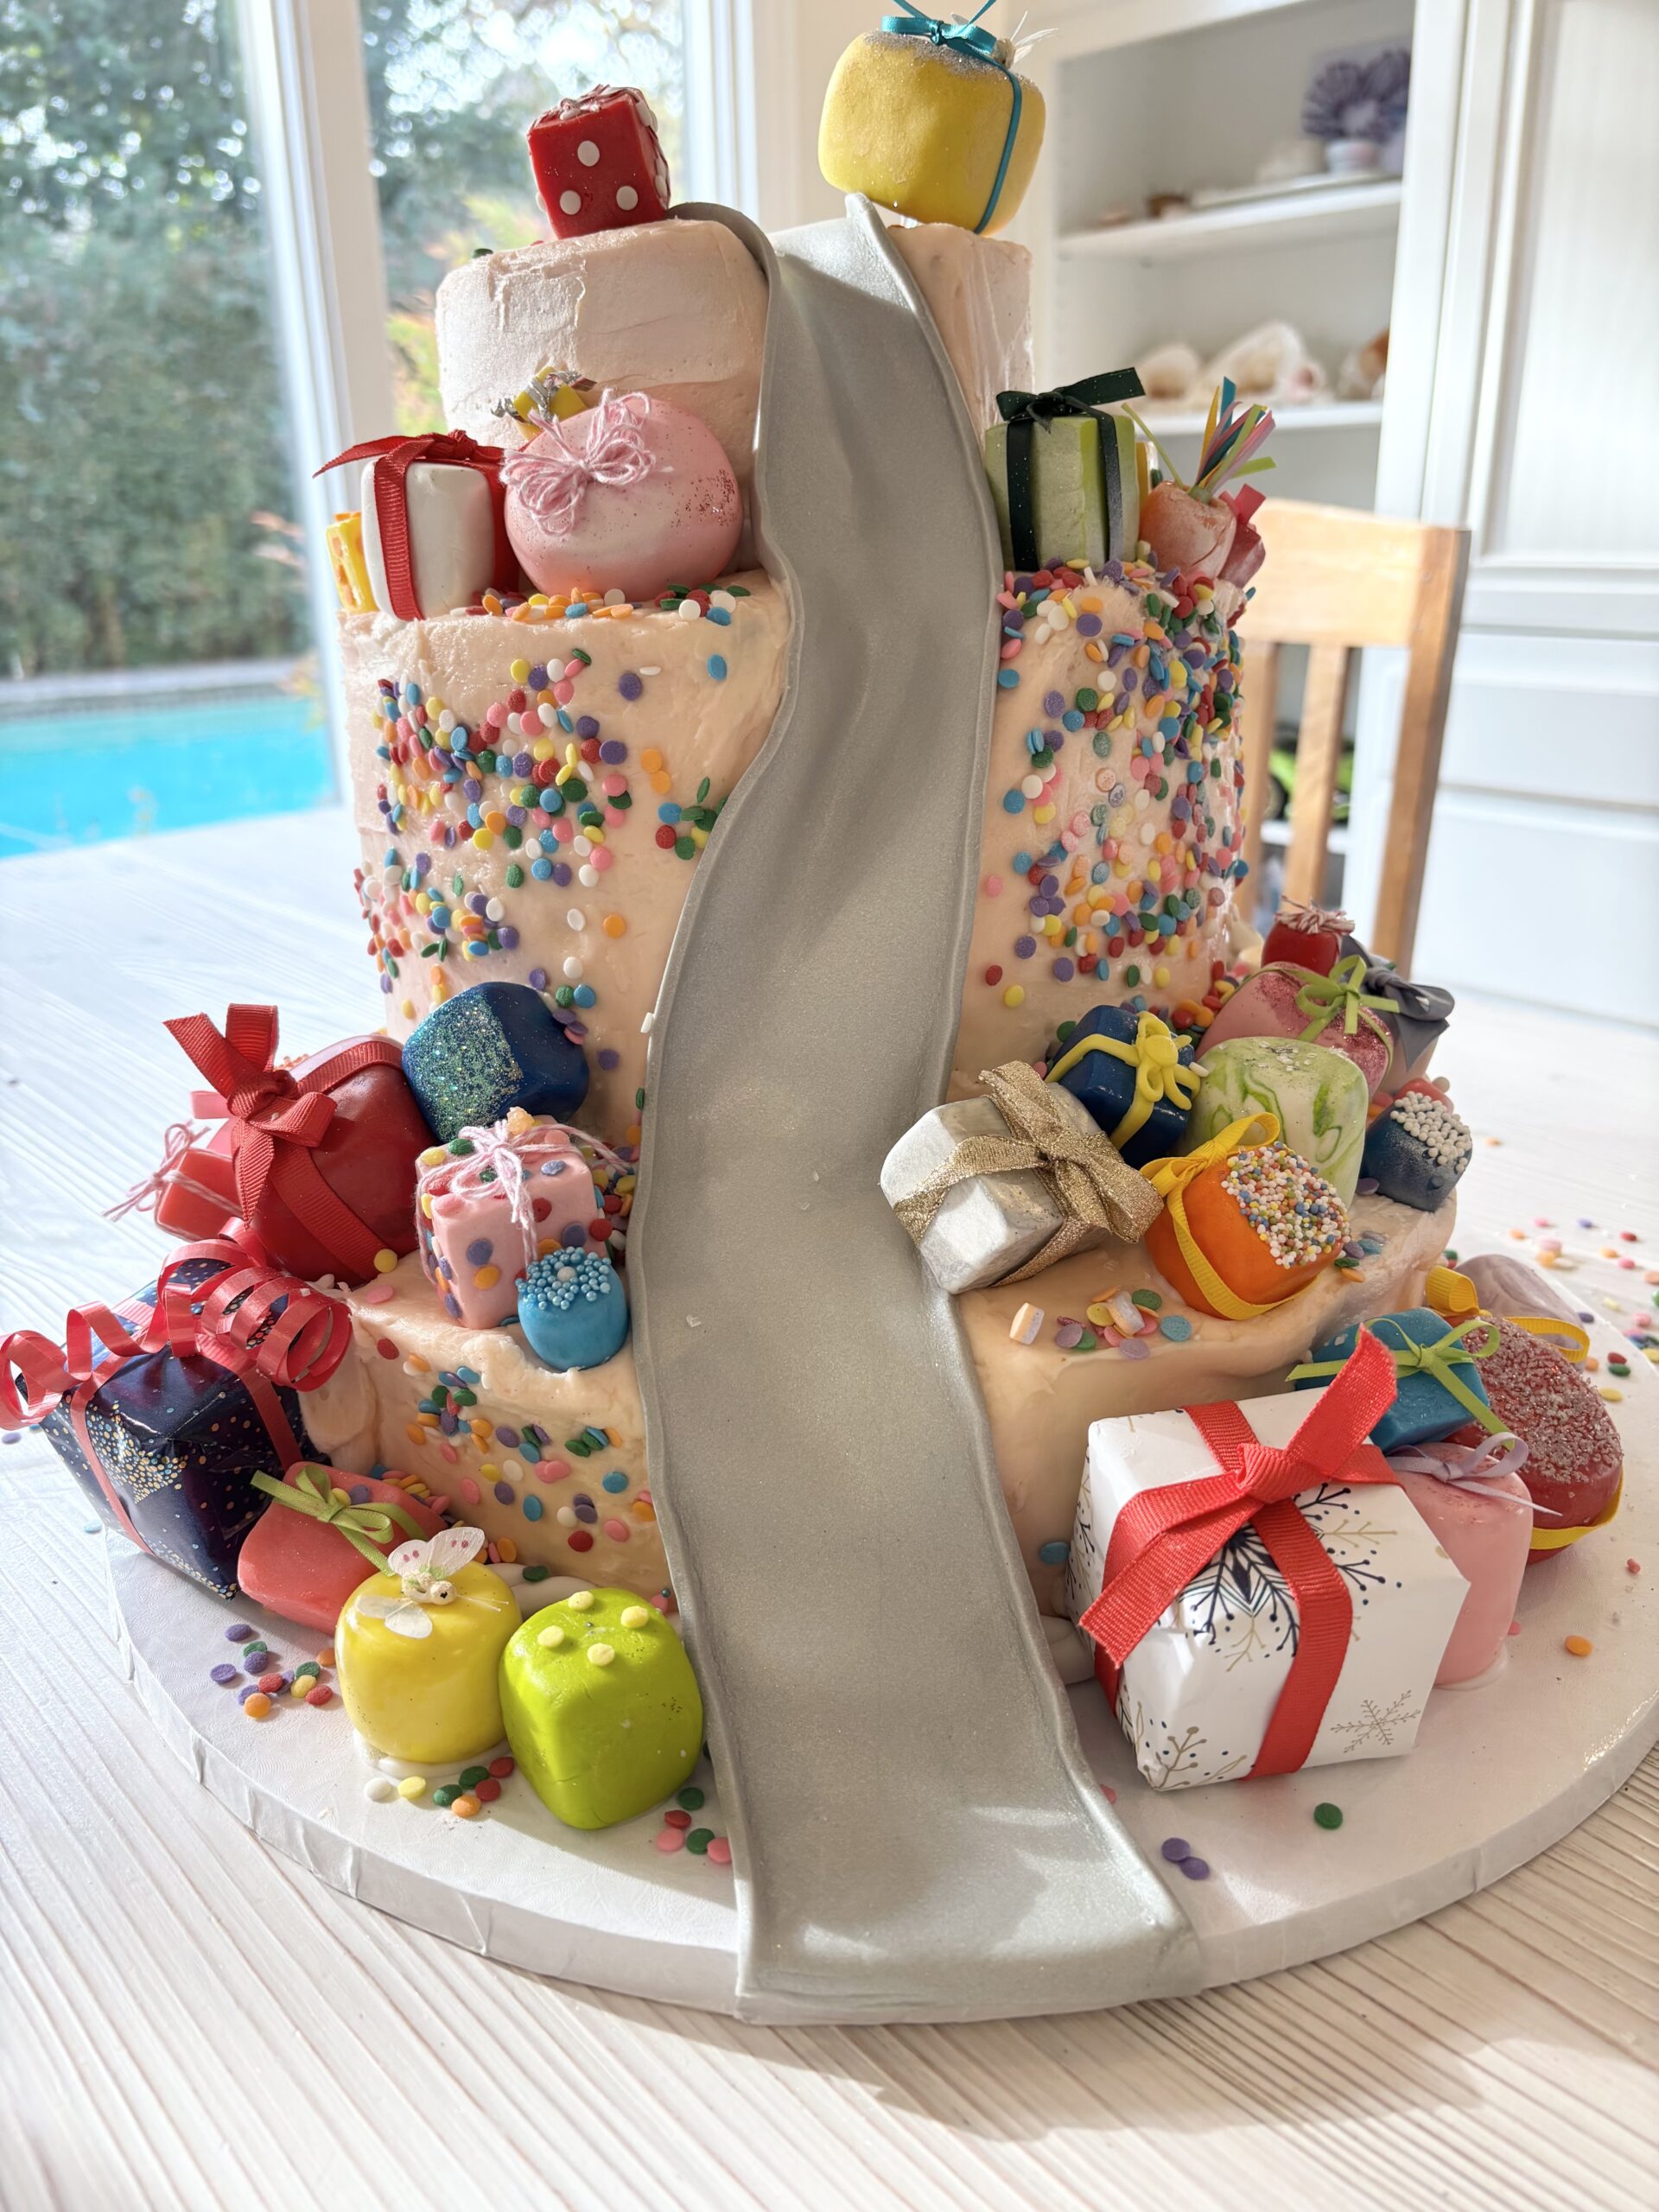
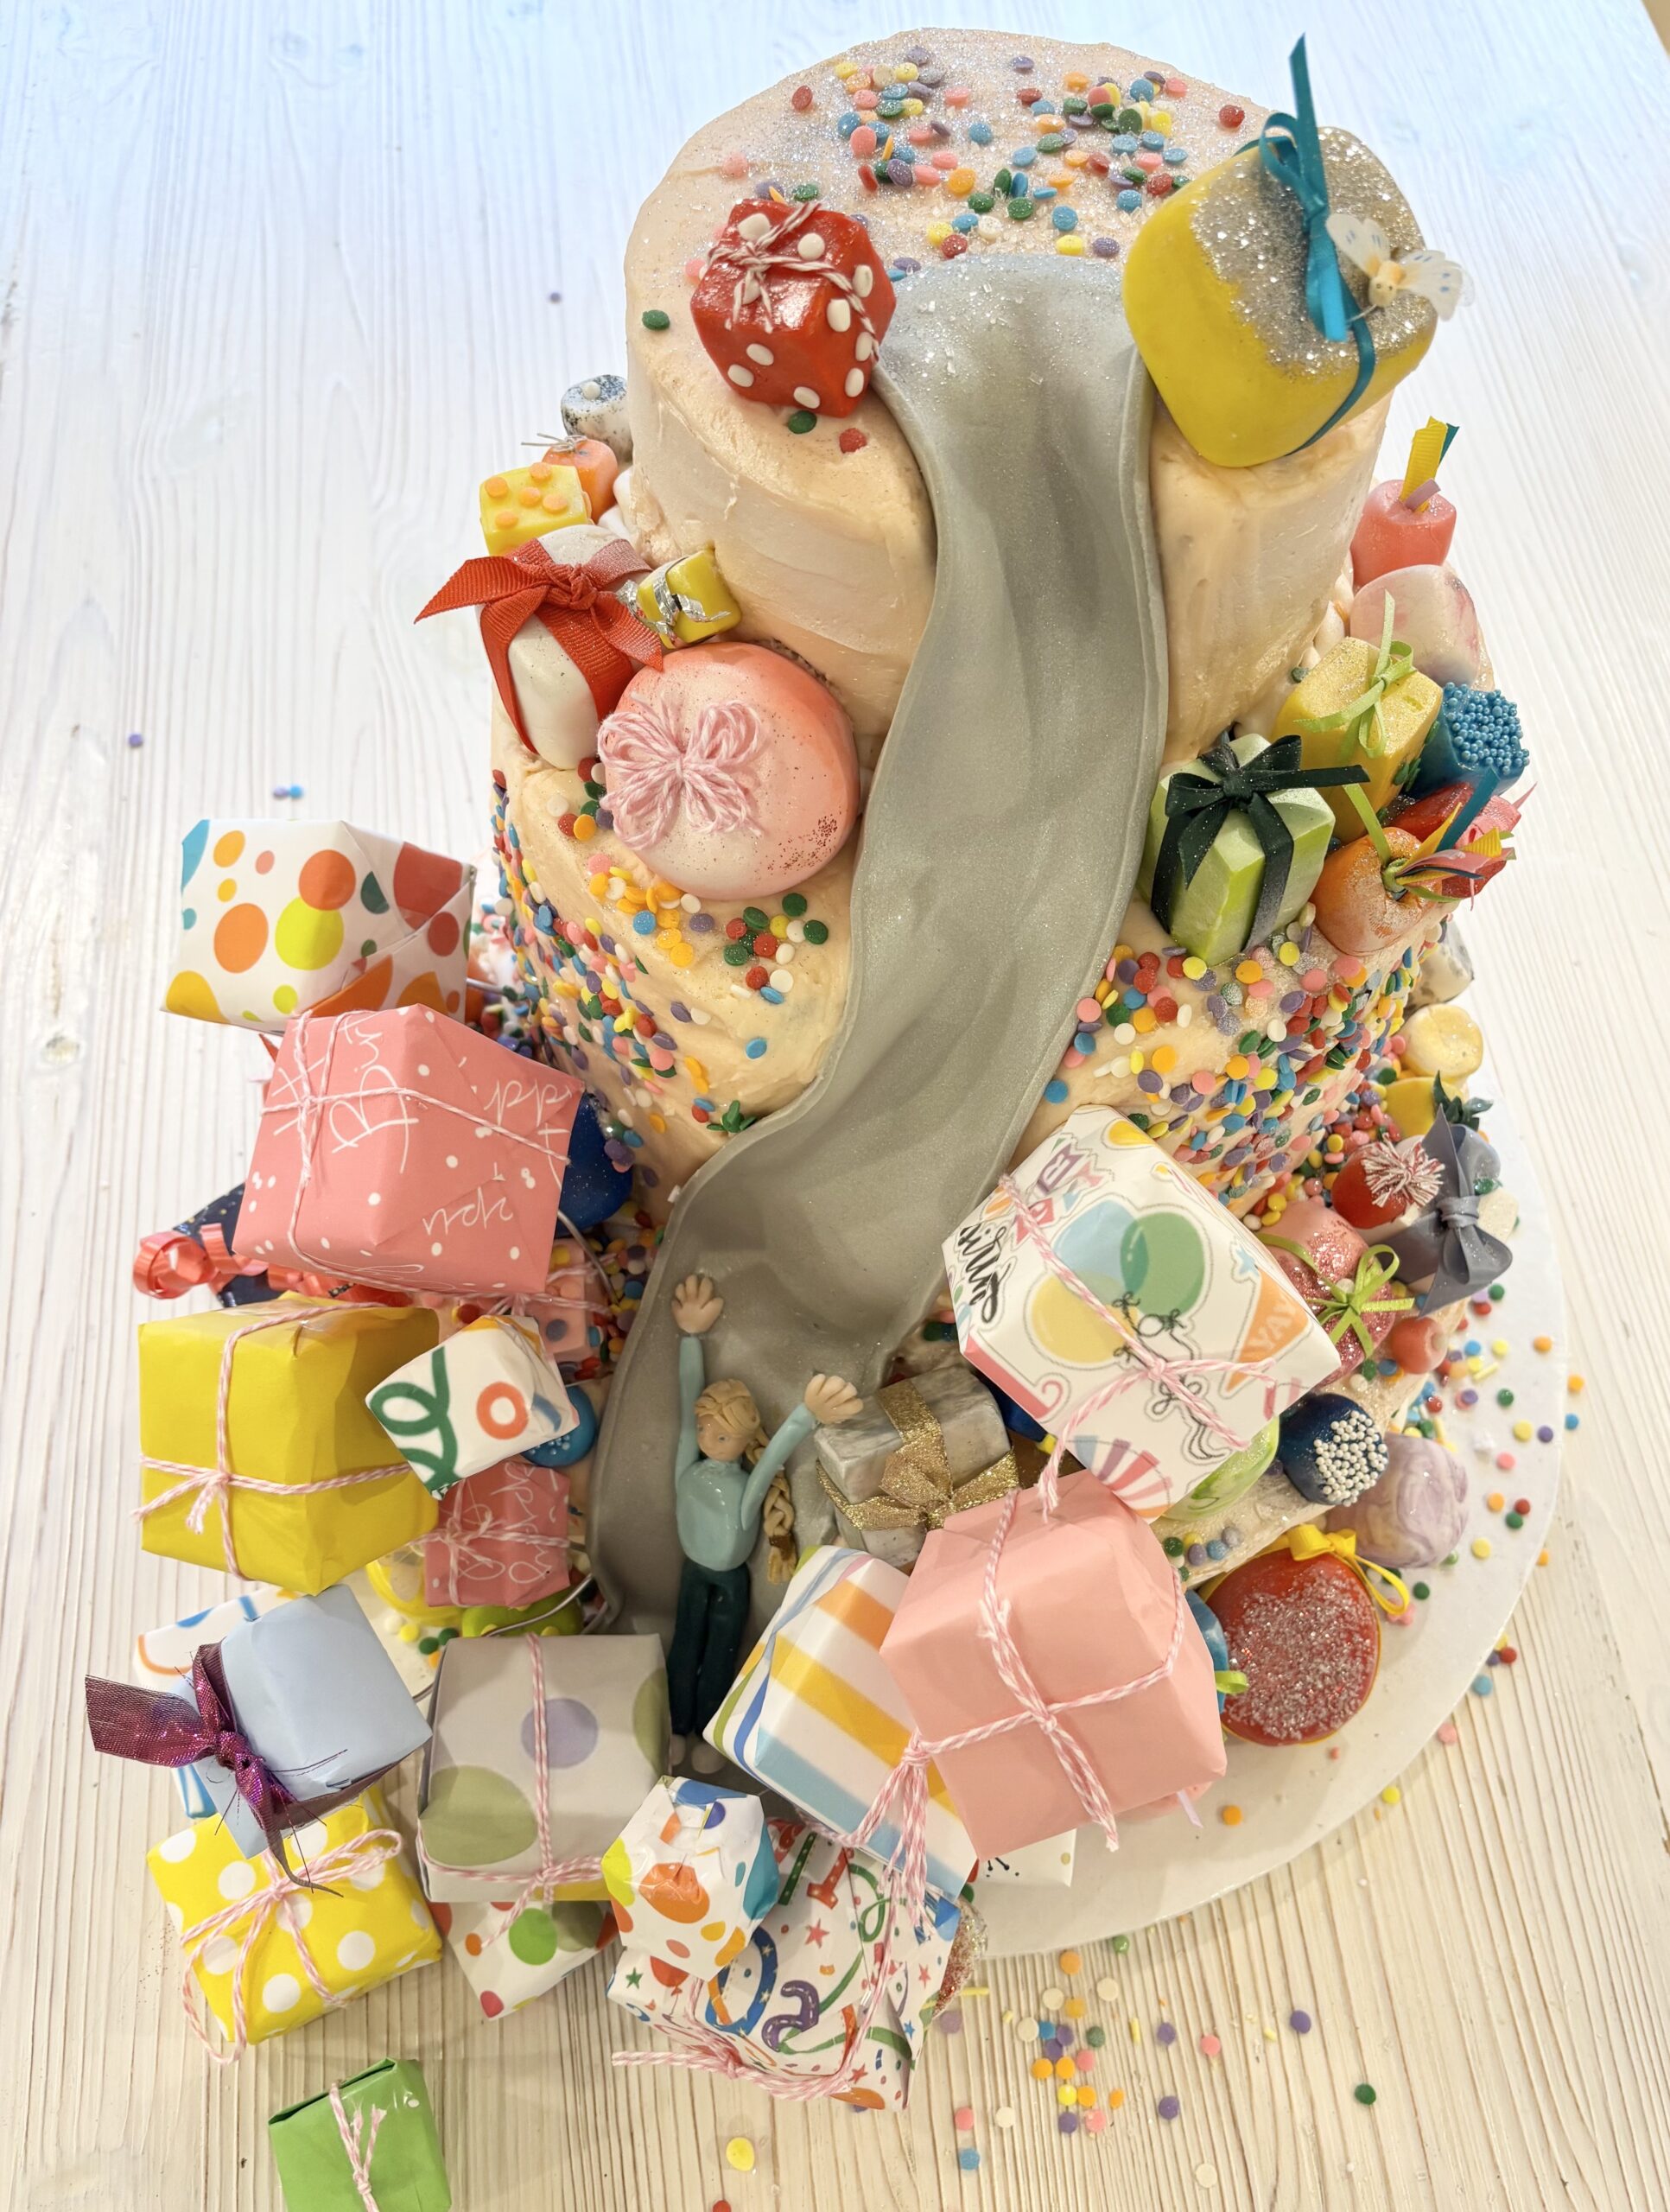
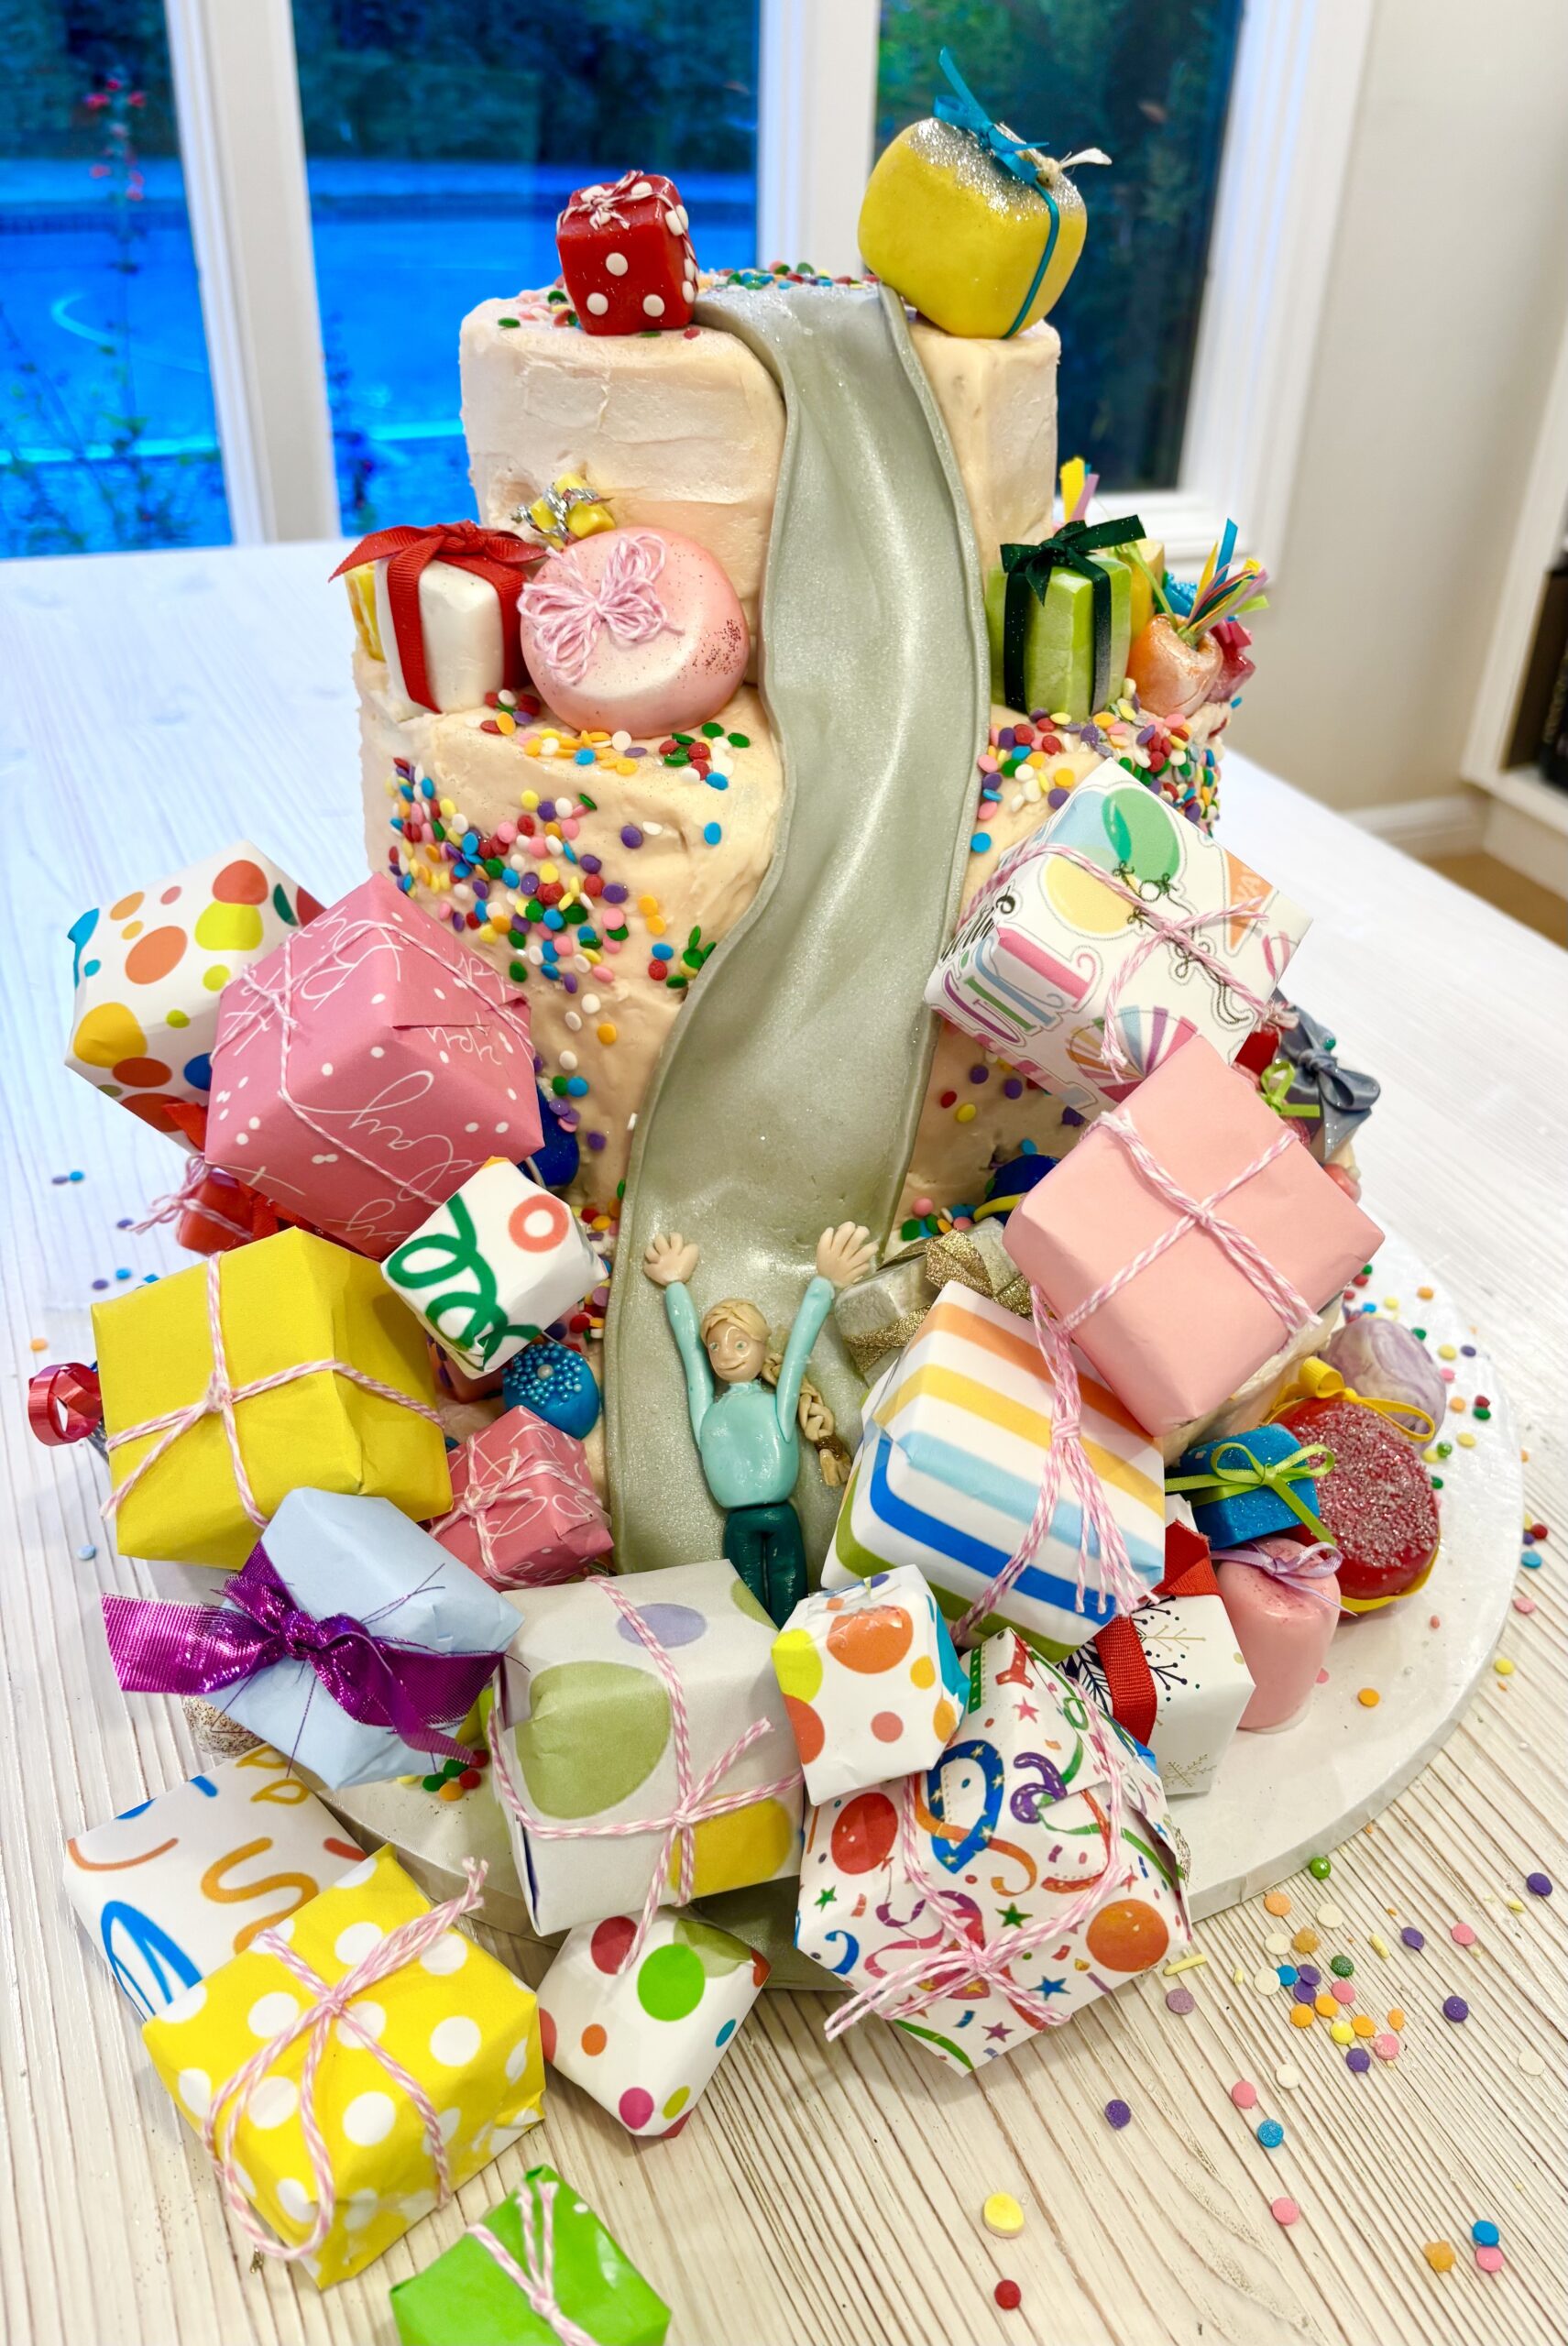
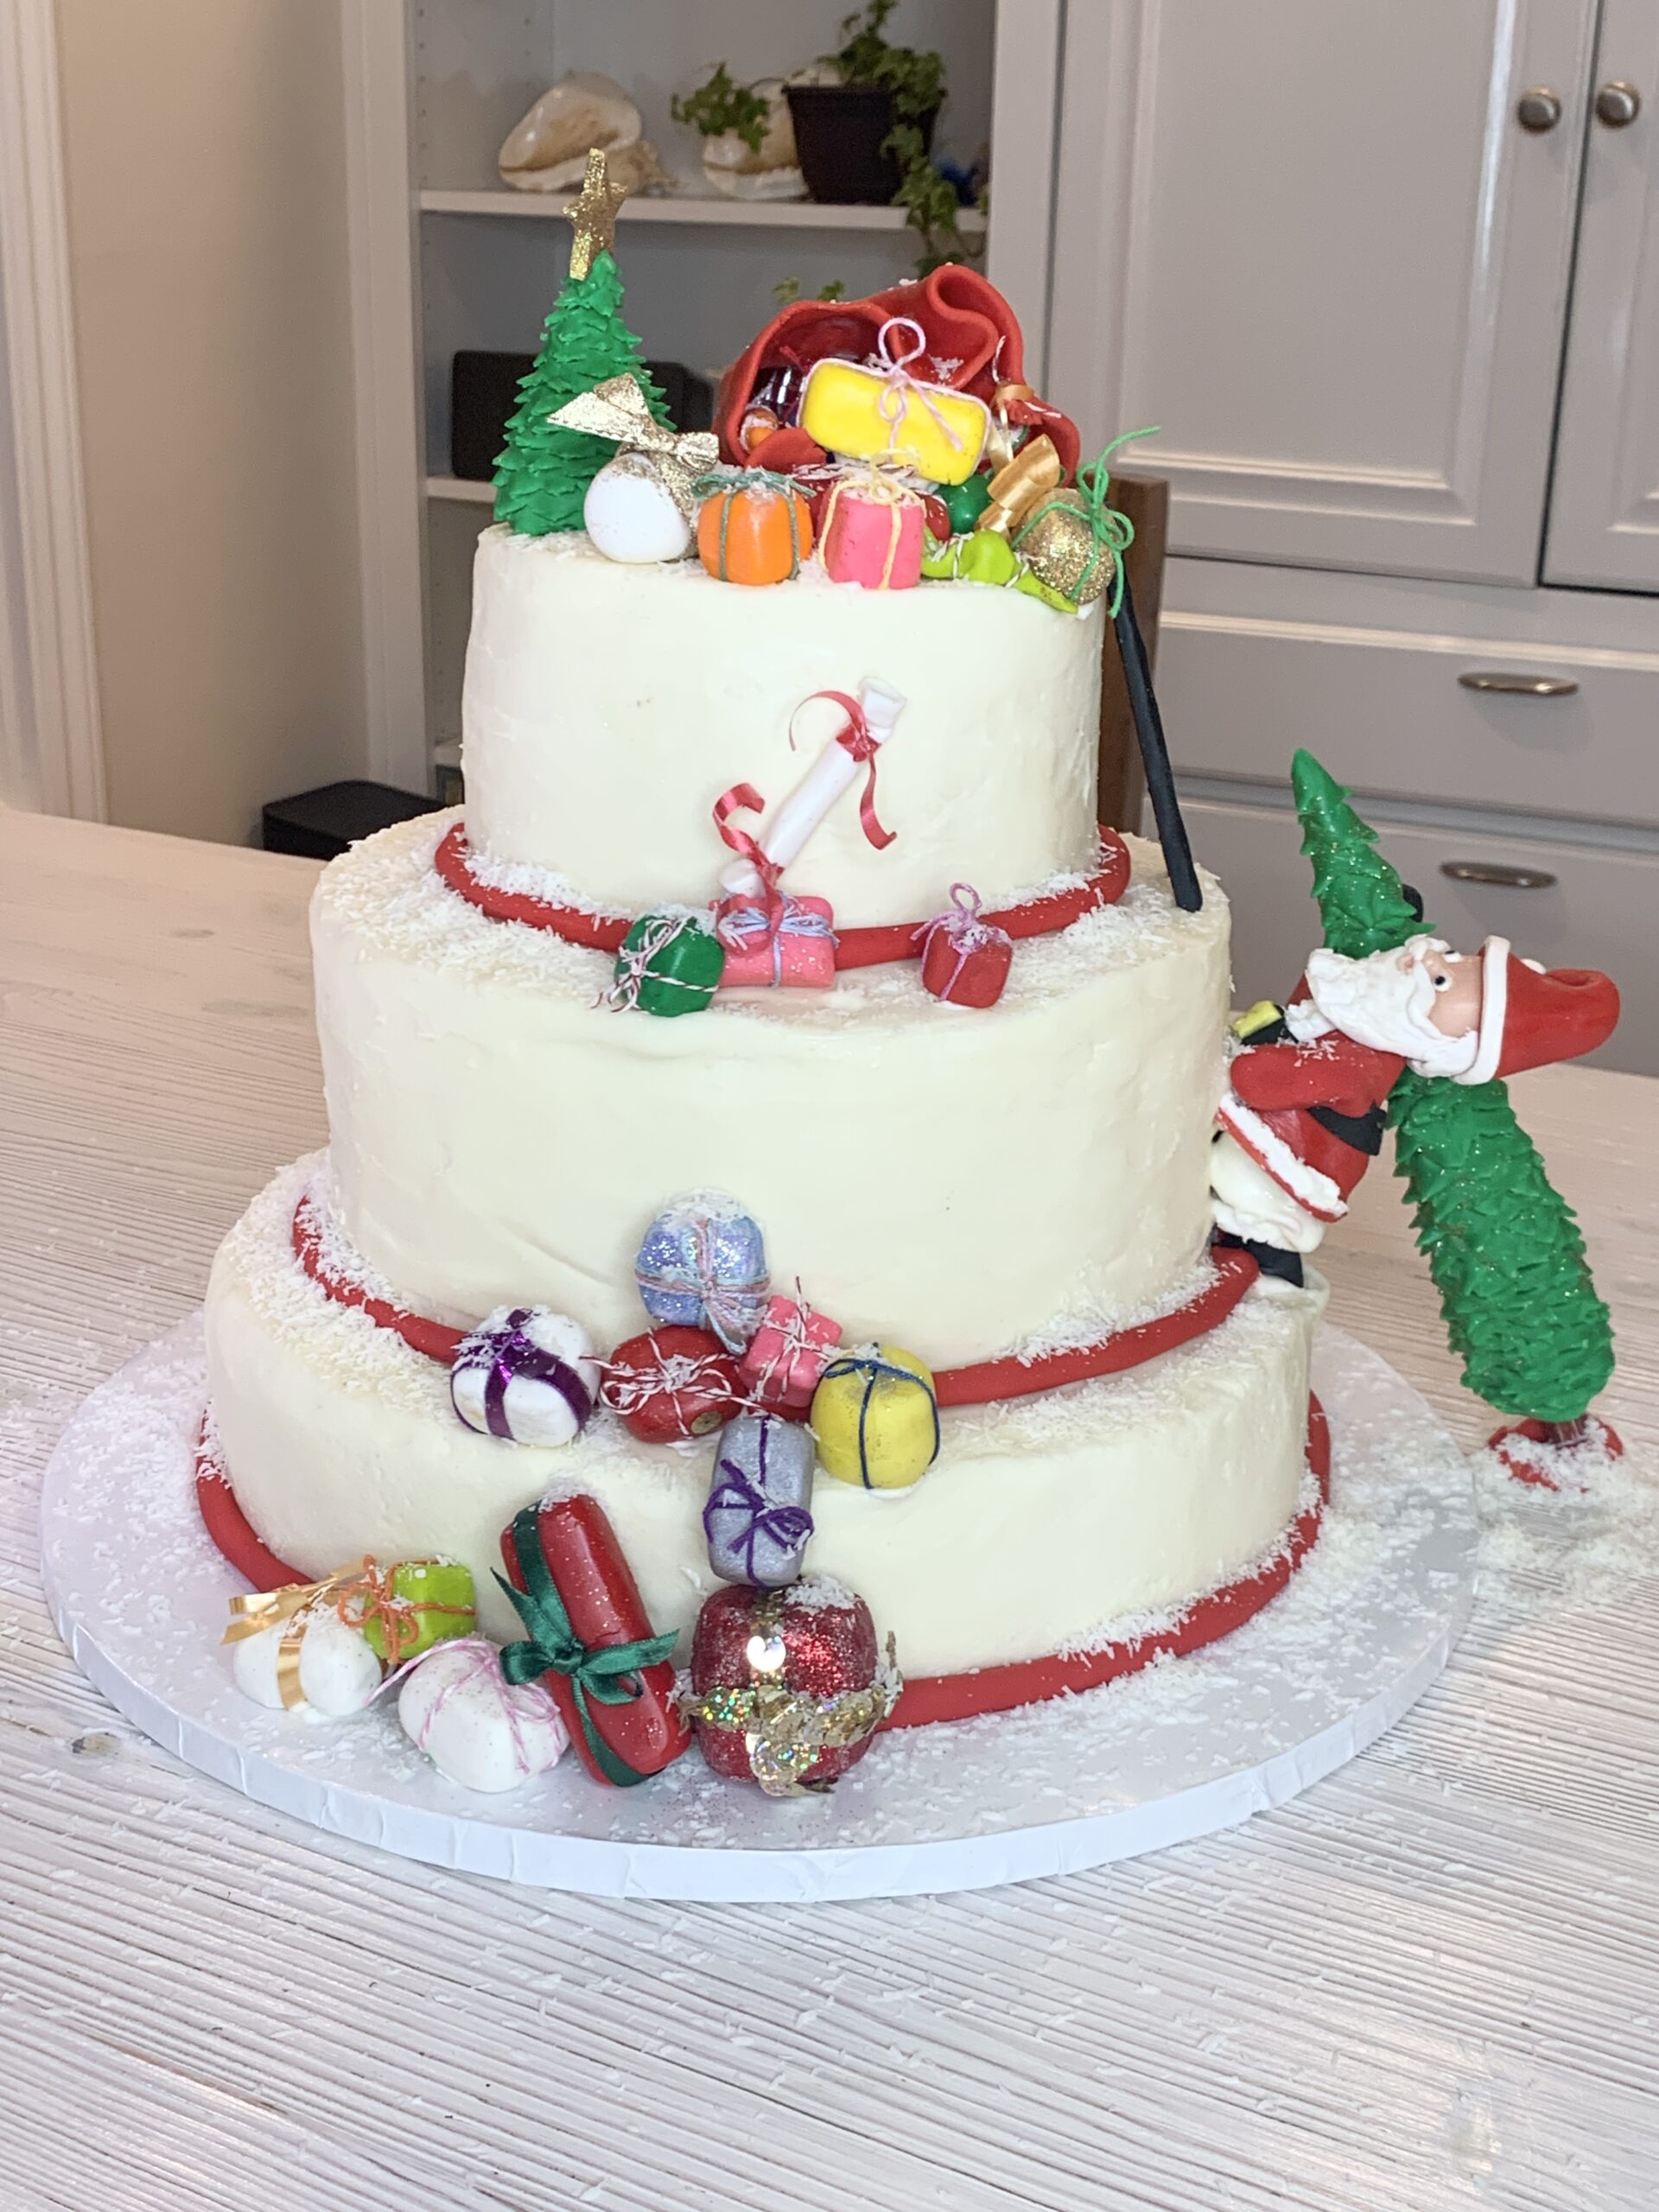
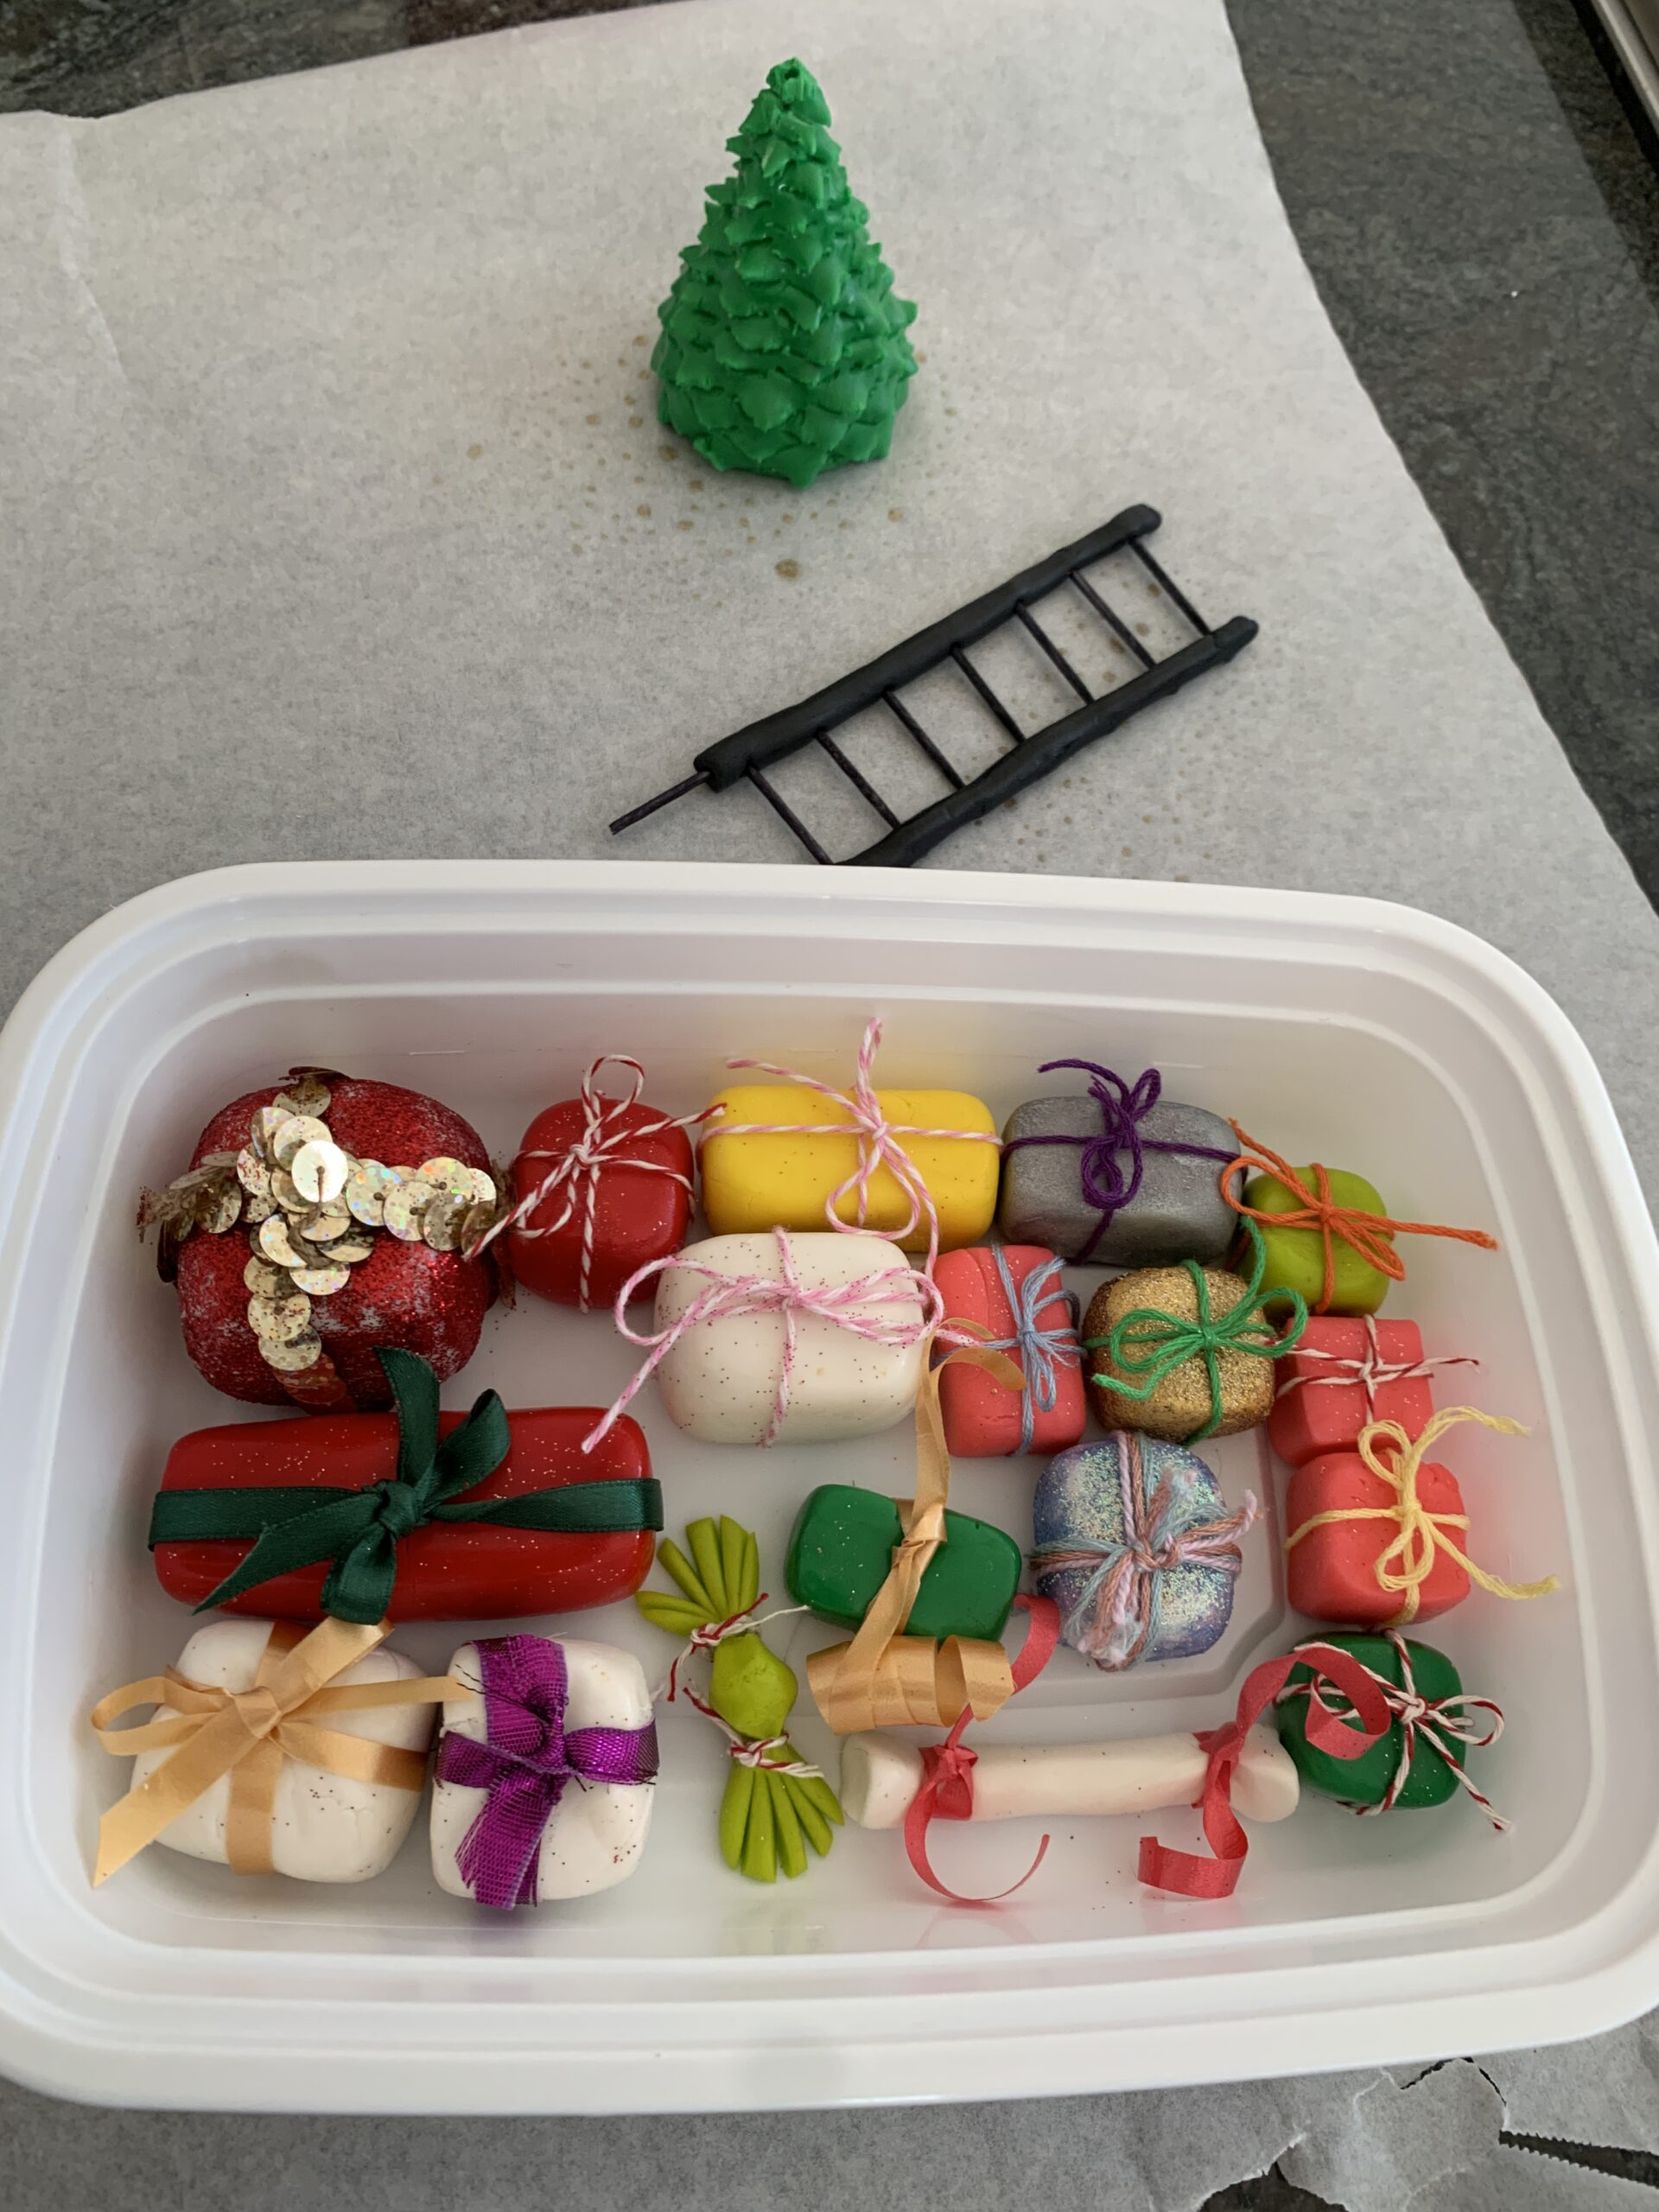
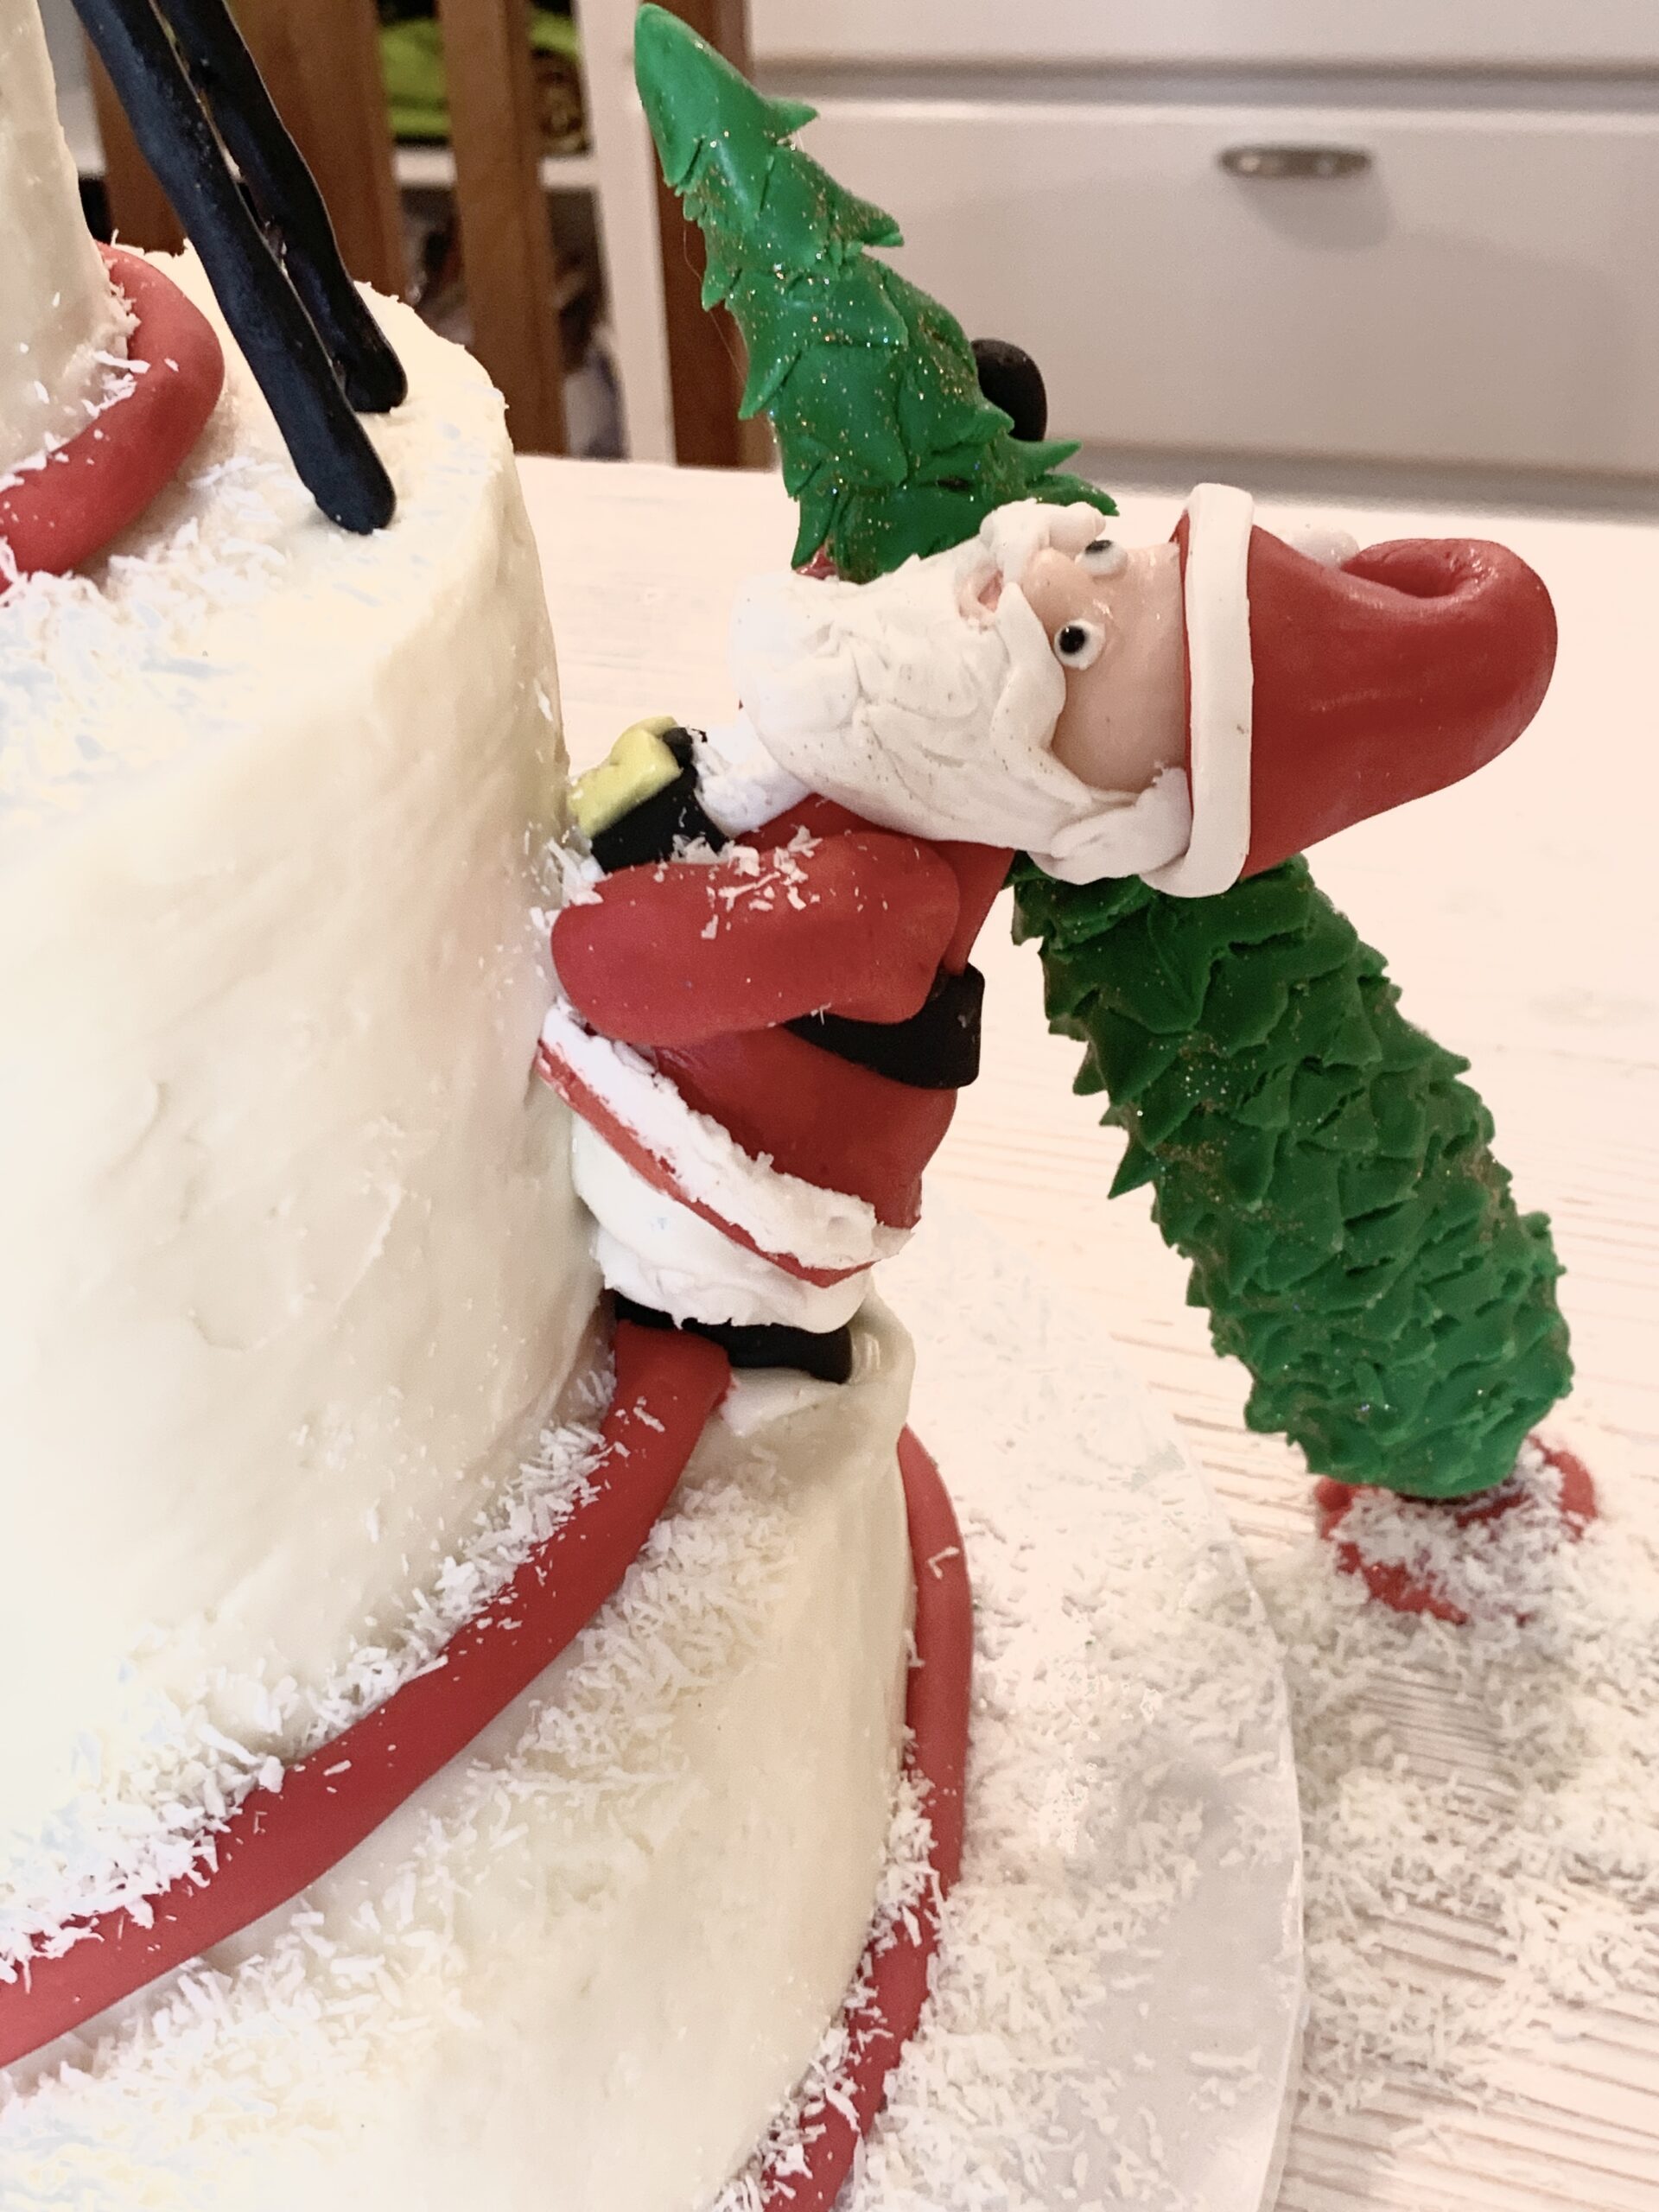
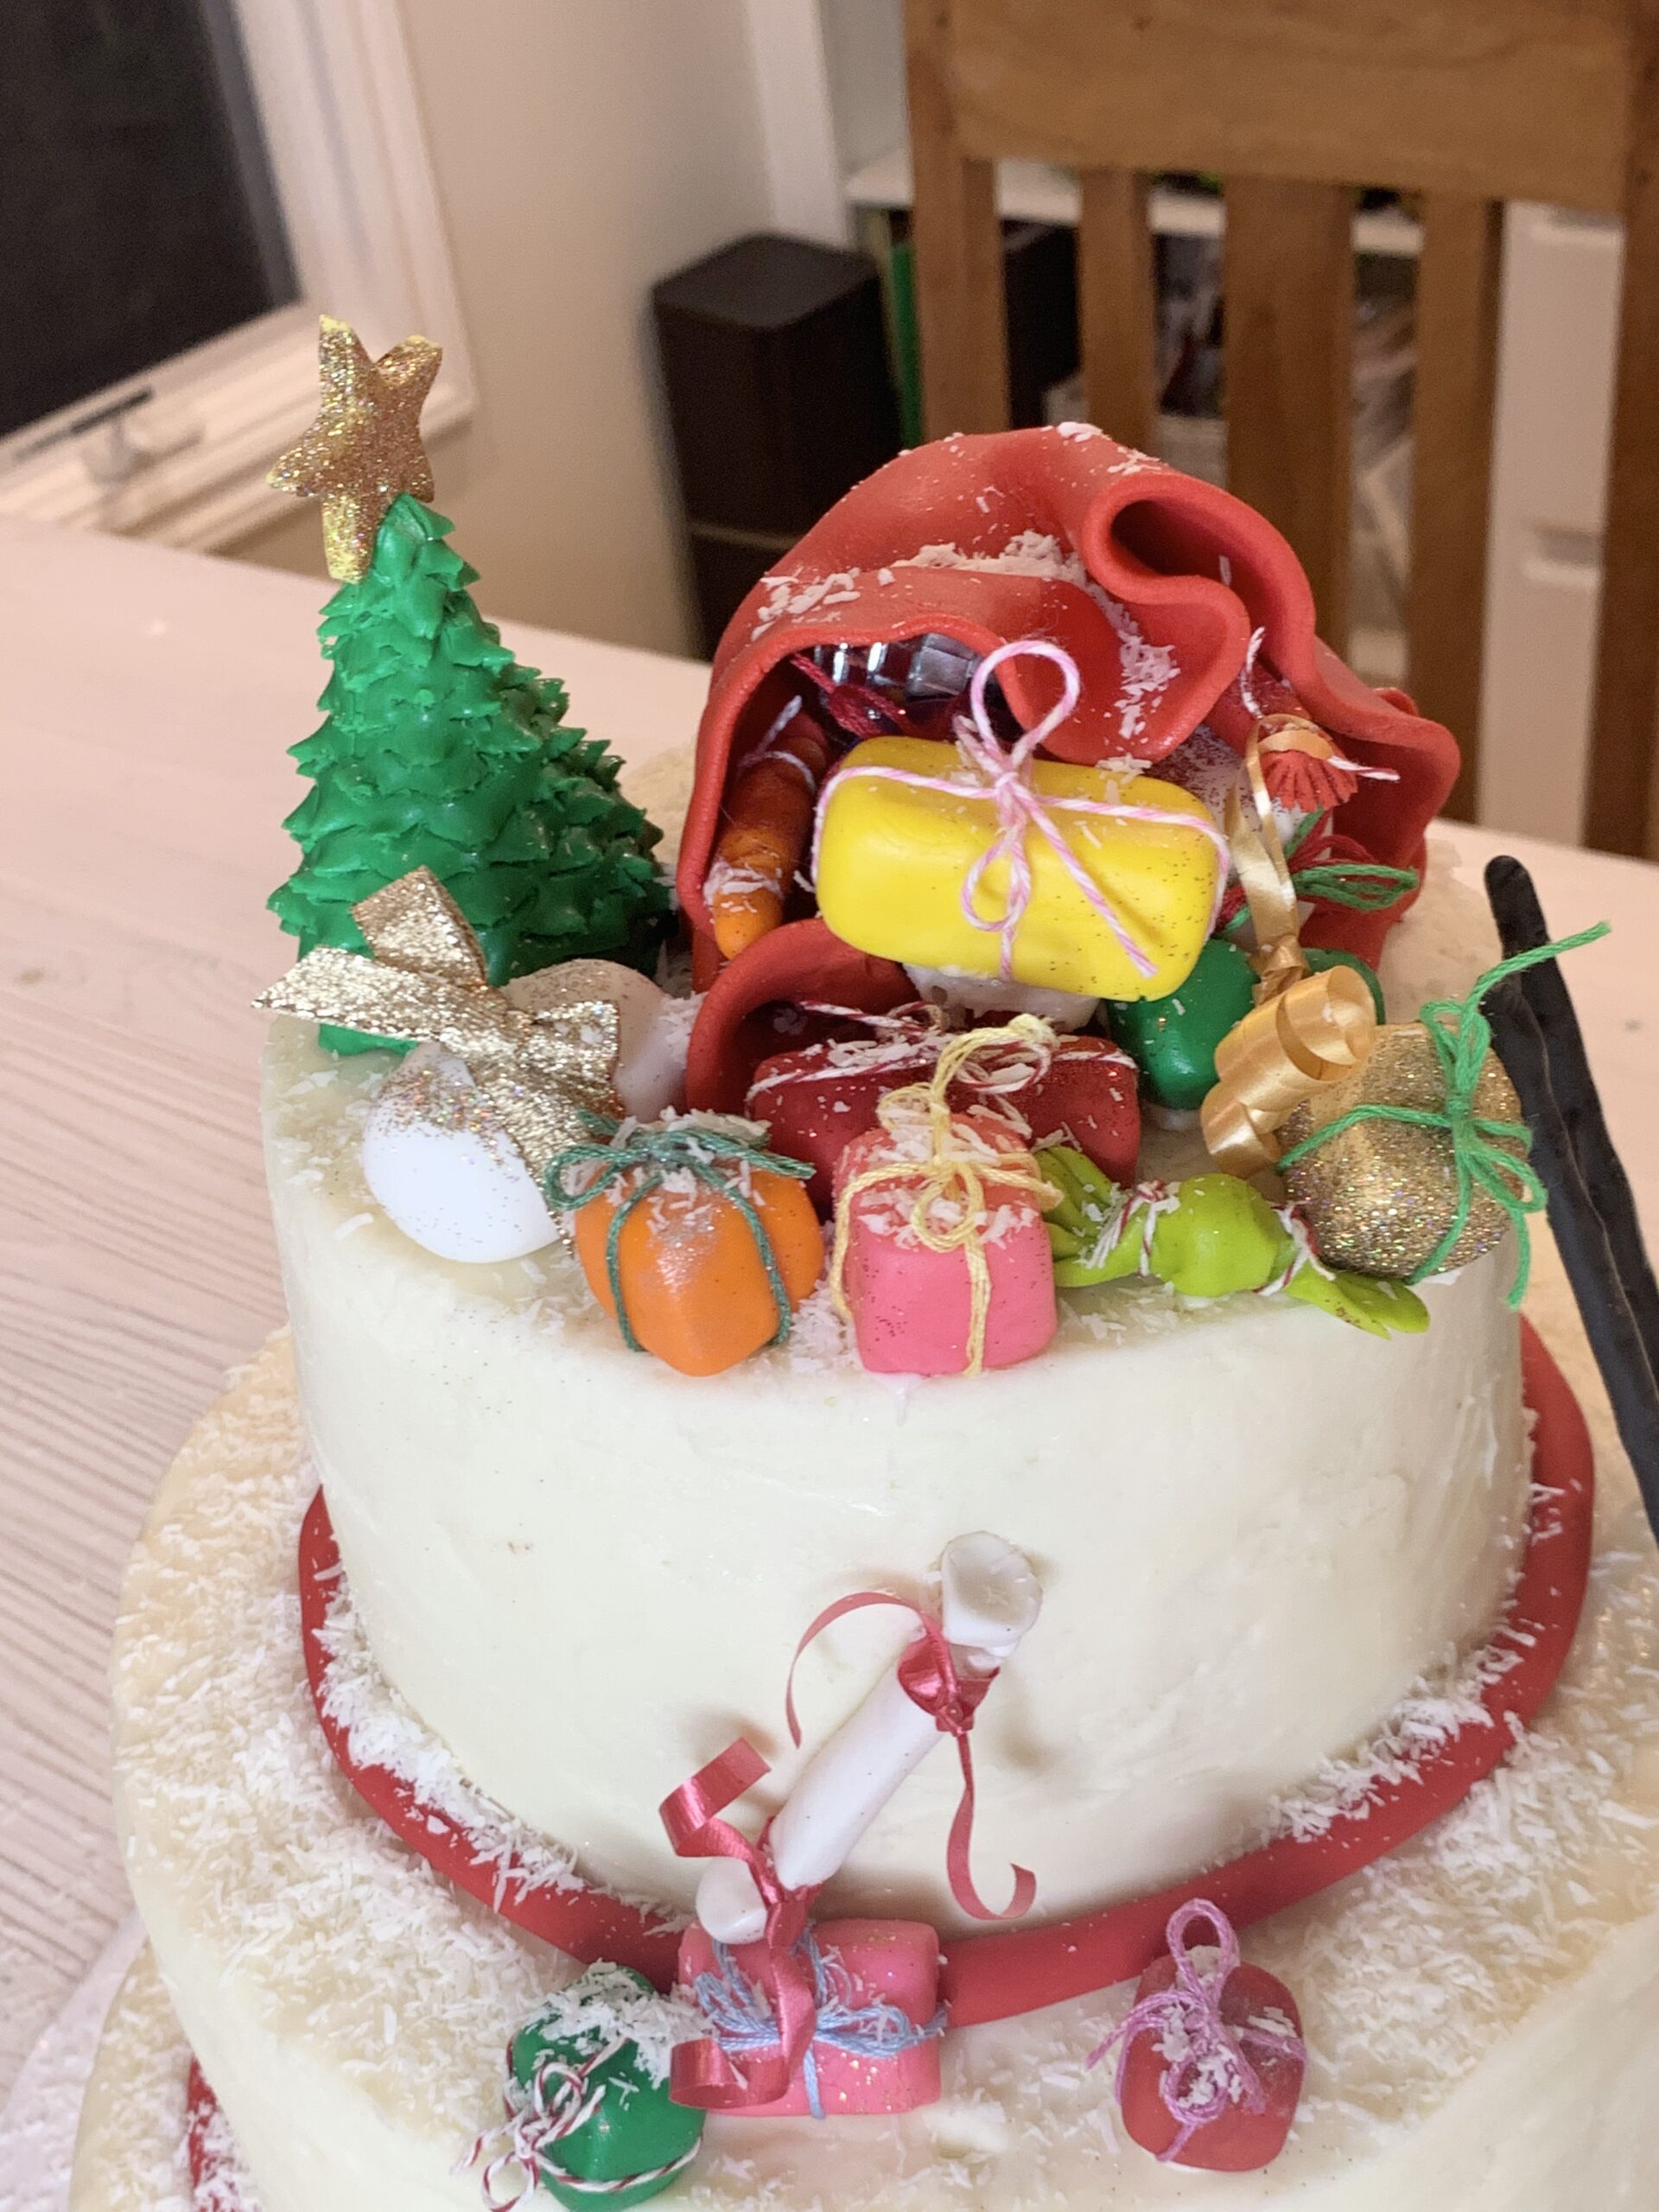
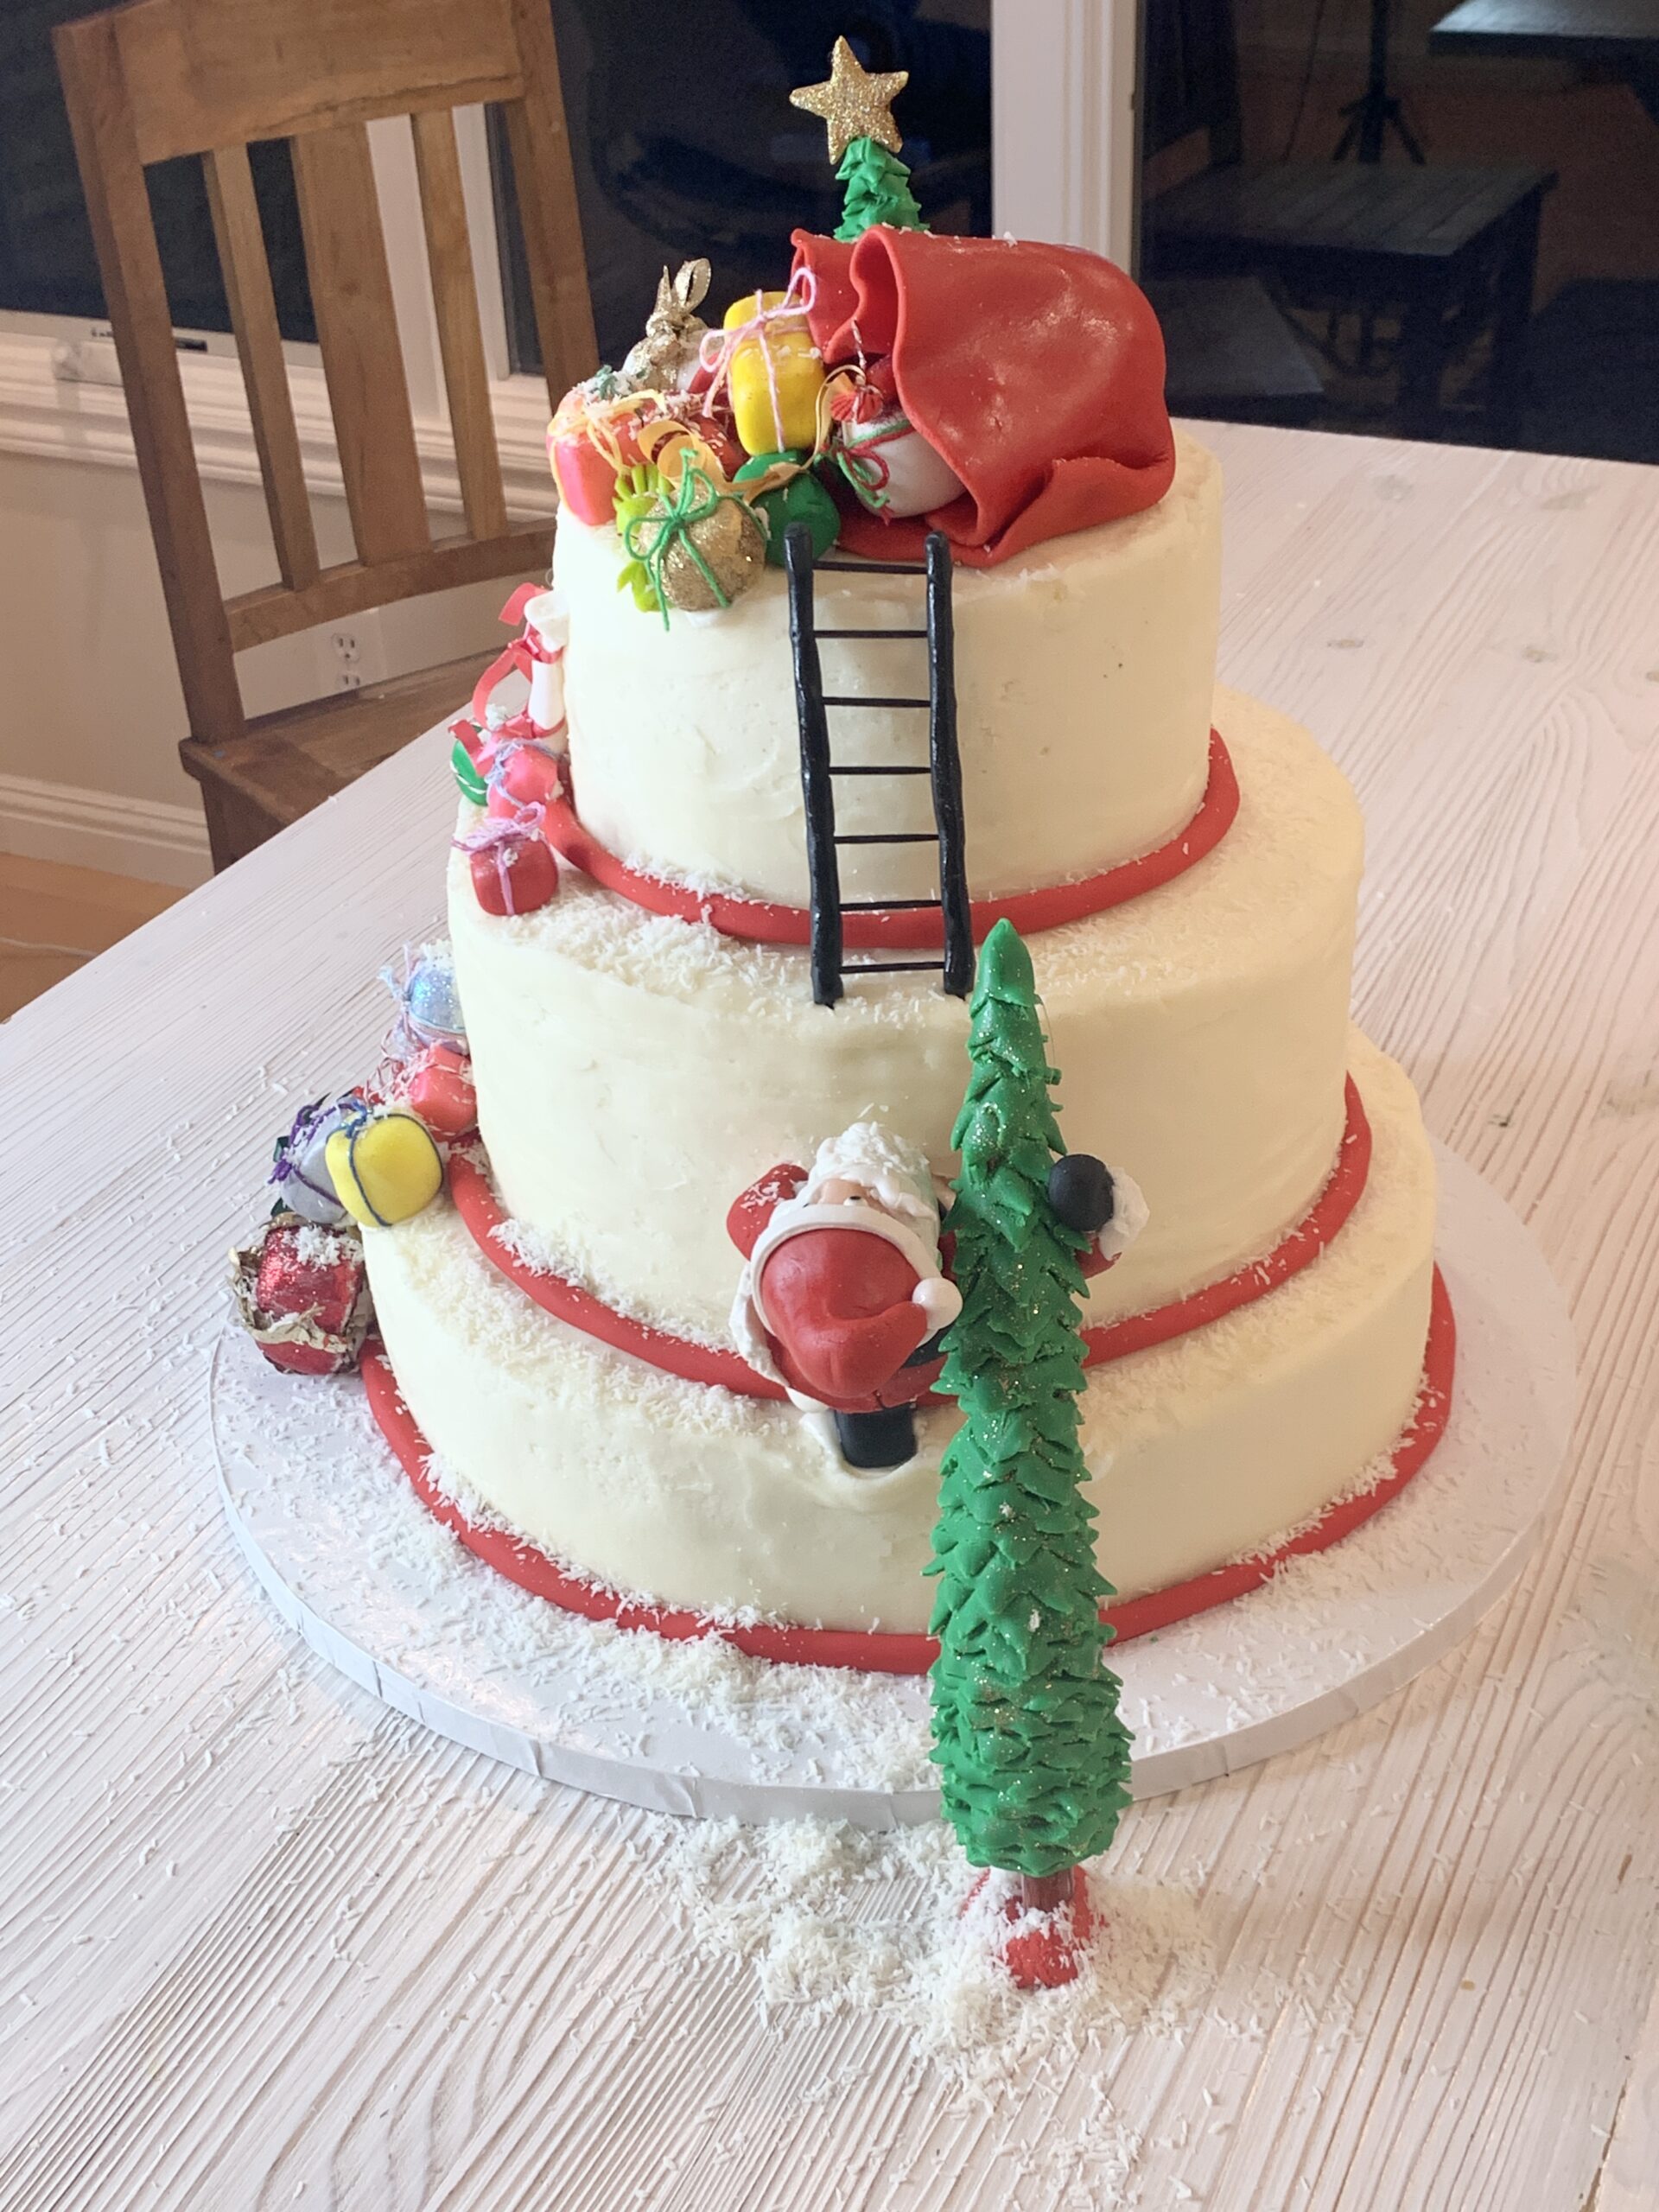
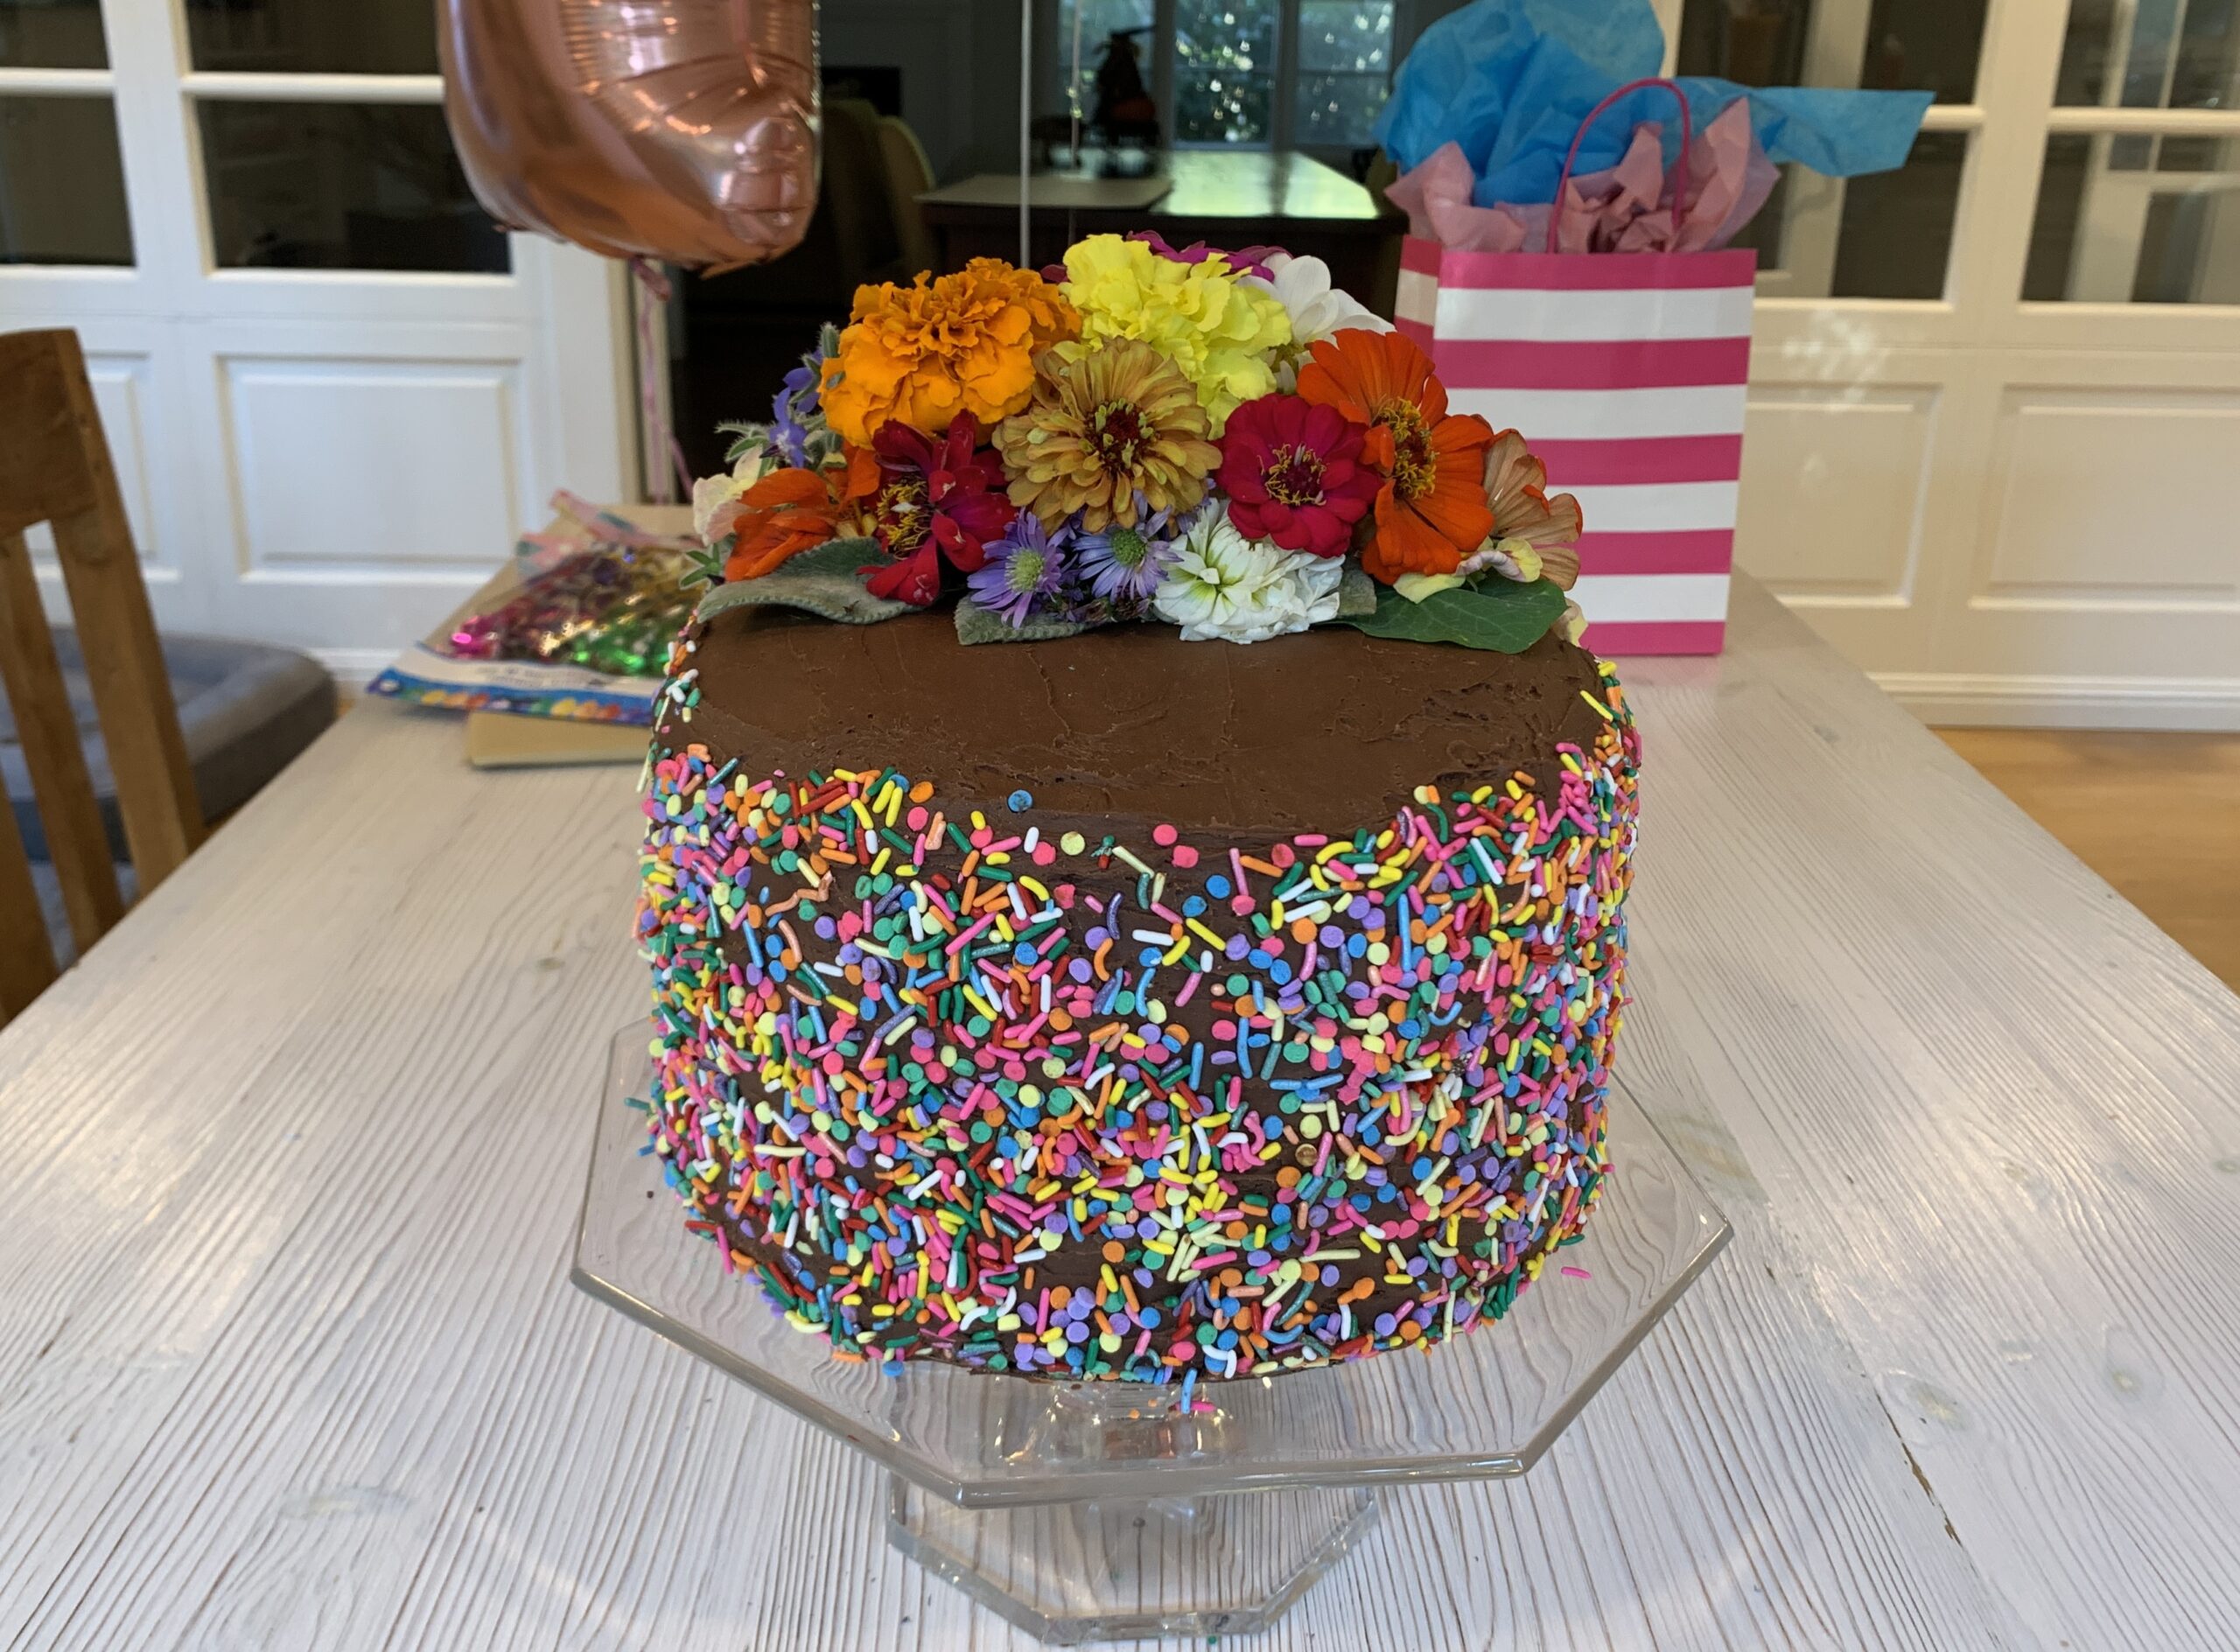
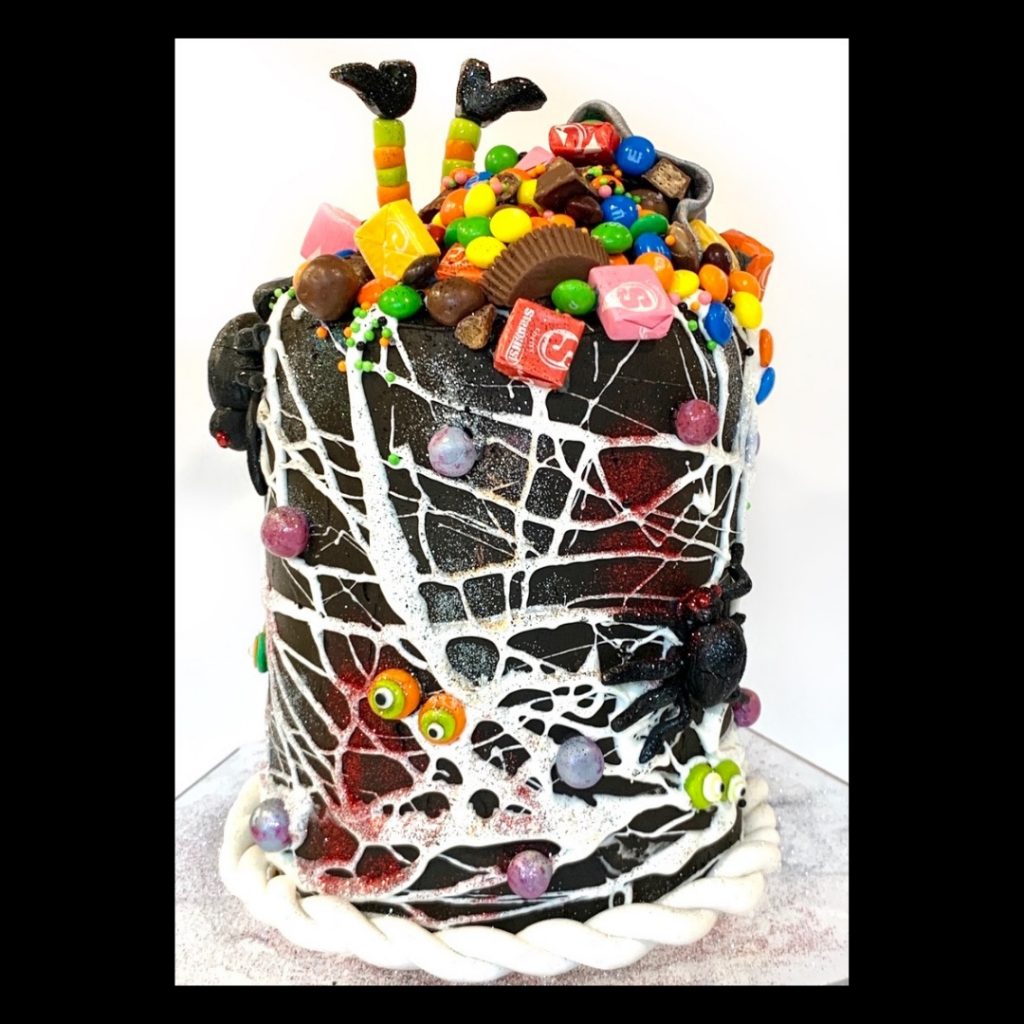
Ultimately, I merged the pool theme and the birthday theme and came up with “Sliding into 18.” And obviously, I substituted the swimming pool for a giant pile of presents that the birthday girl would “splash” into.
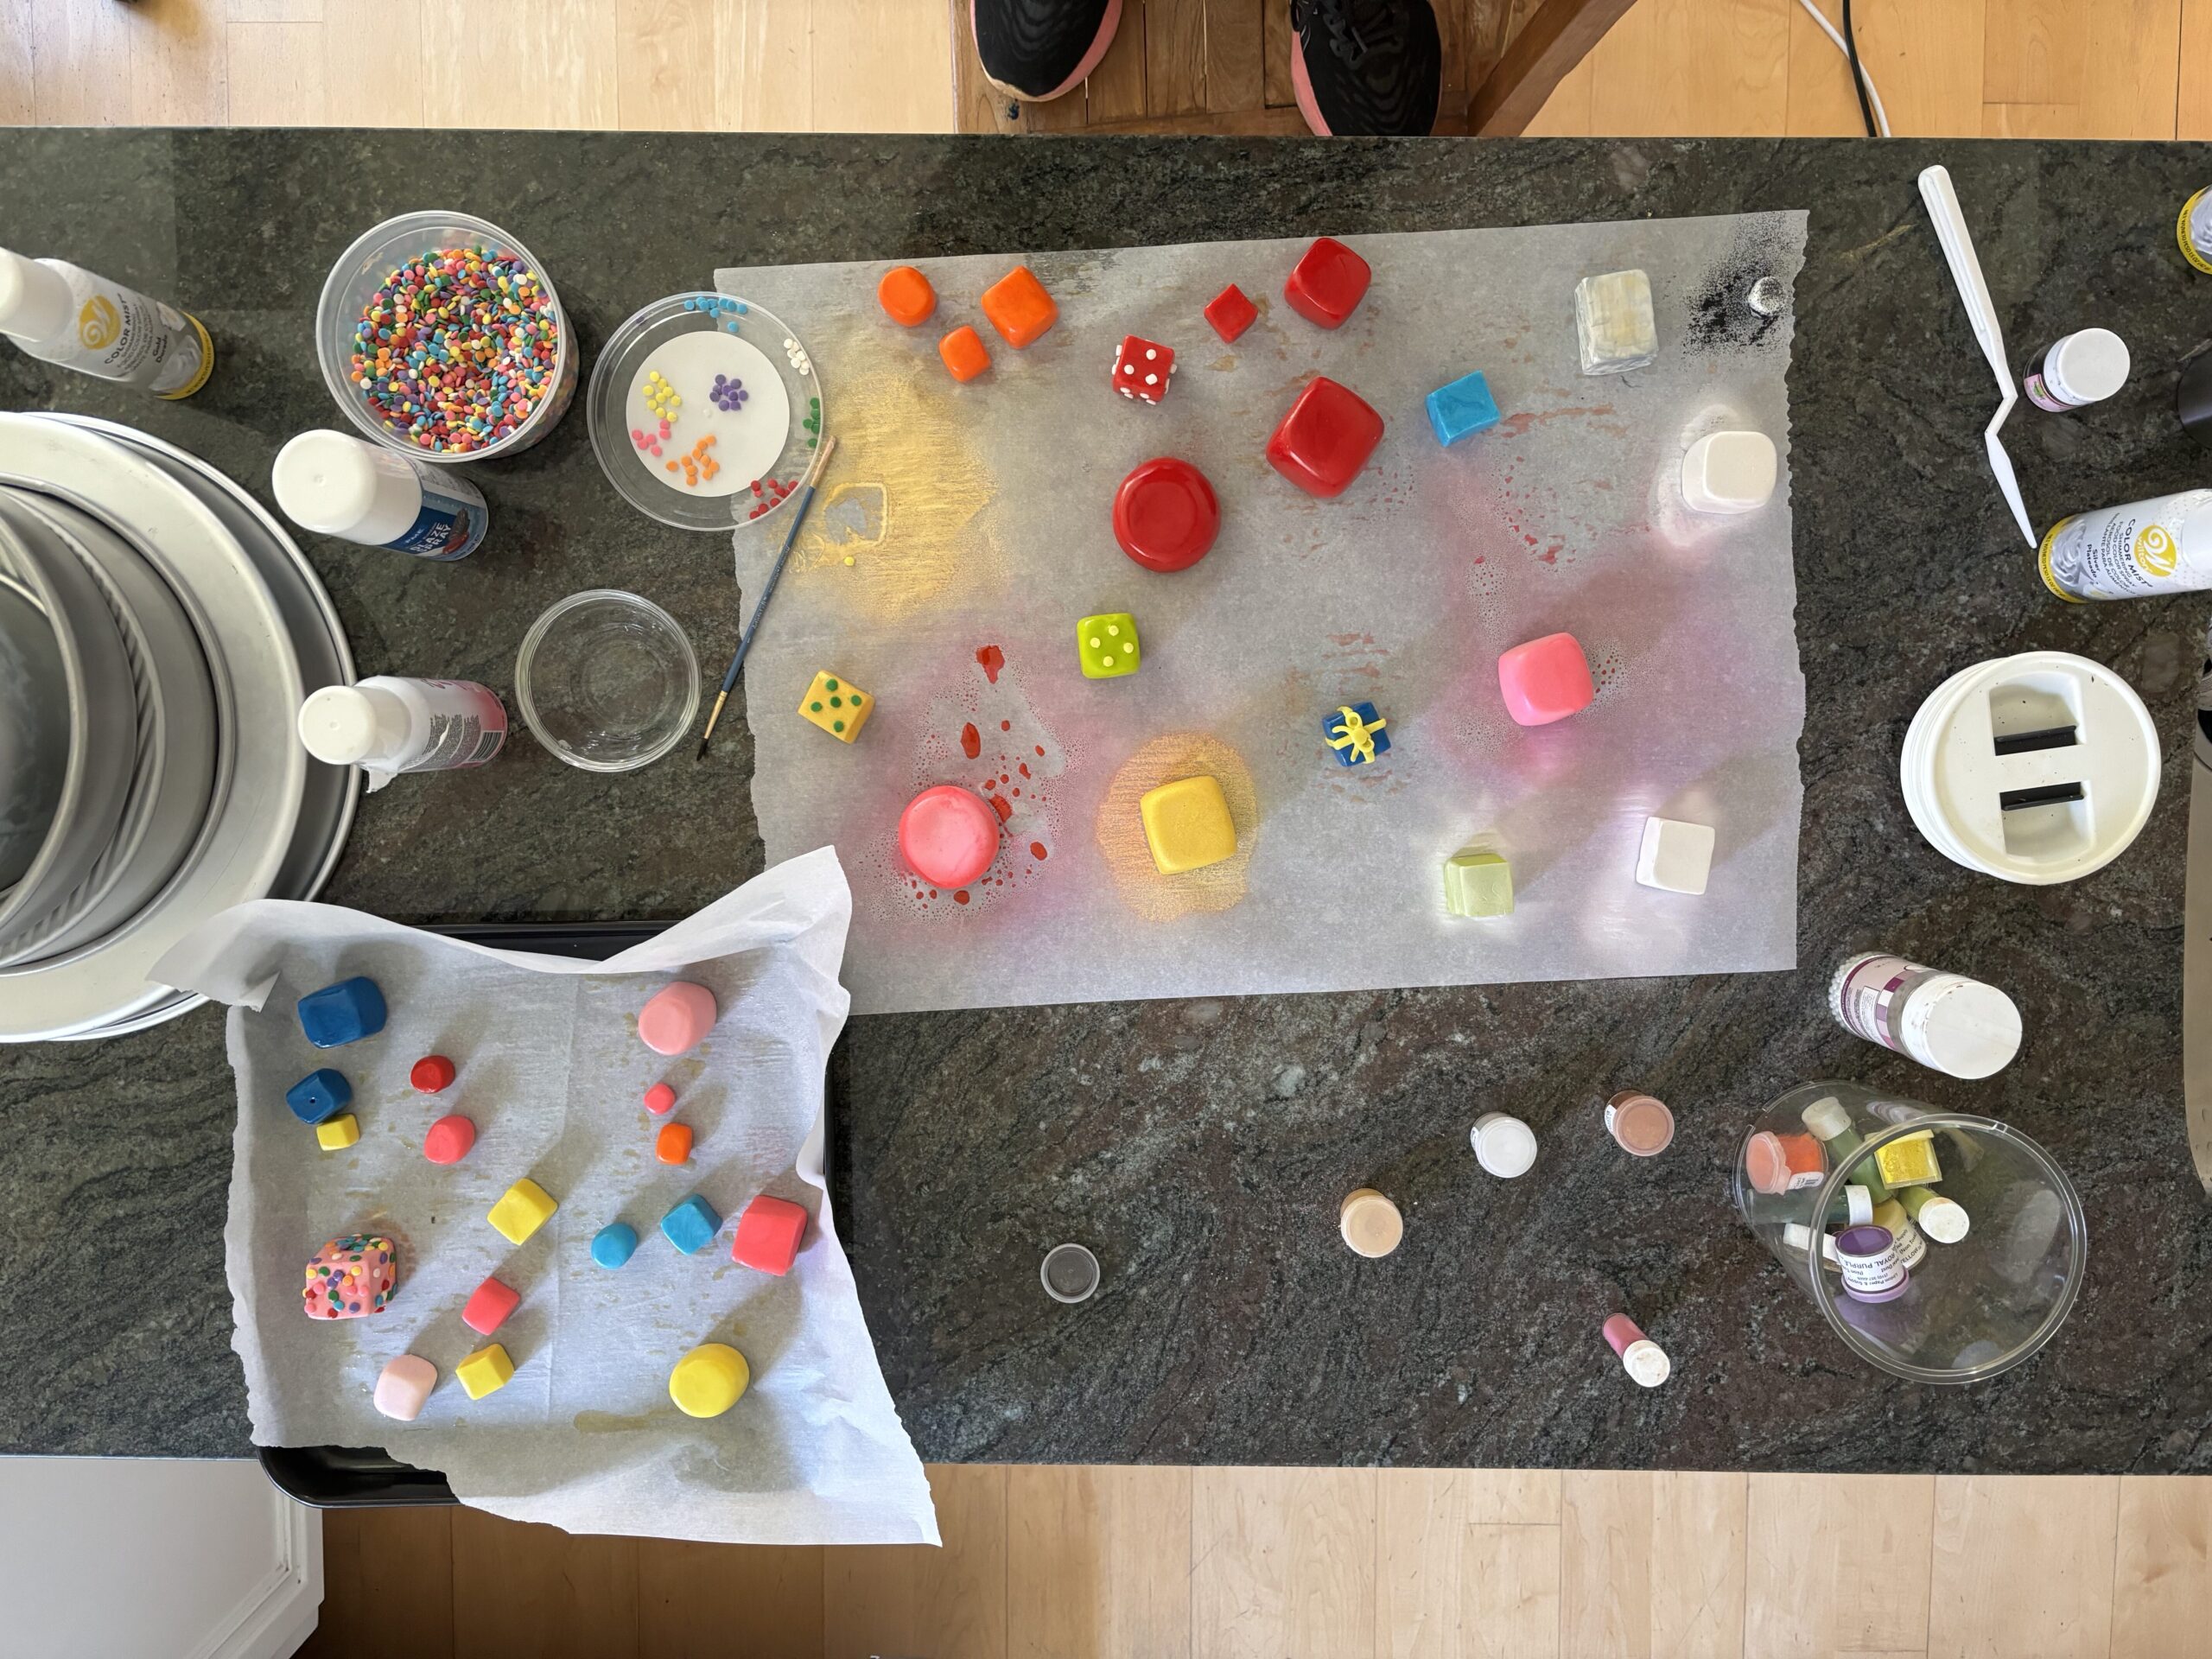
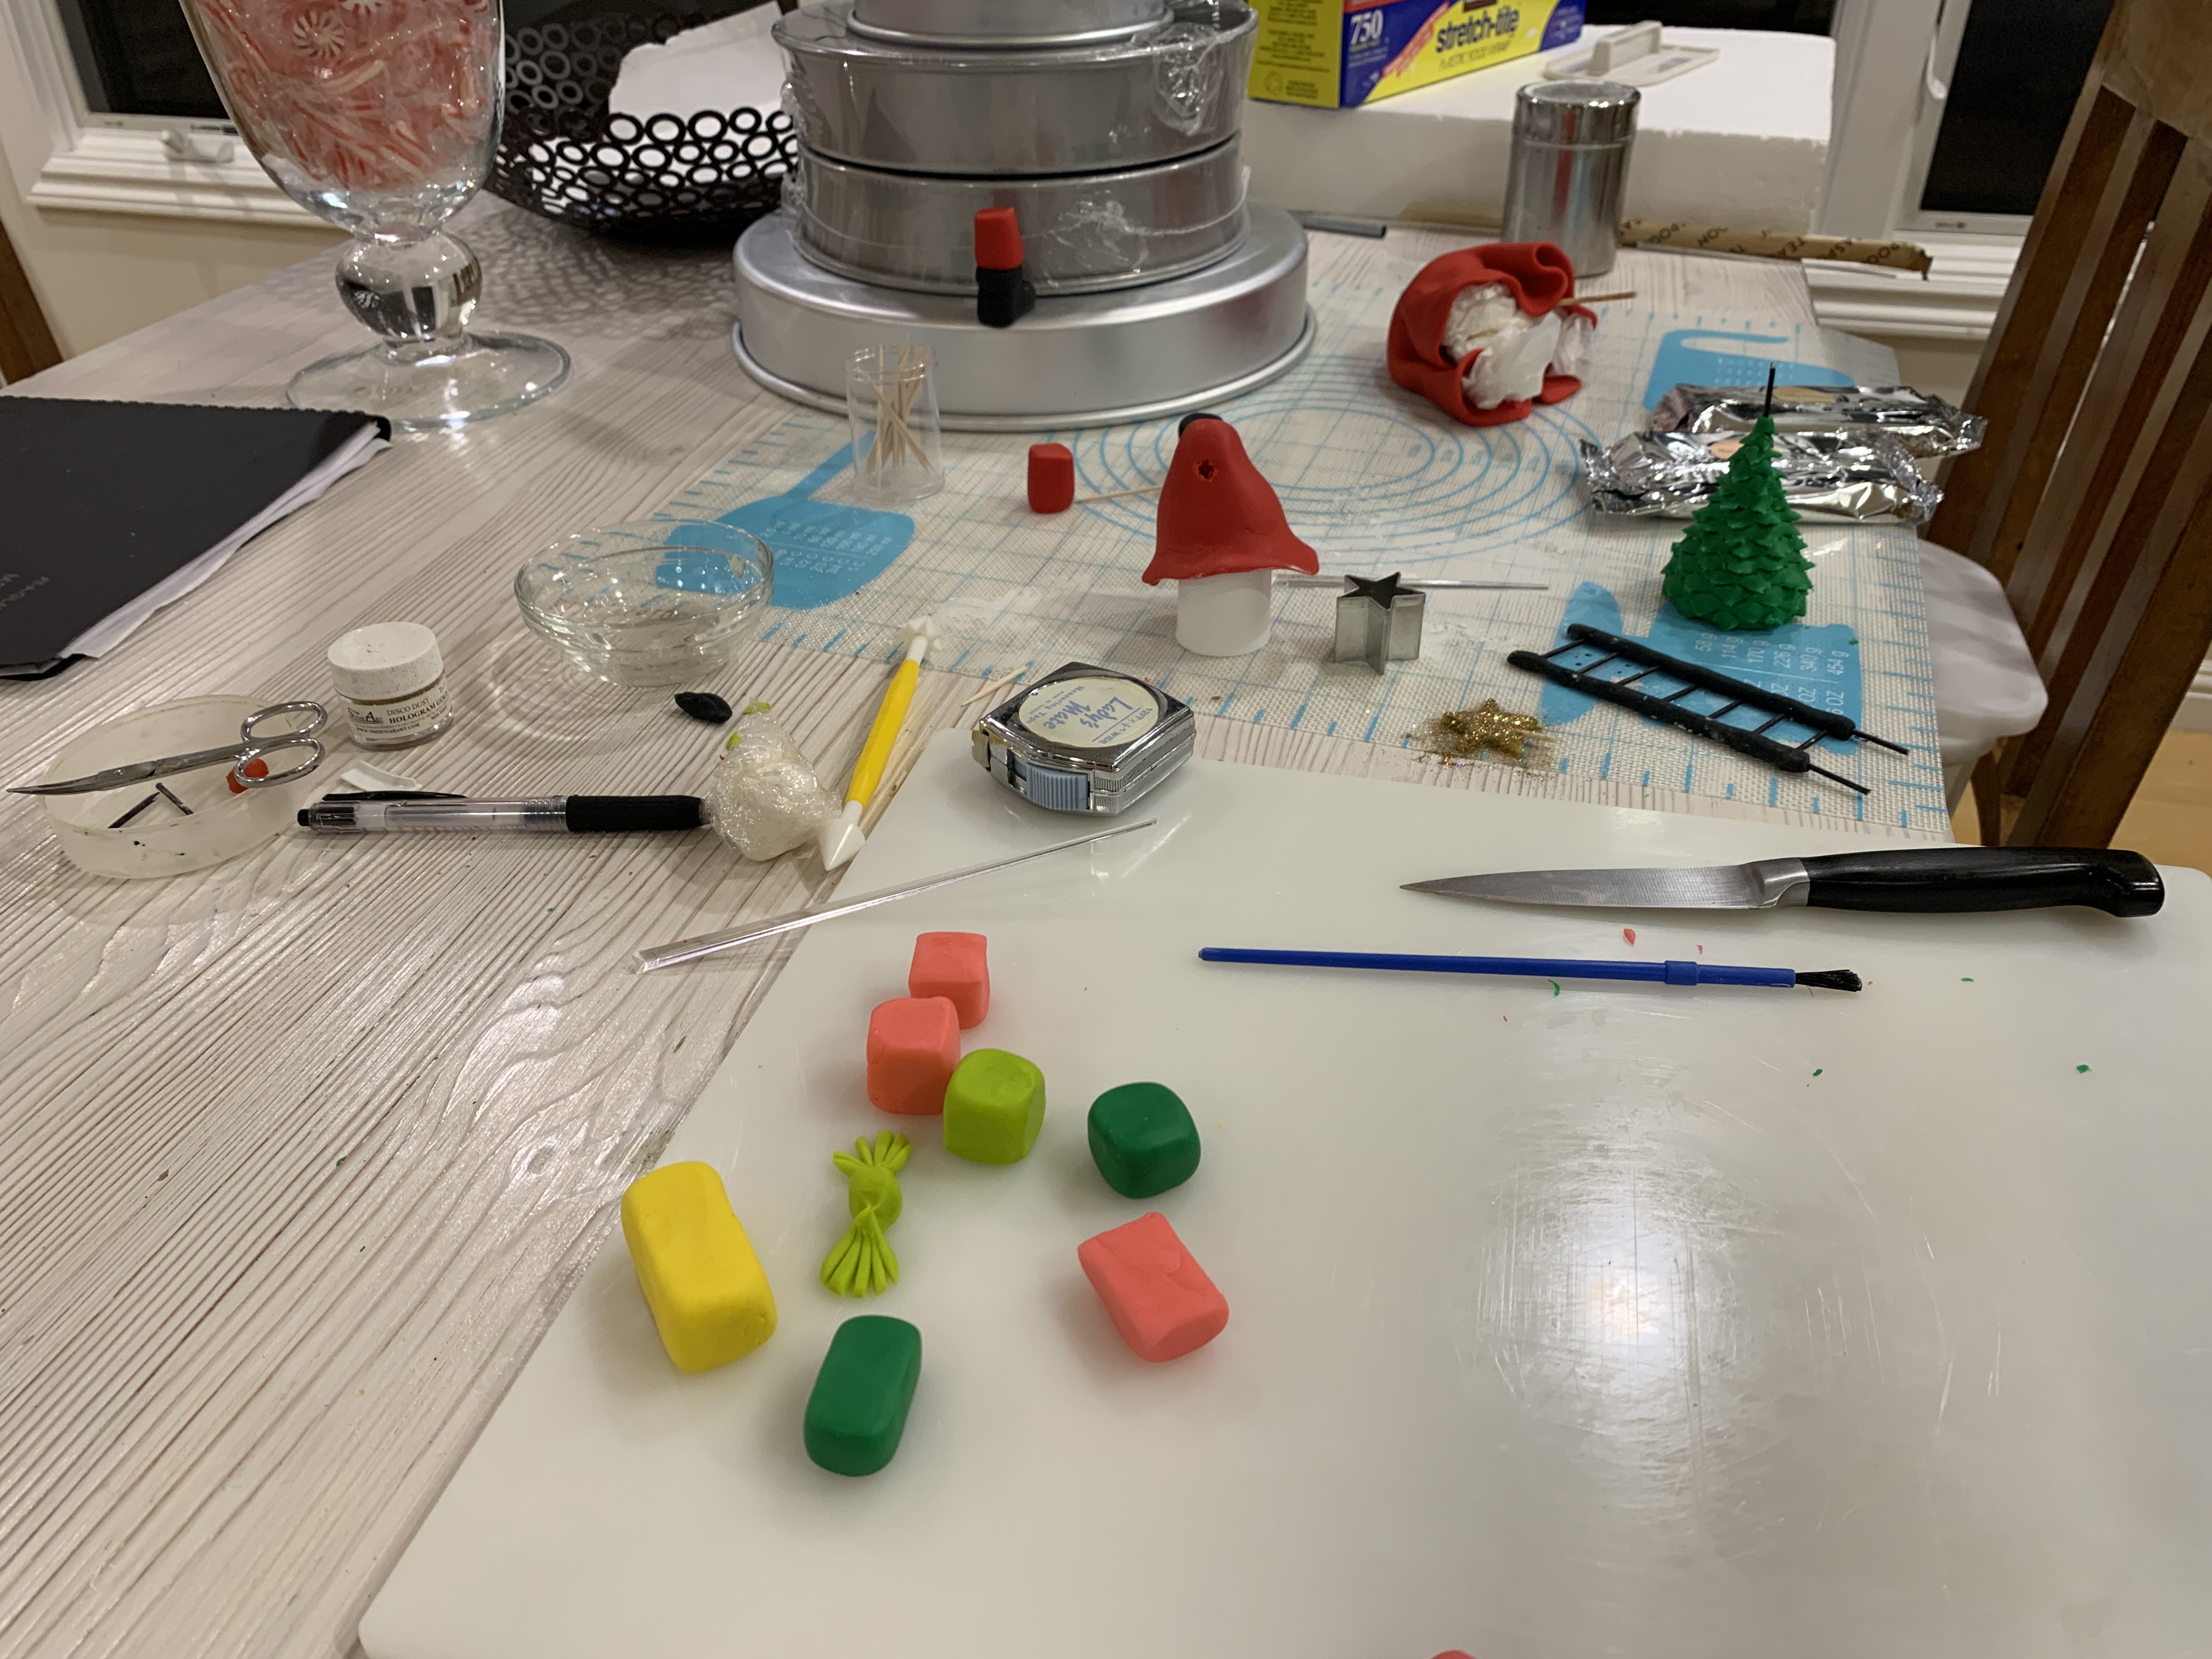
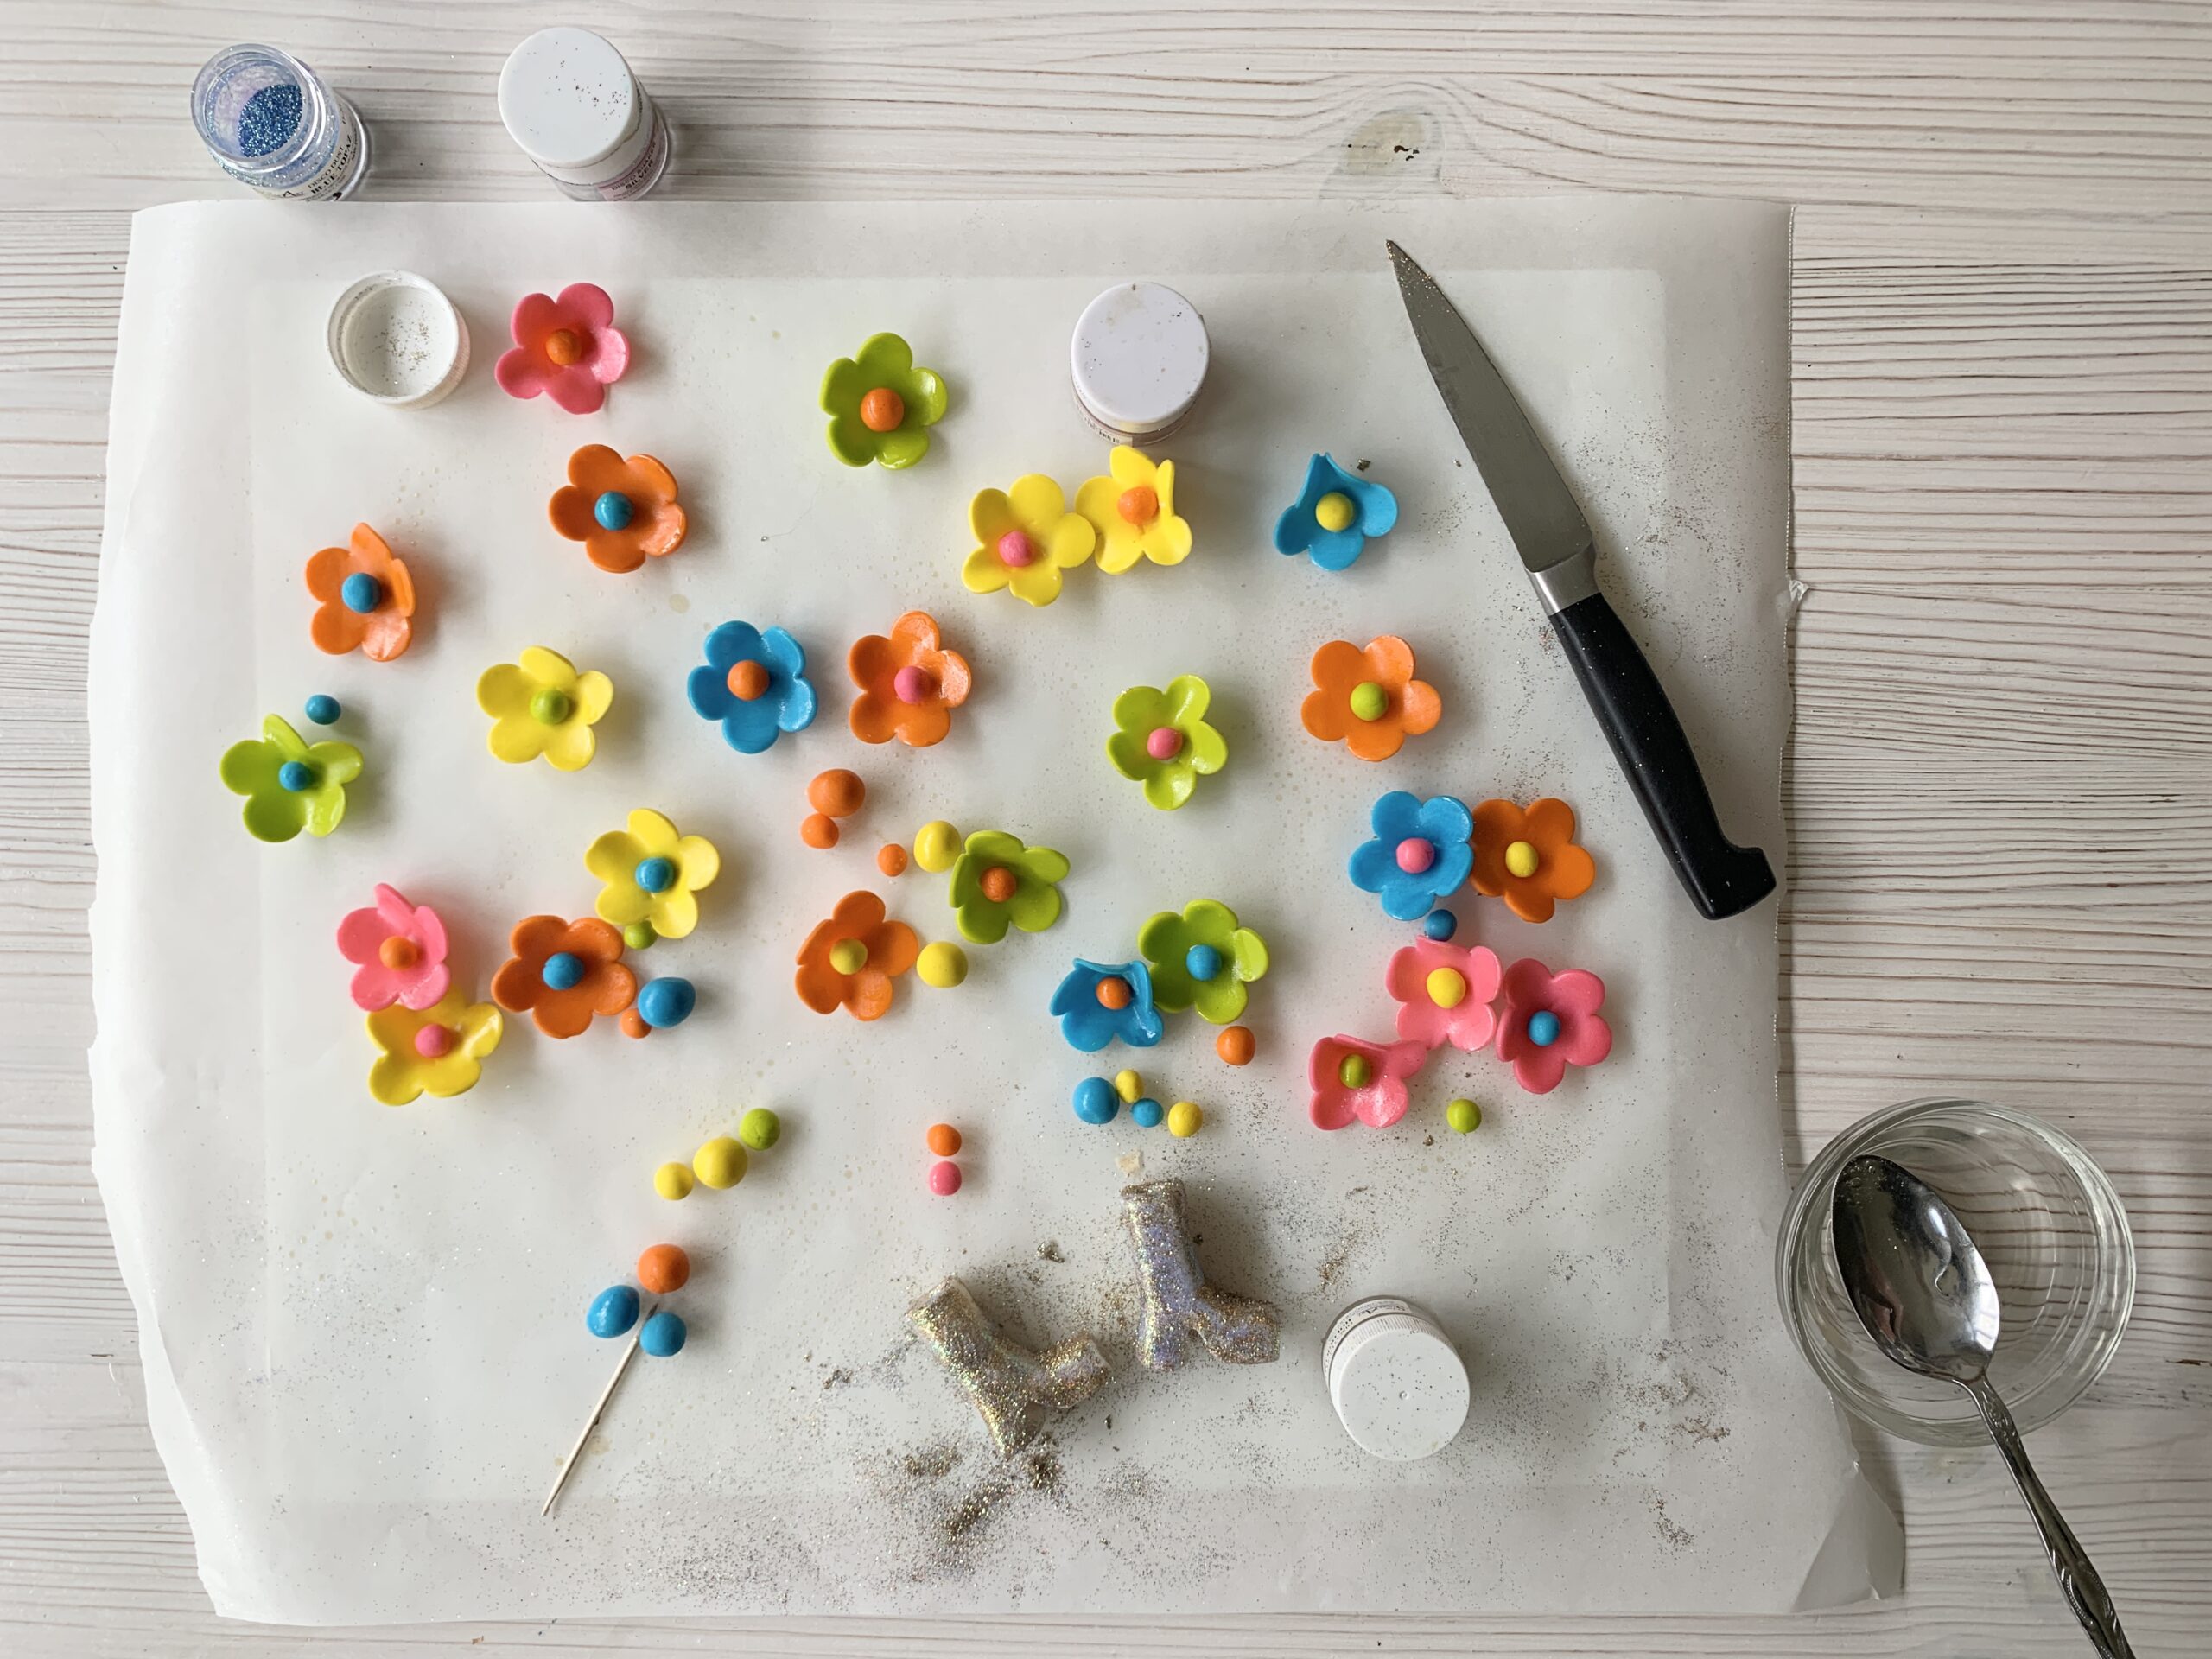
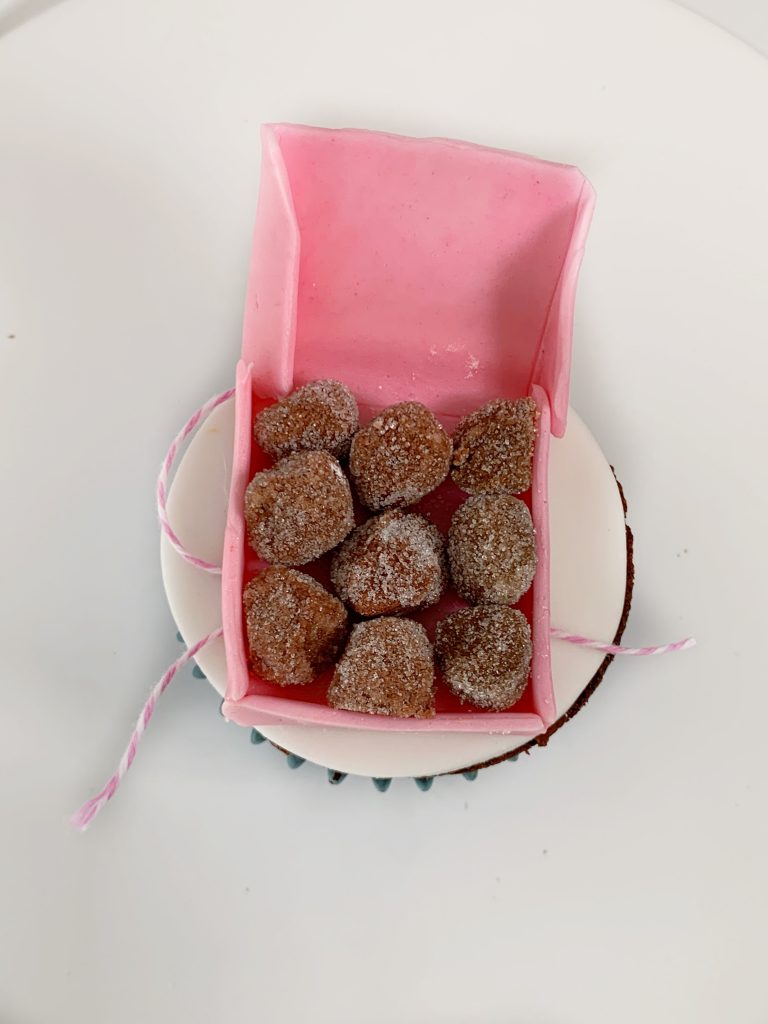
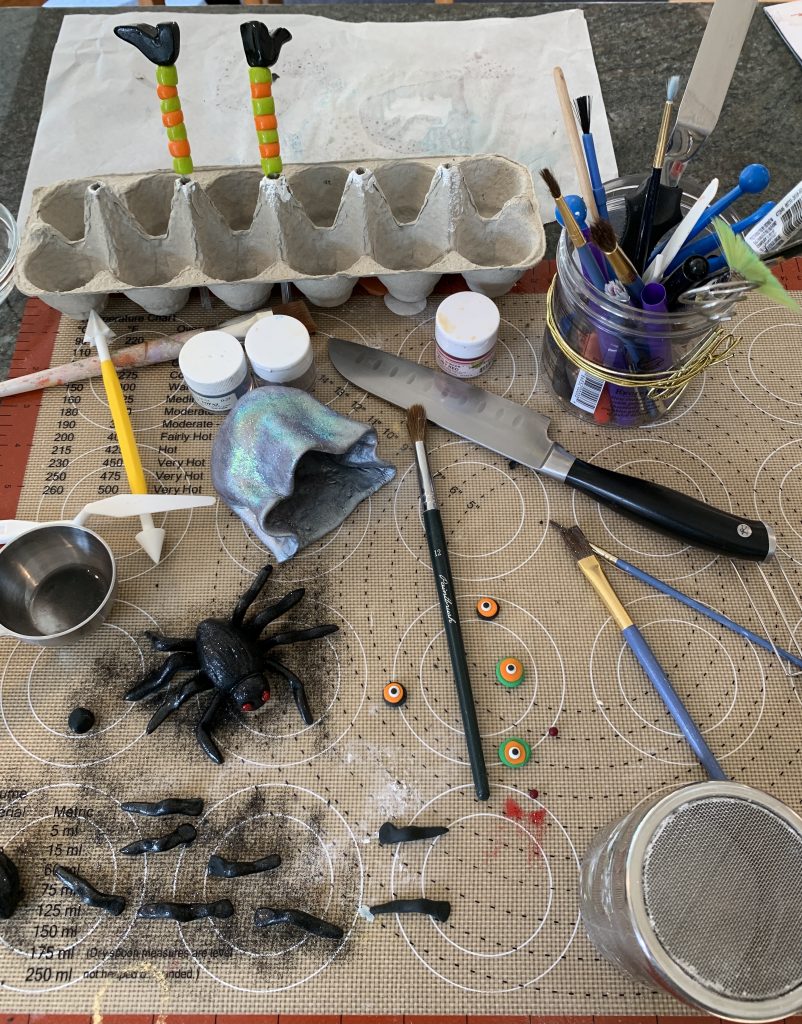
Above are the “pre” presents. I didn’t know how many I would eventually need or want, so I just kept making them while watching The Great British Baking Show for overall baking inspiration.

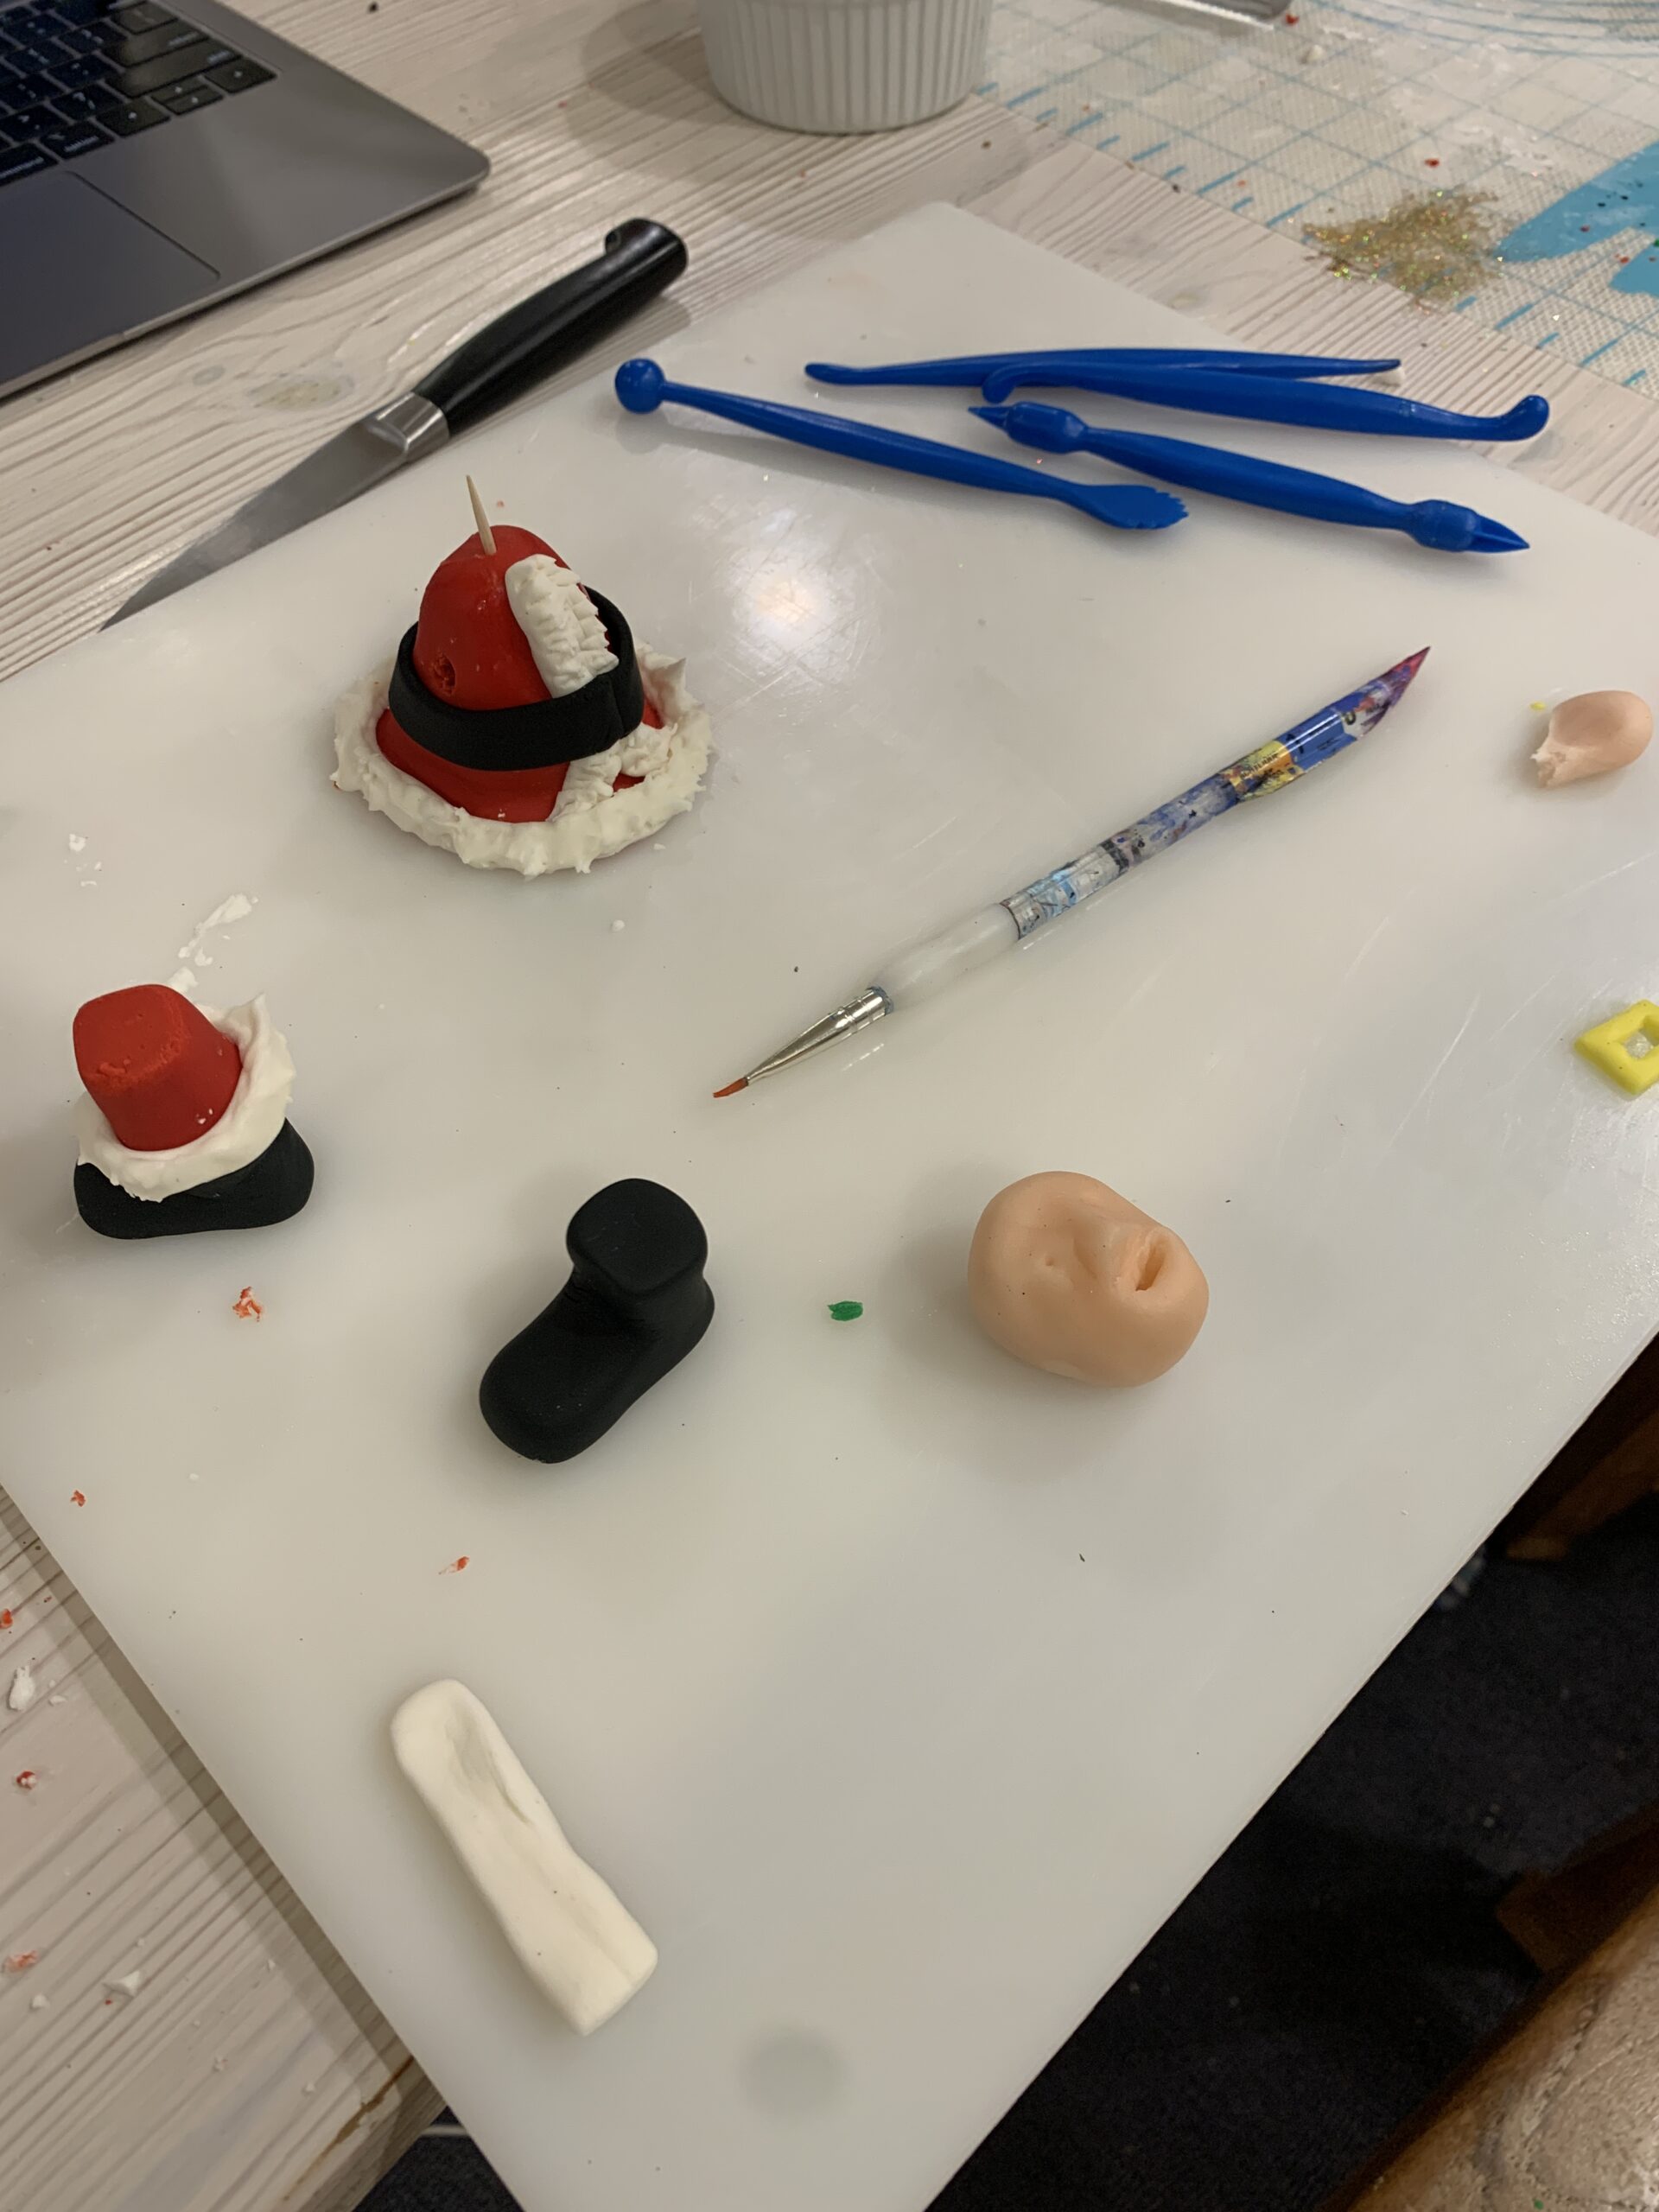
Creating Courtney
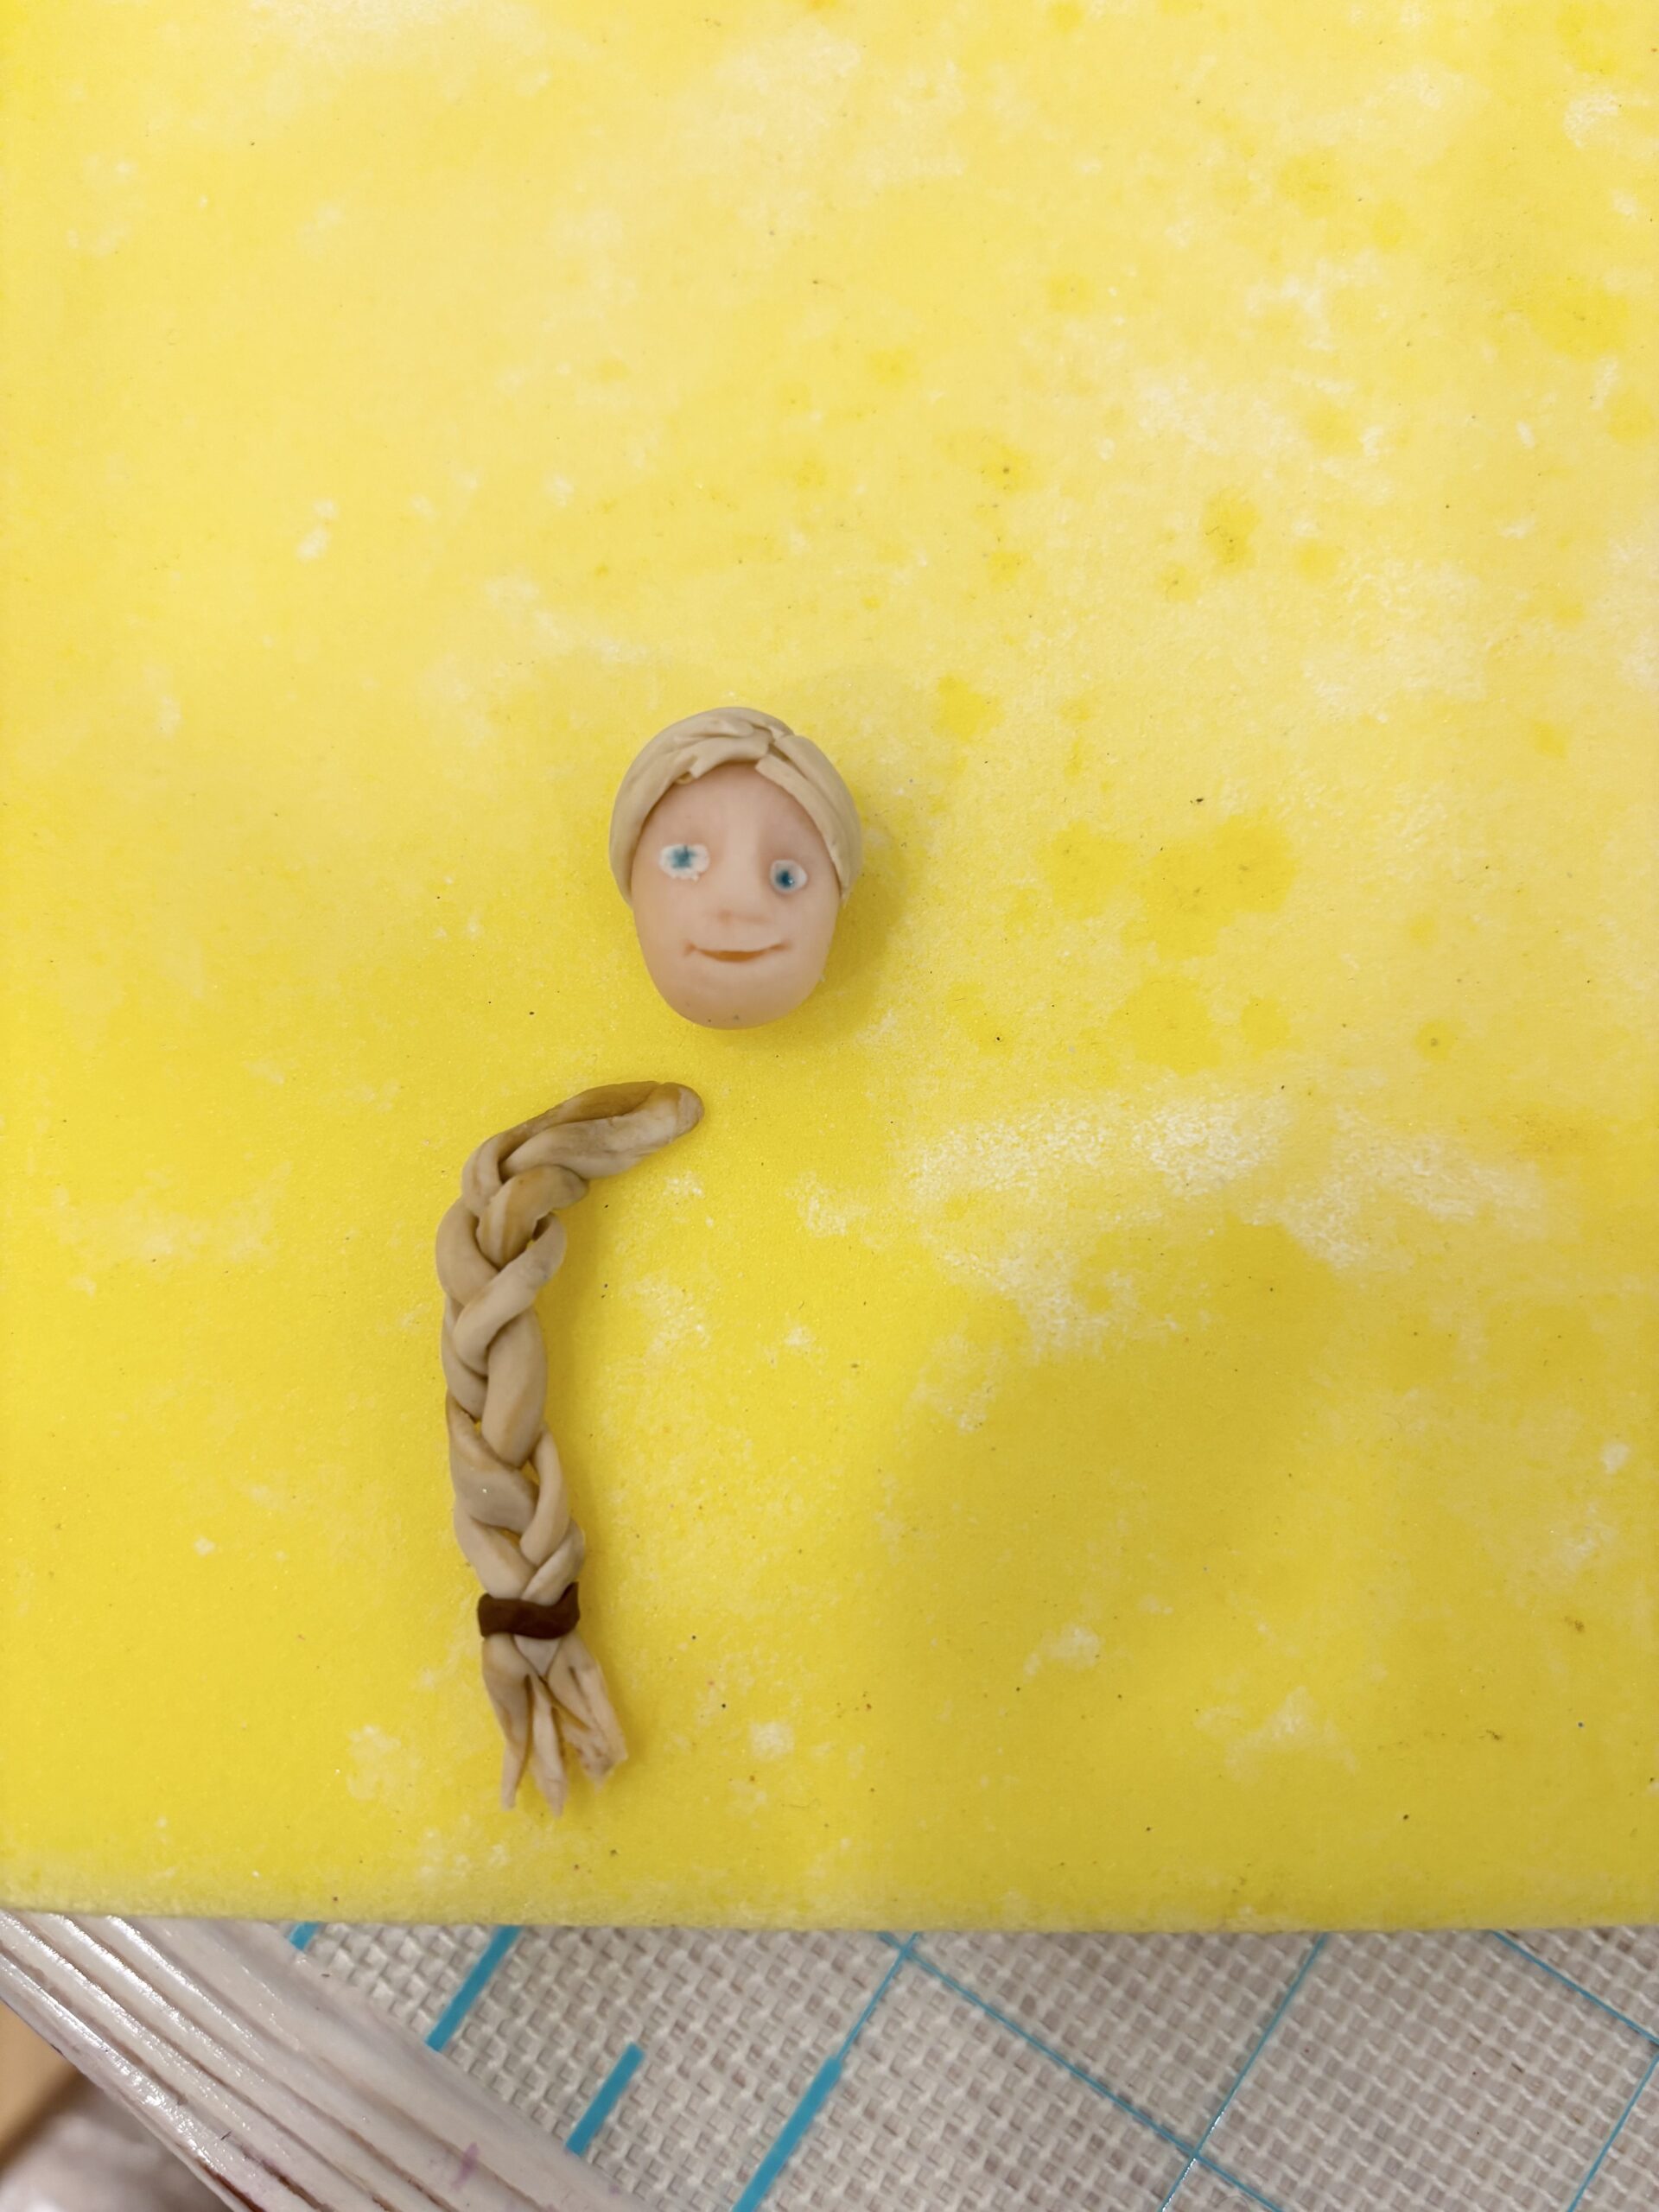
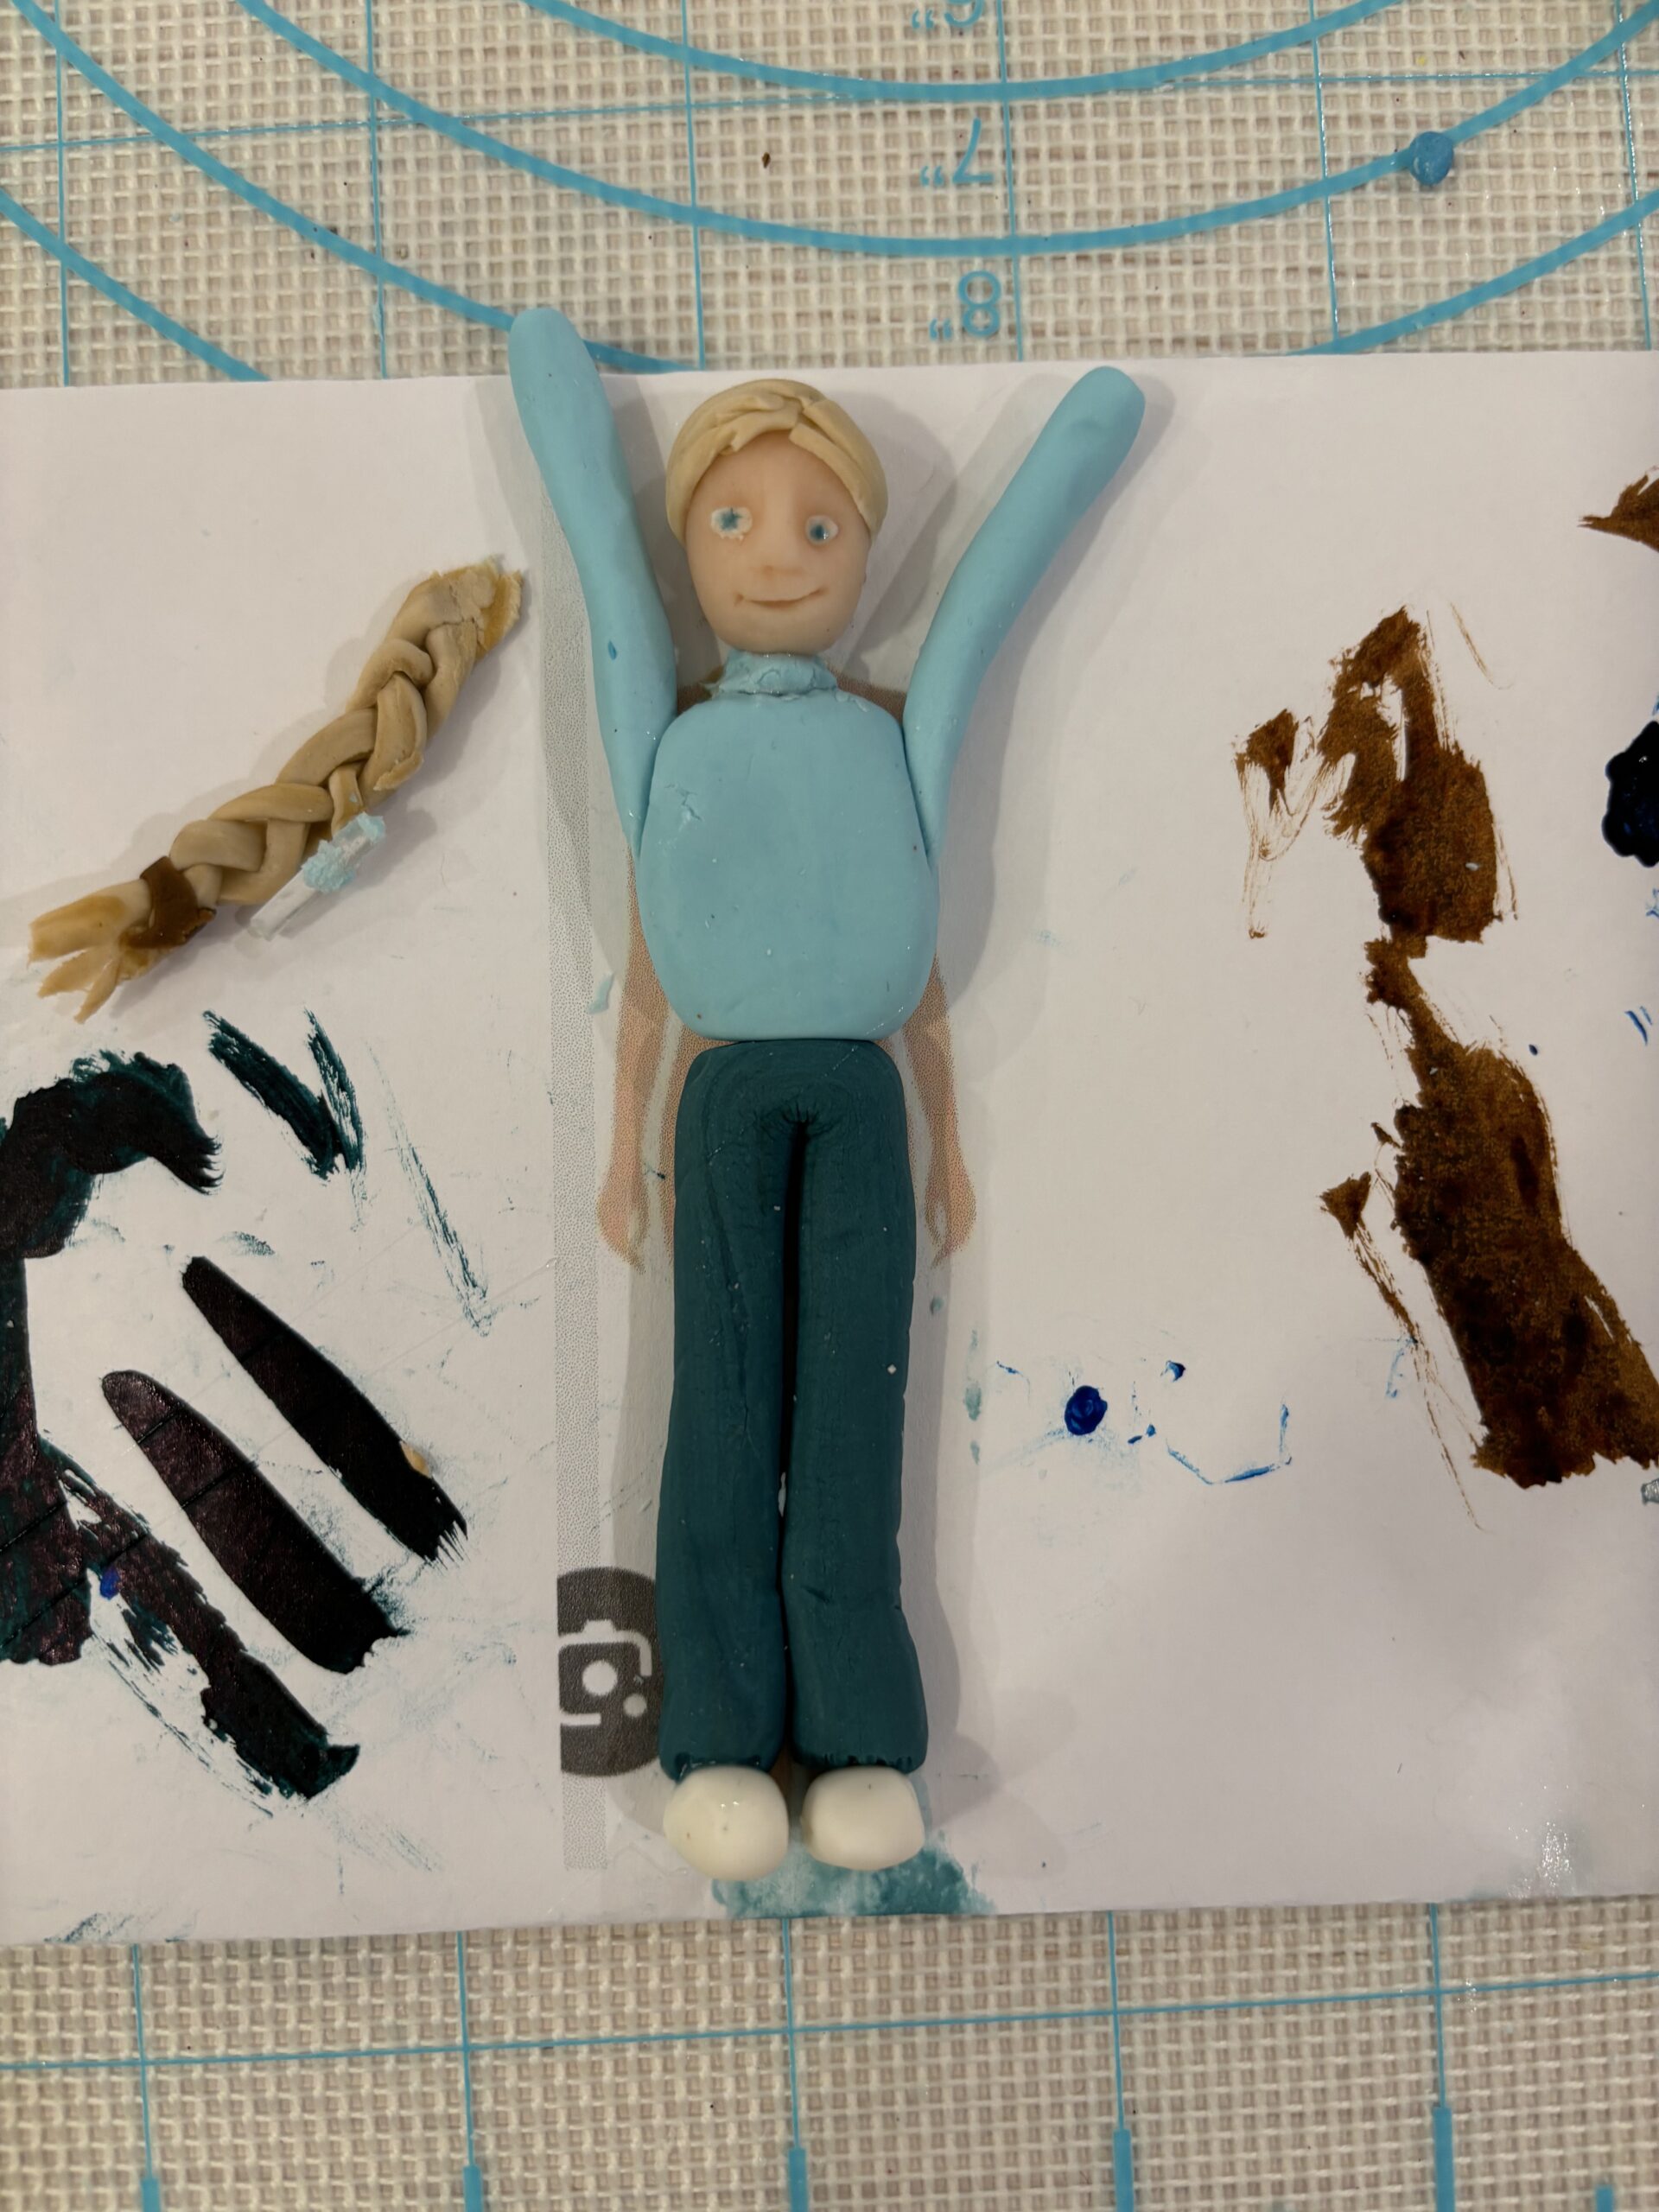
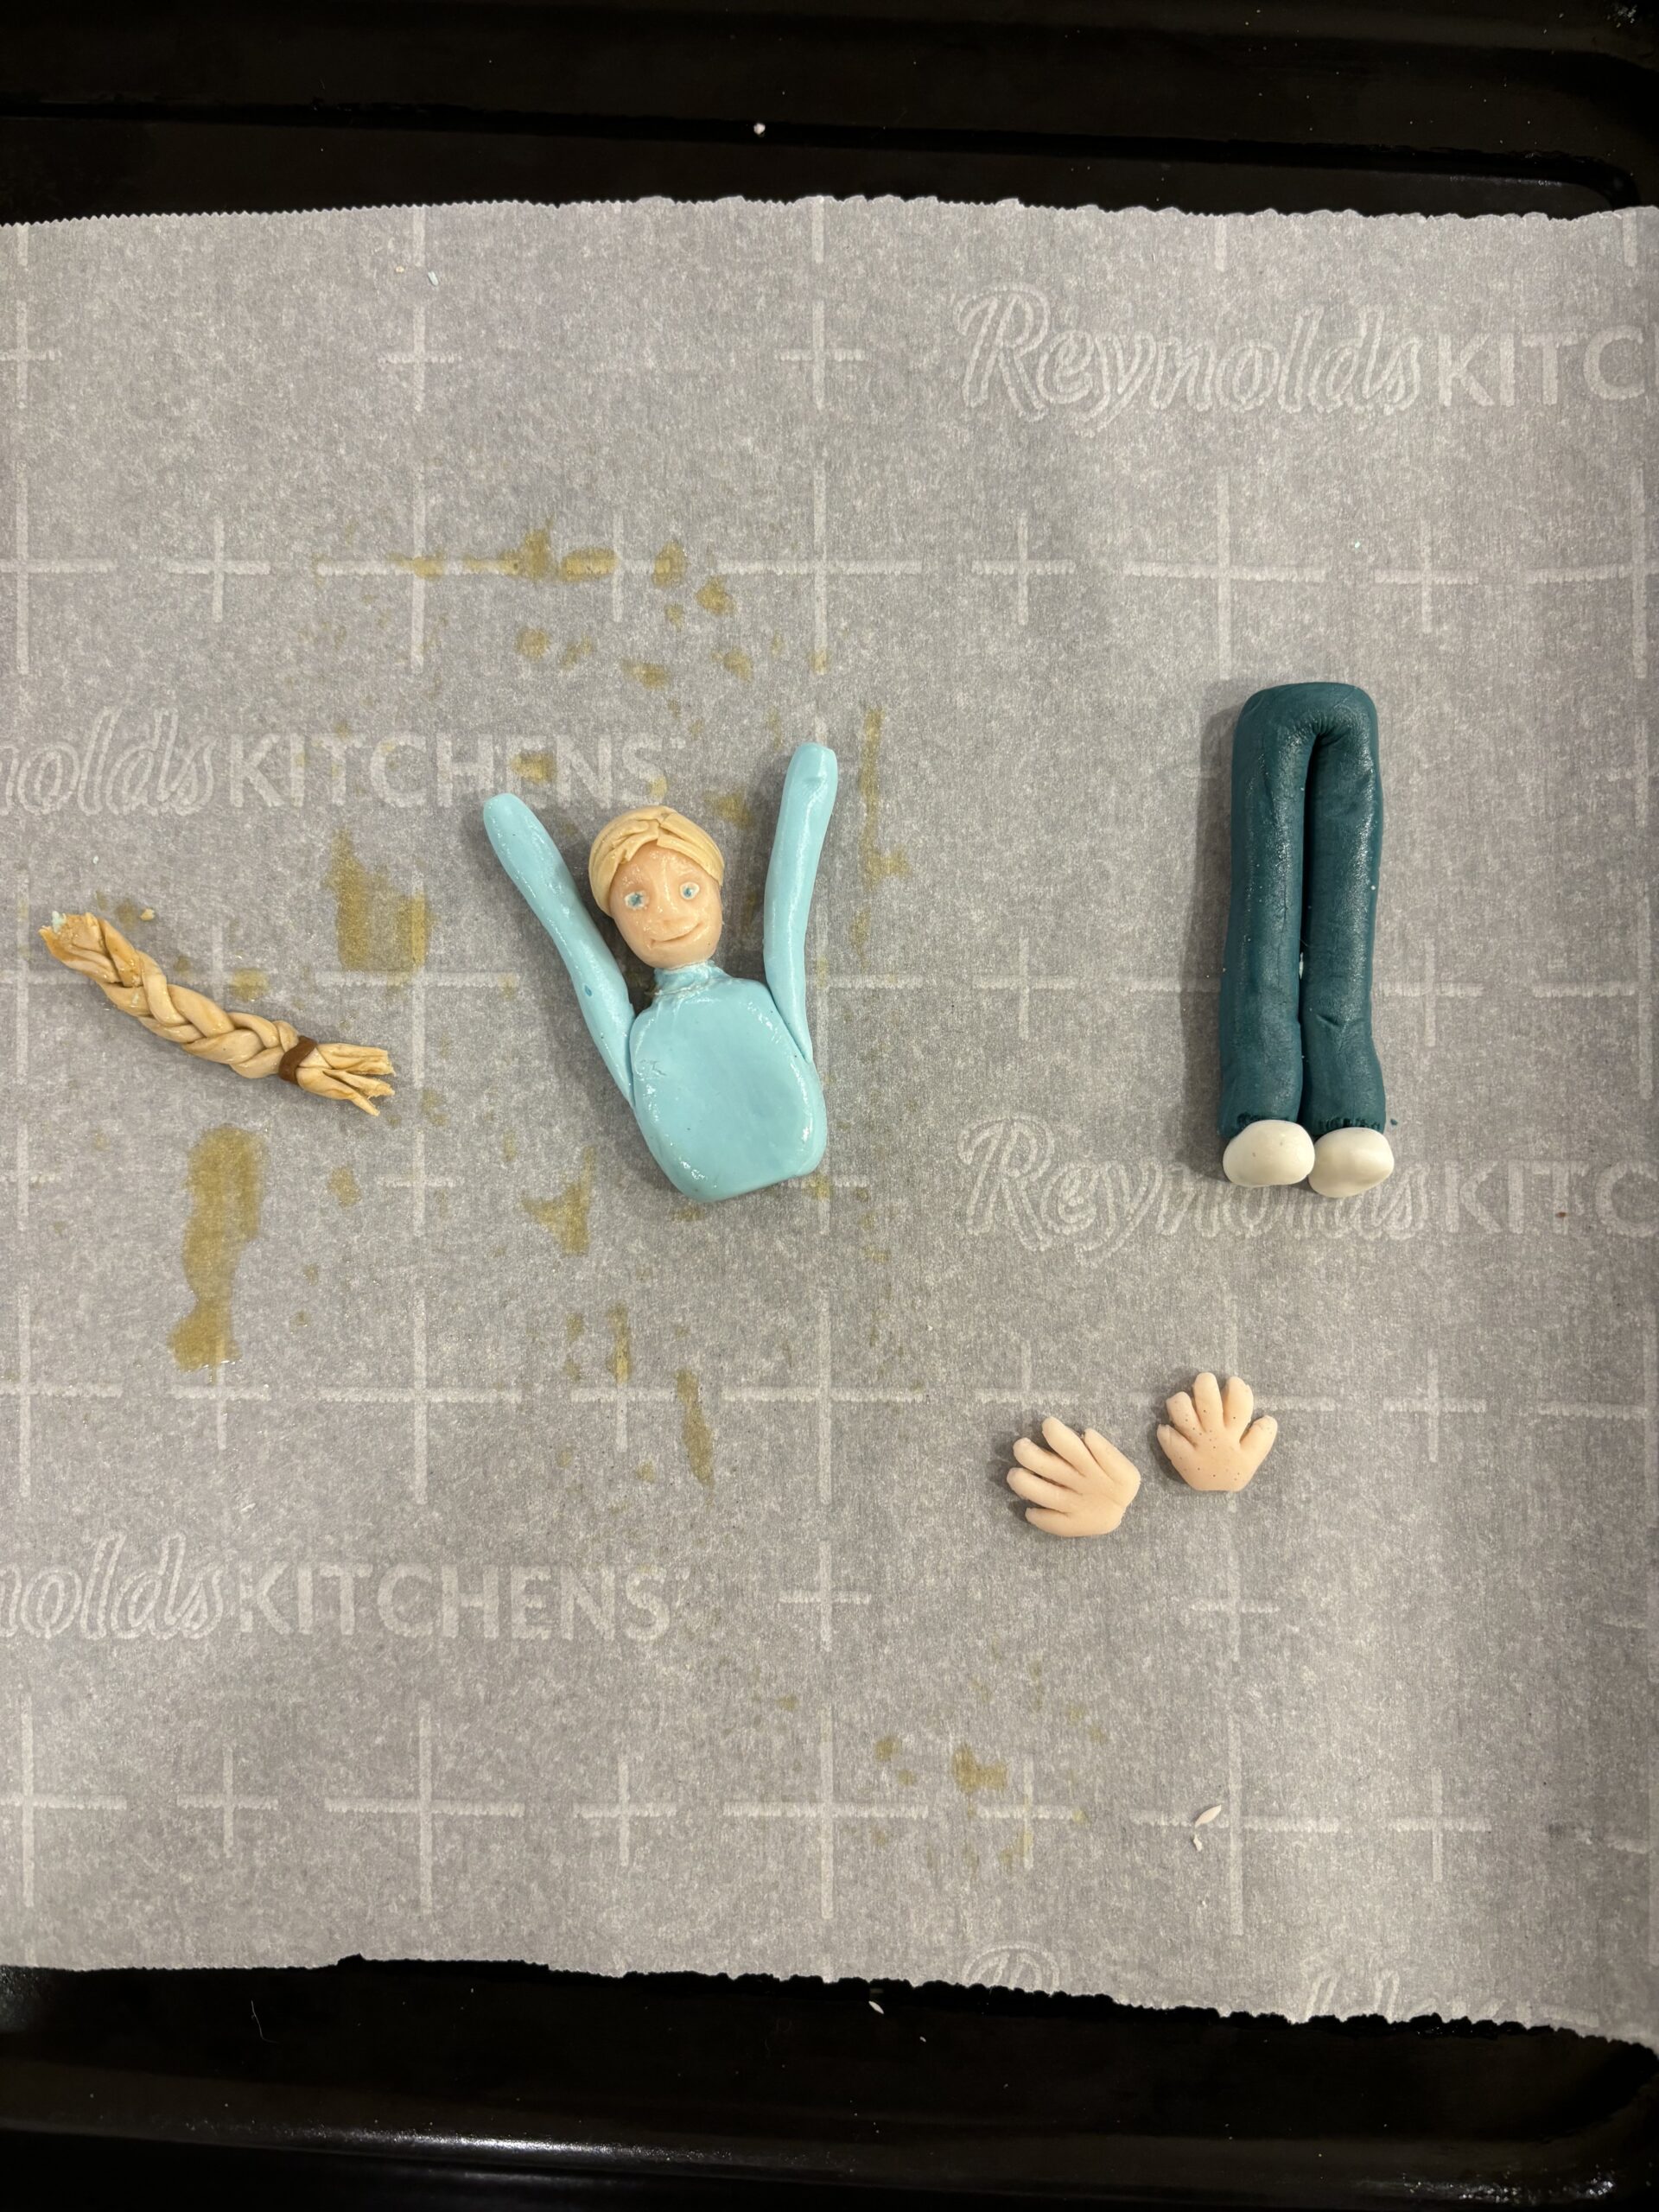
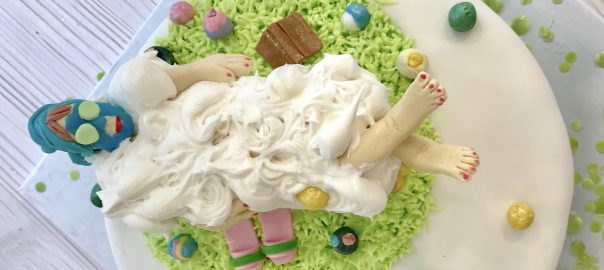
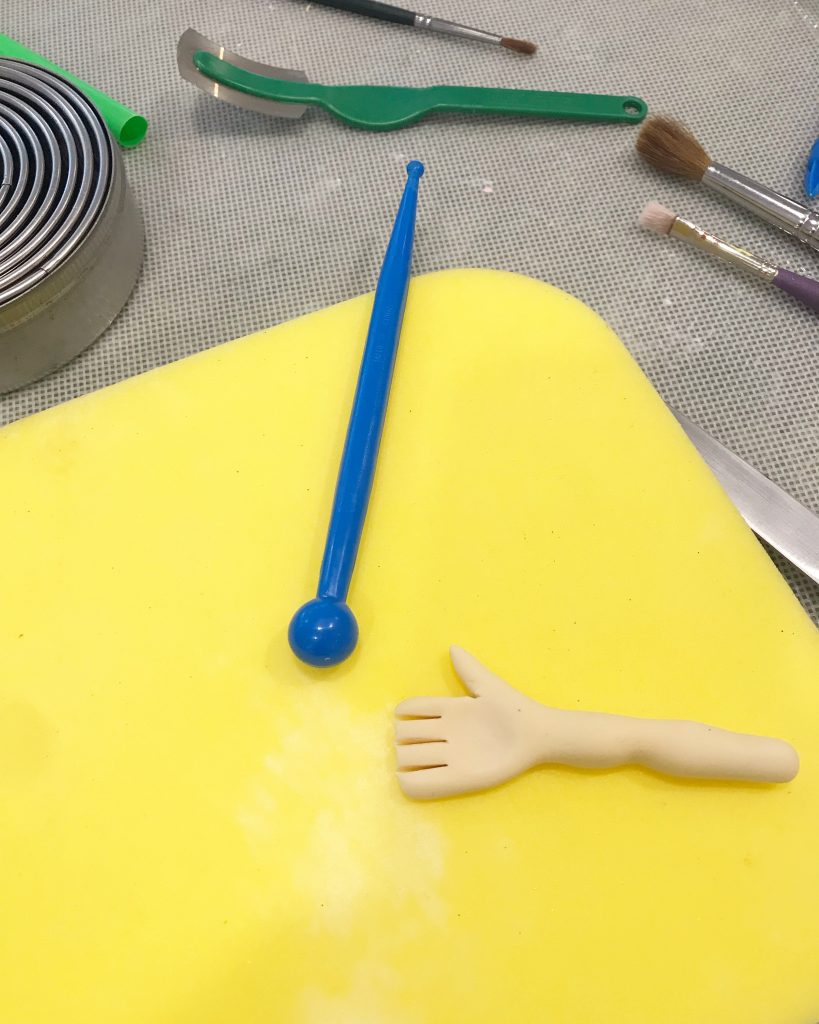
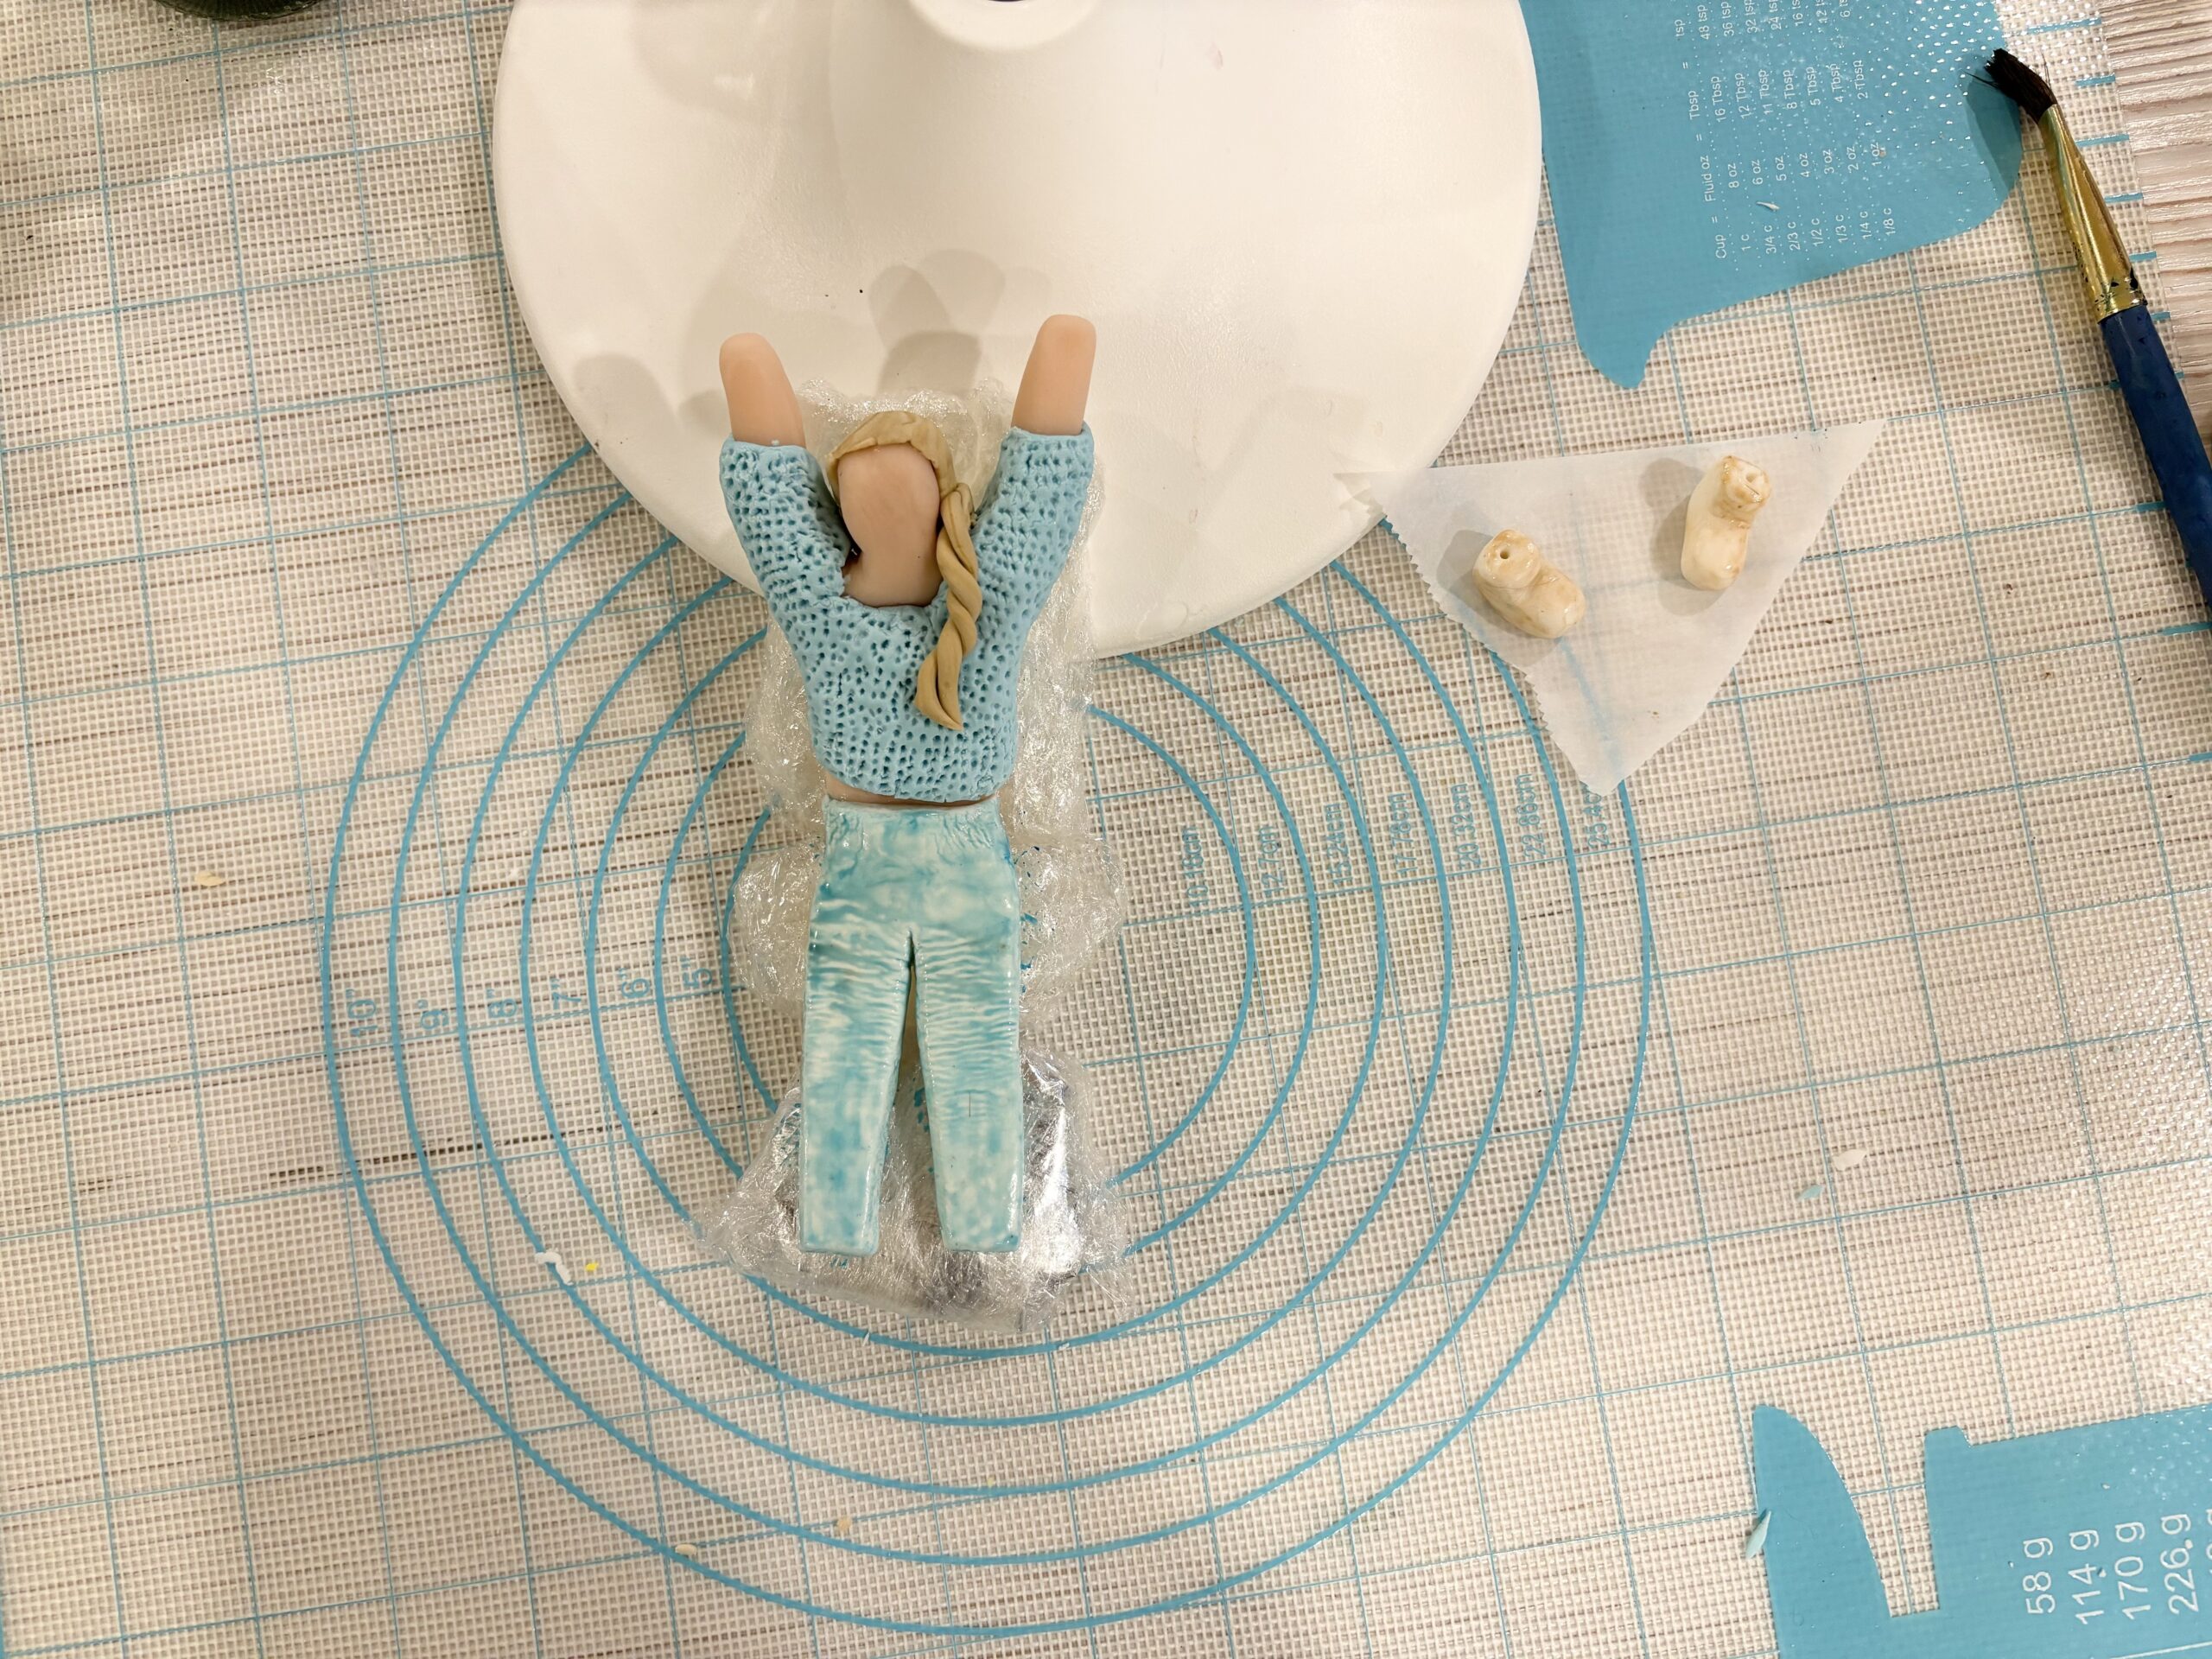
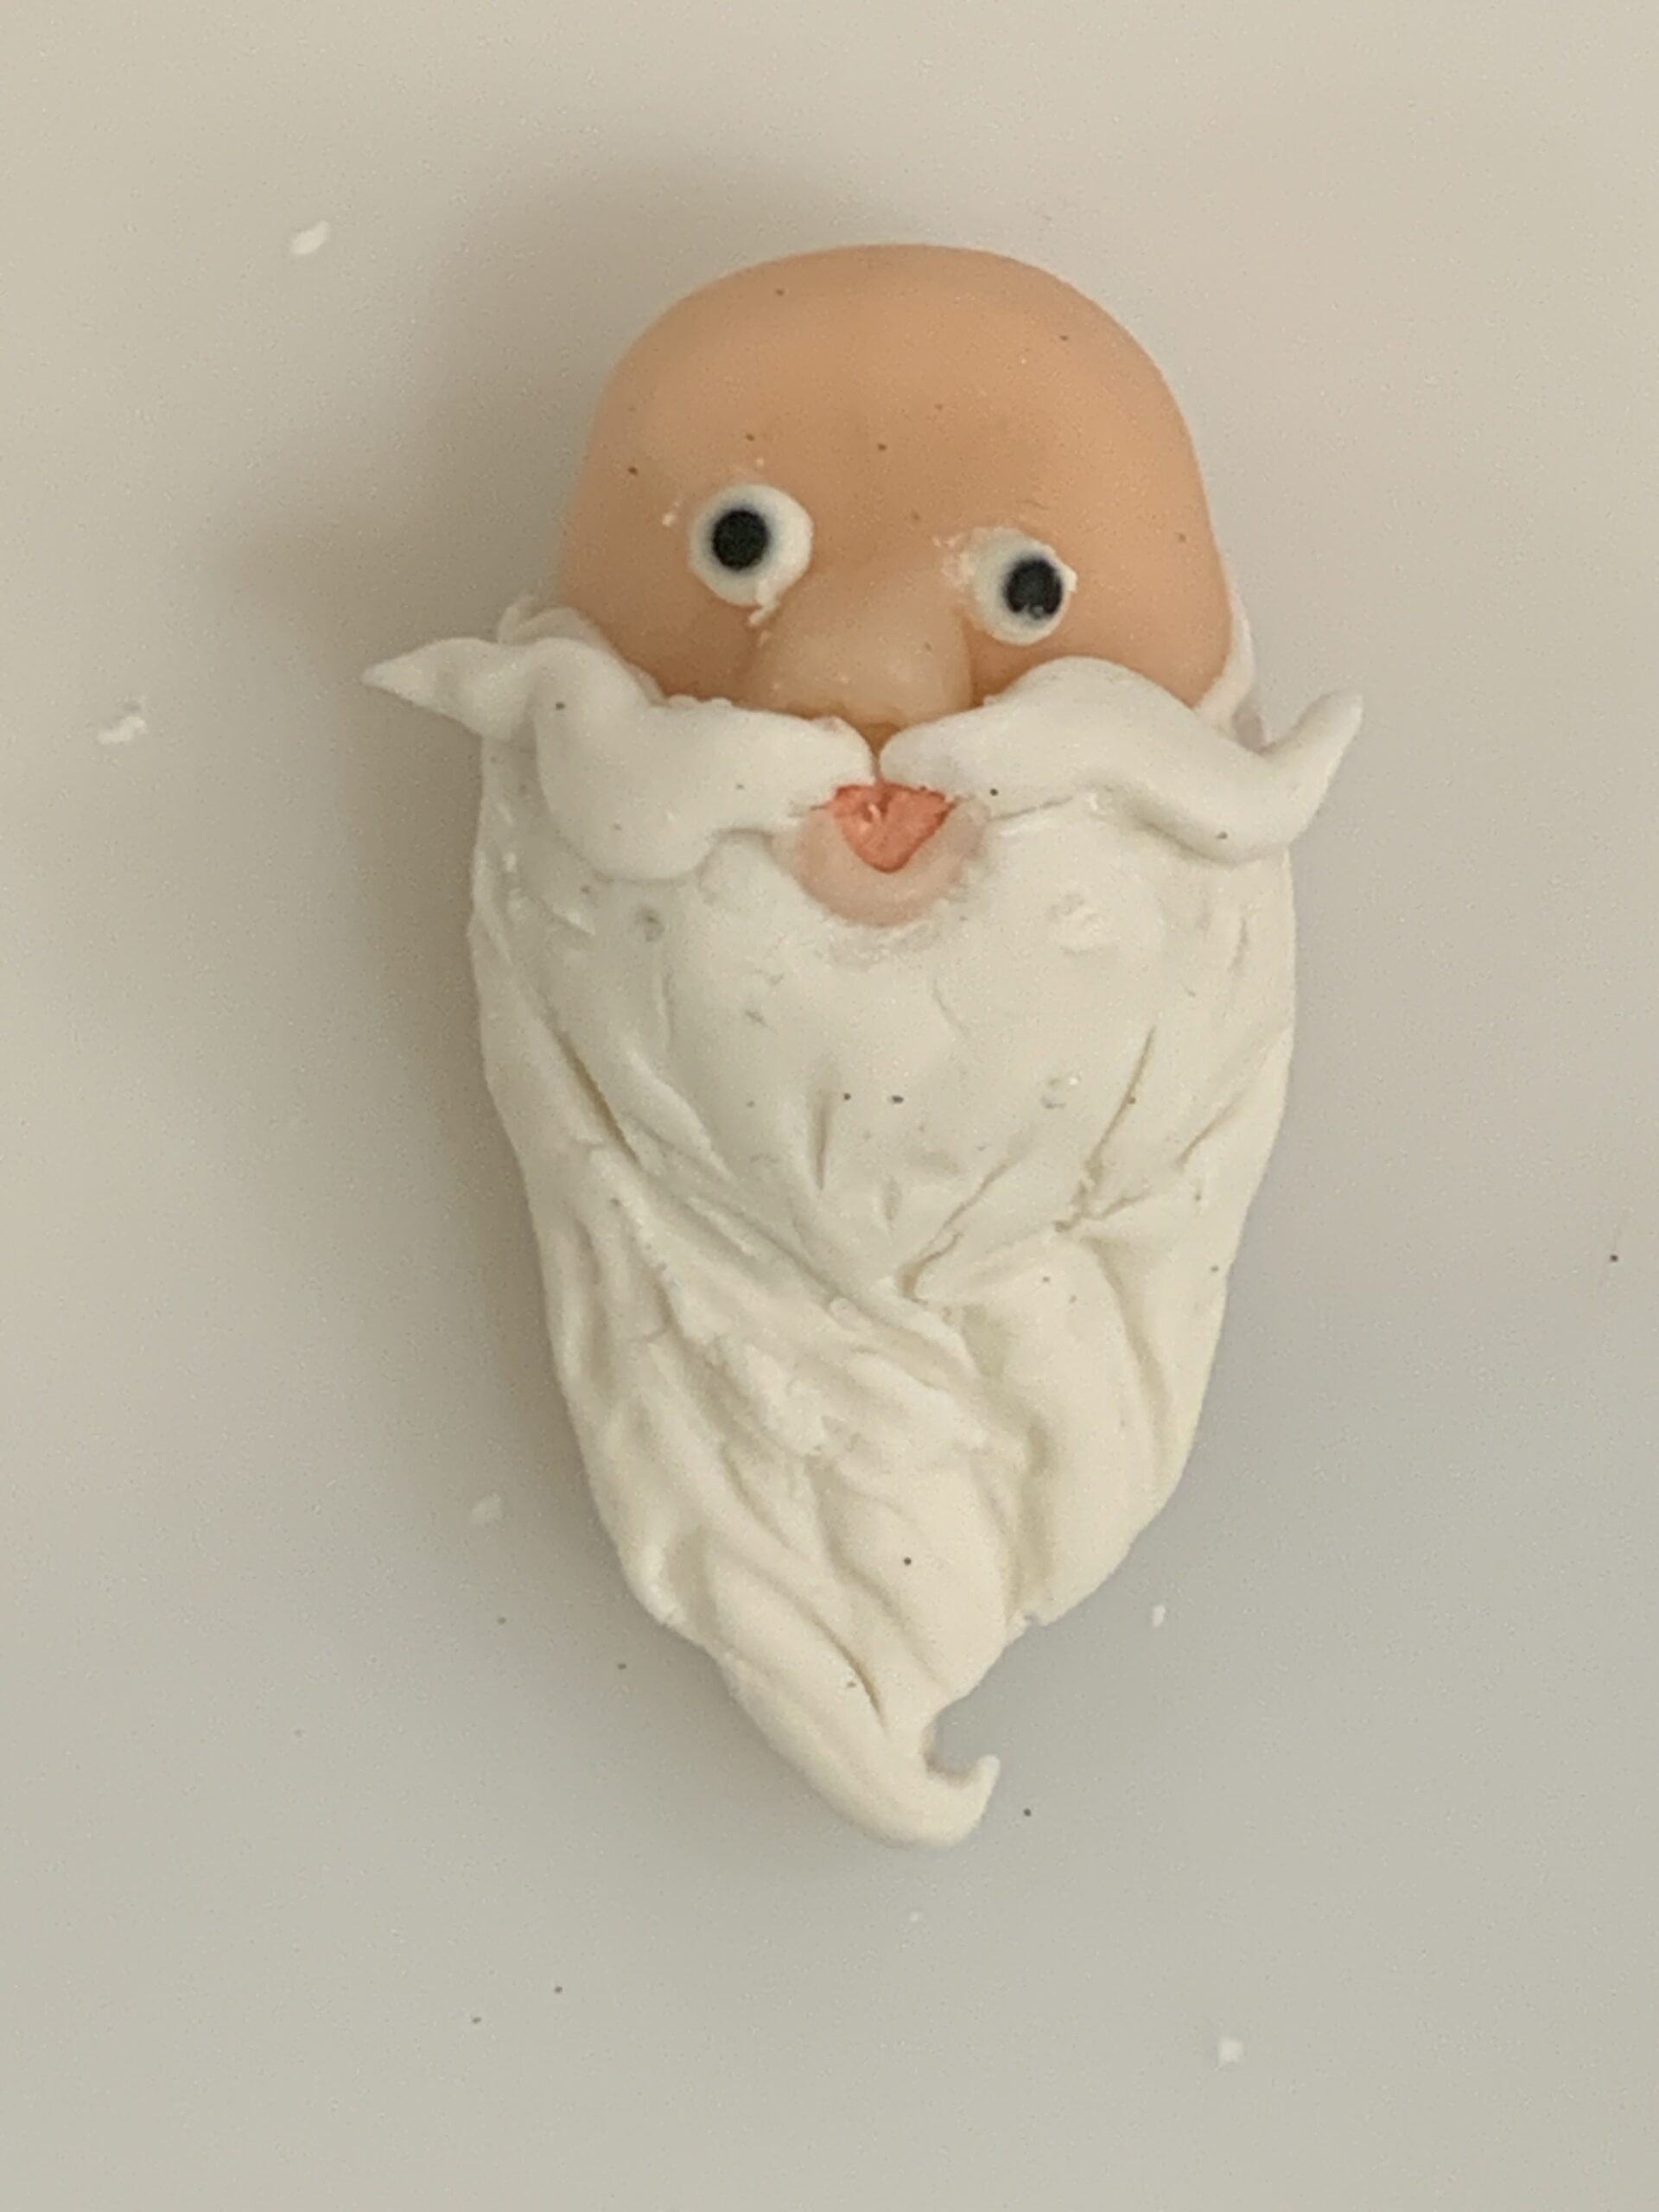
It took me a long time to figure out how to make a tiny “lifelike” version of Courtney. Let it be known, my first iteration looked like this (see below). Not *terrible*, but far from great. And definitely at least 3x as large as it needed to be. I also had no plan for how to create Courtney’s delicate face, so I followed along with a YouTube tutorial. After about ~5 tries, I came up with something loosely resembling a real person.
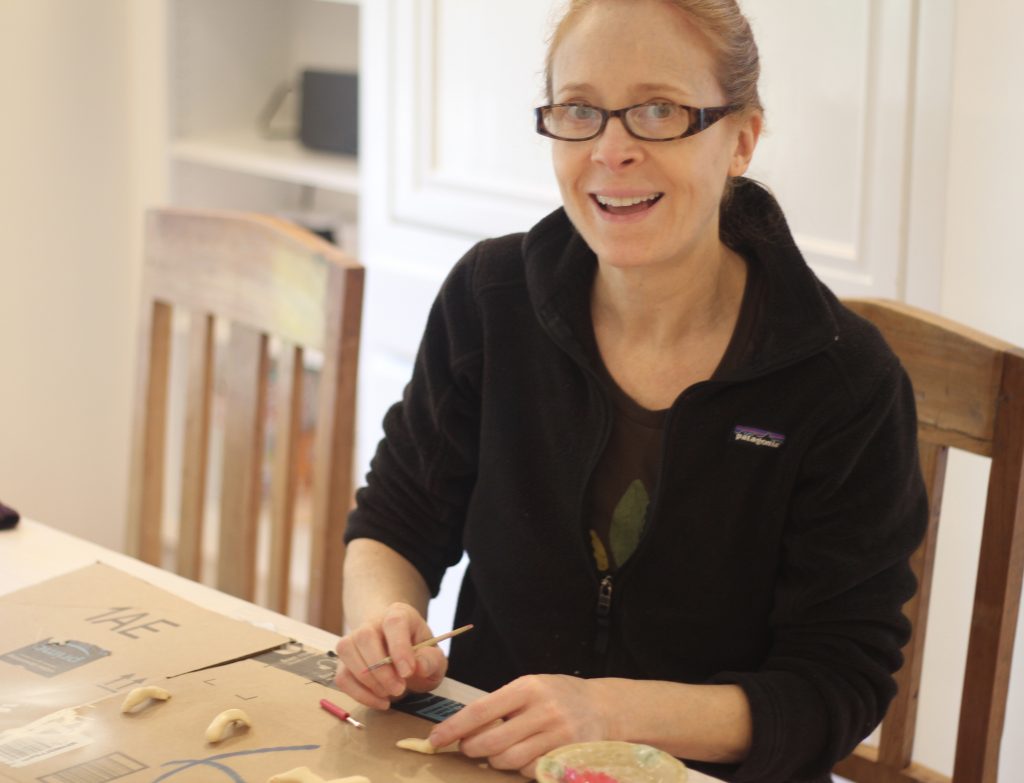
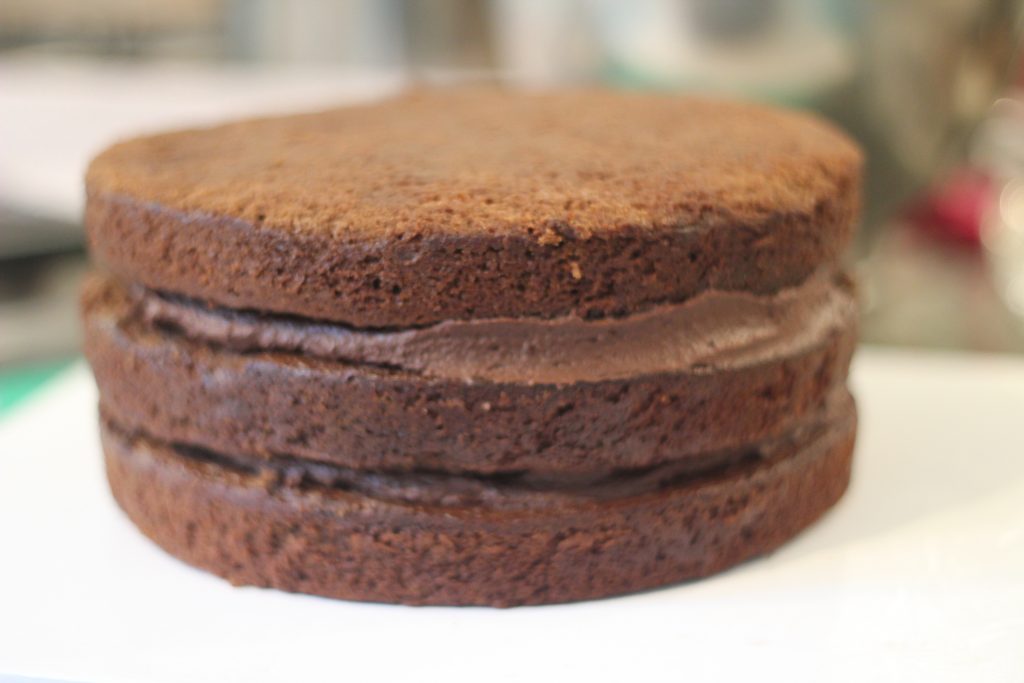
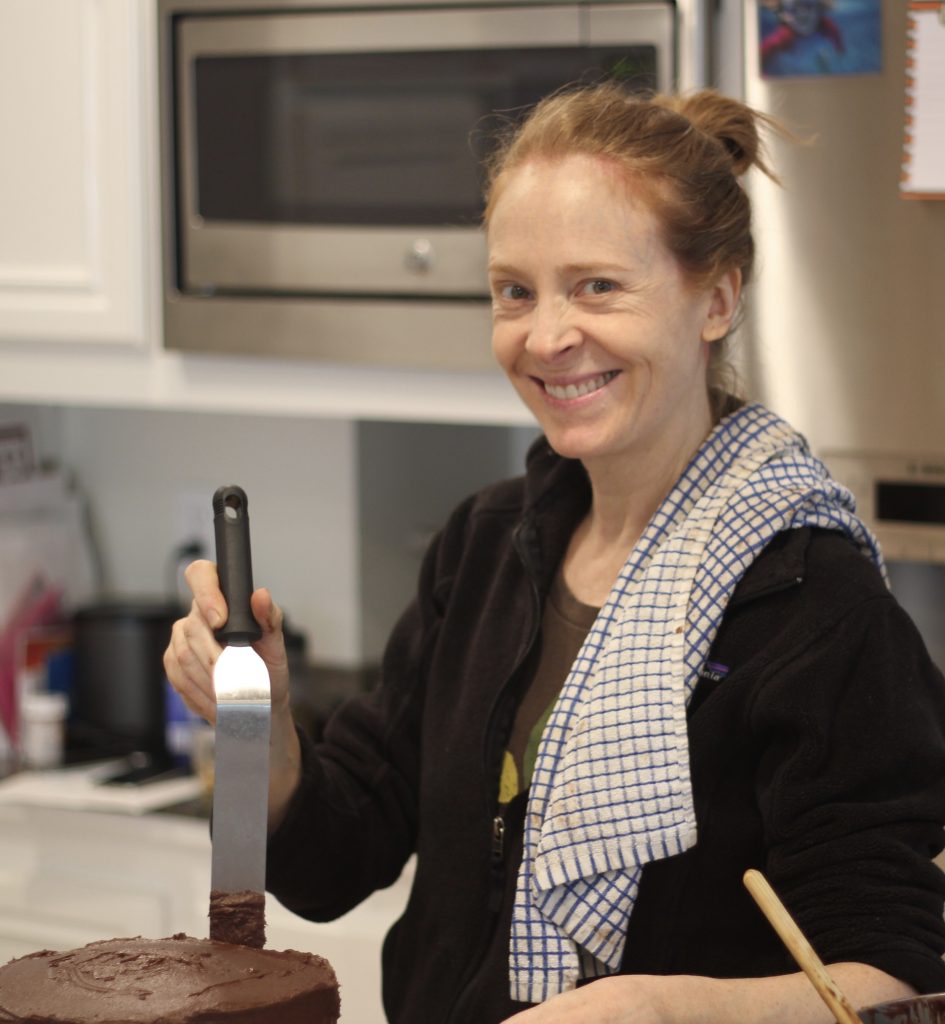
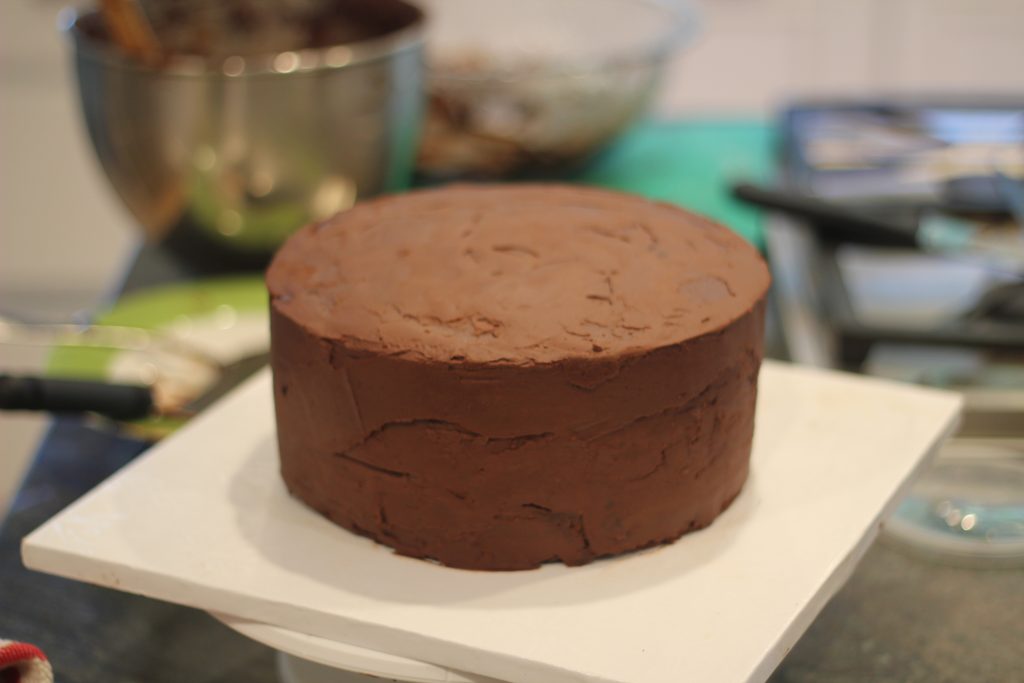
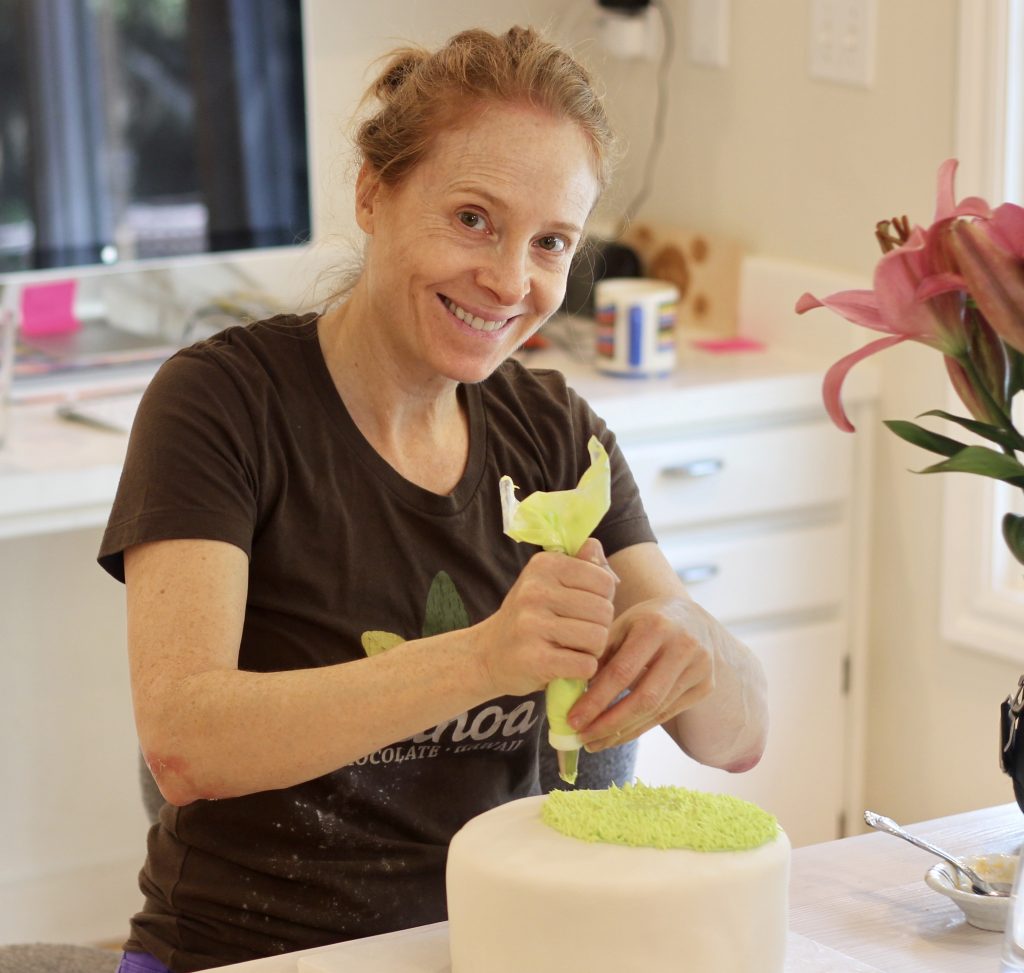
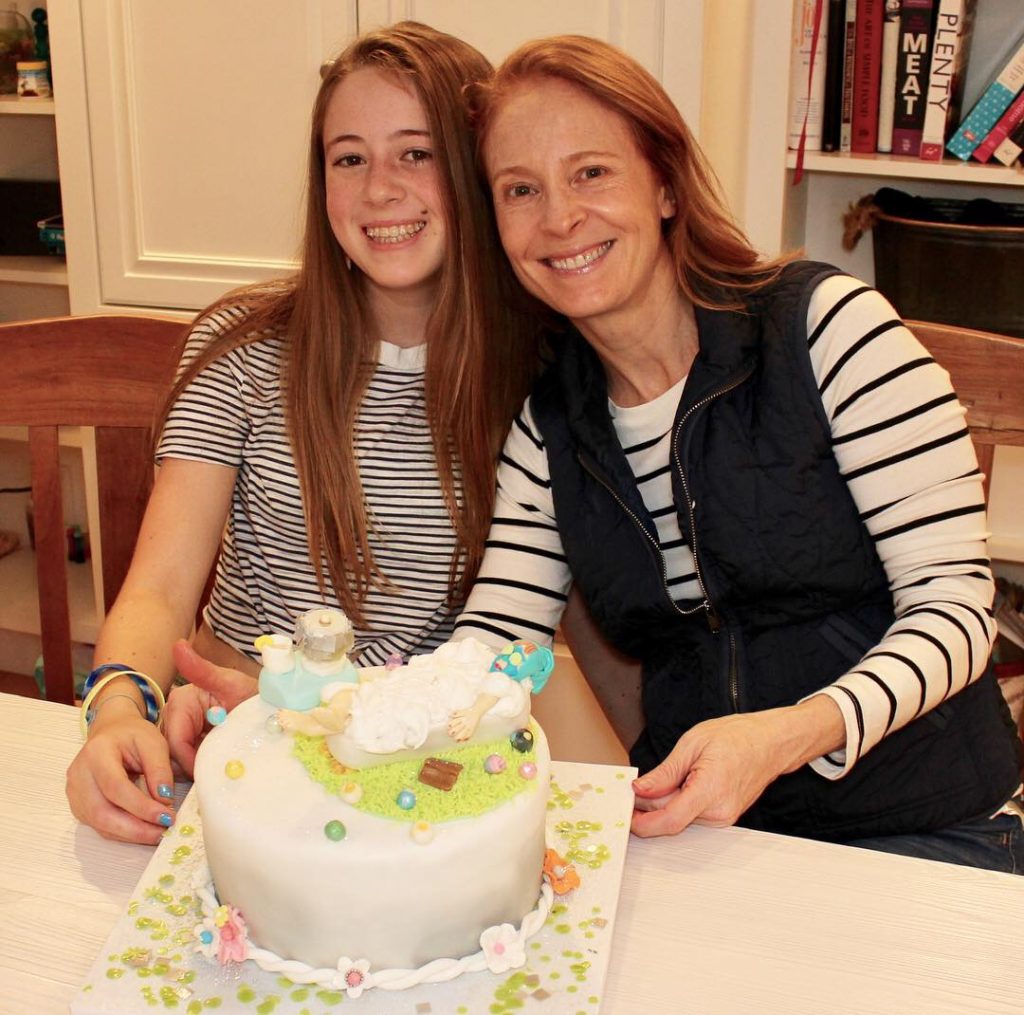
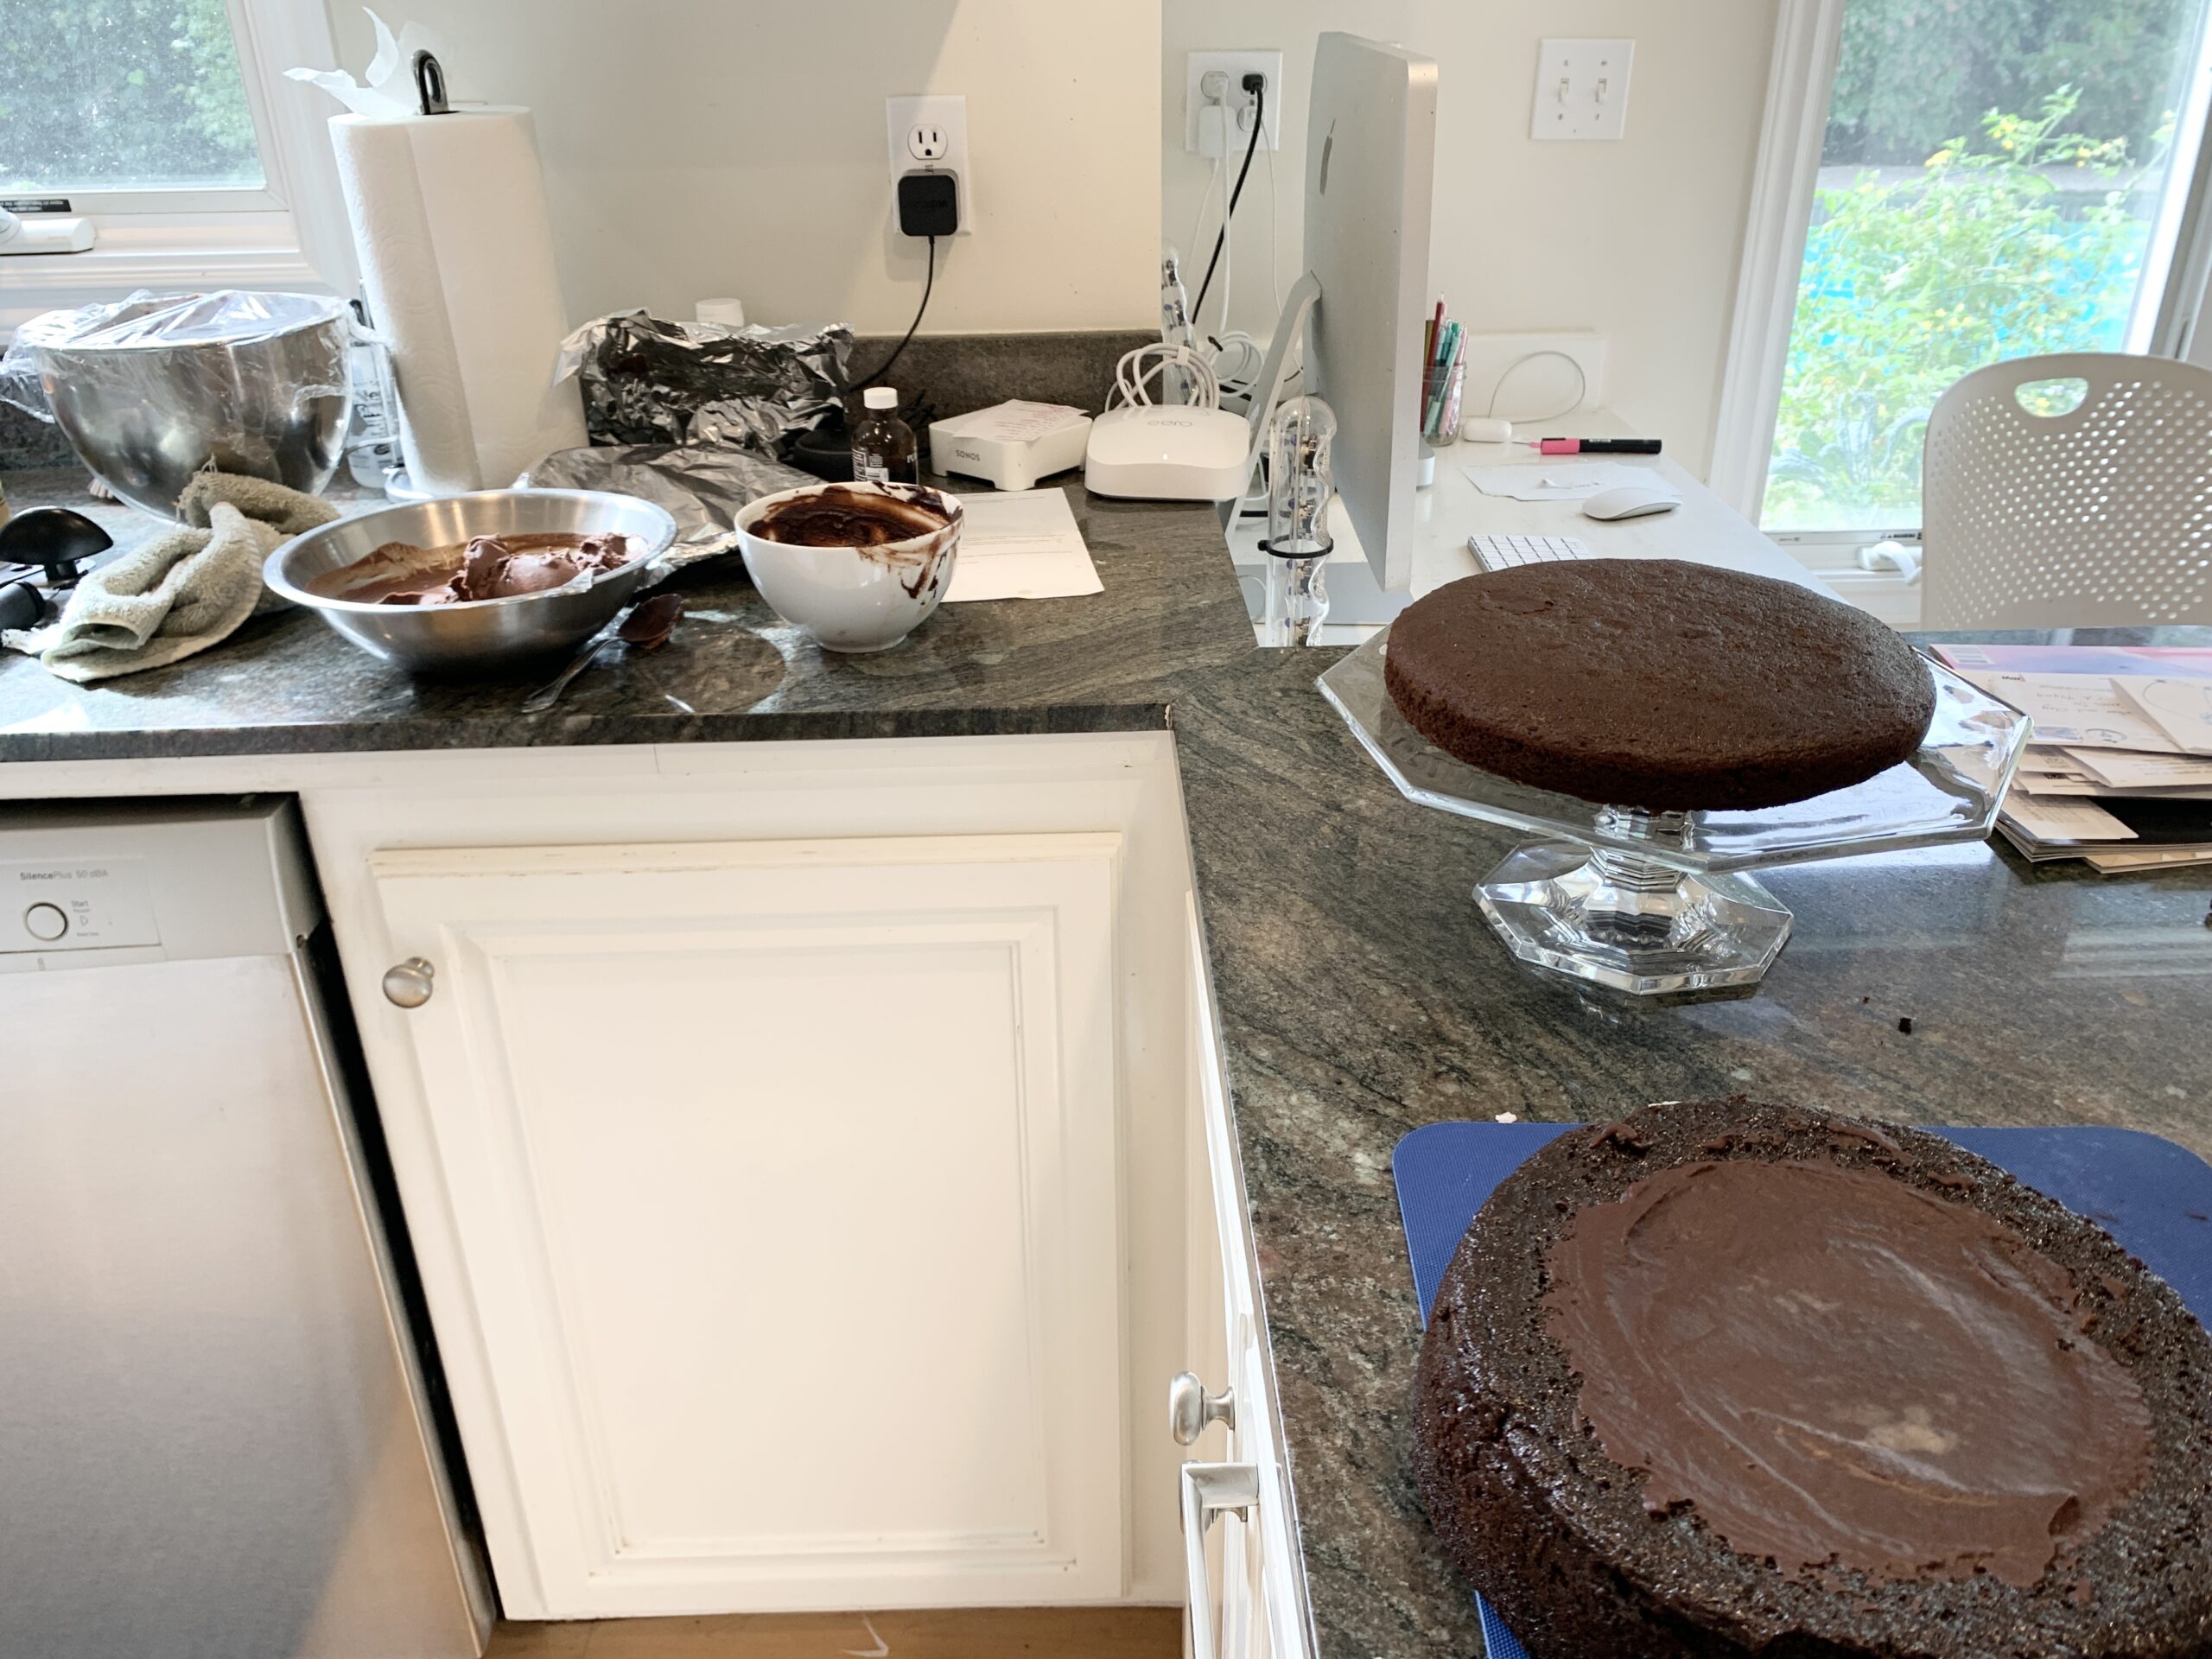
Then I moved on to baking and frosting the cakes. Here I am deep in thought trying to remember how to cold carve buttercream. Tricky, to say the least. And it’s not the most flattering shot of me, but, I suppose this *is* what I look like. So be it.


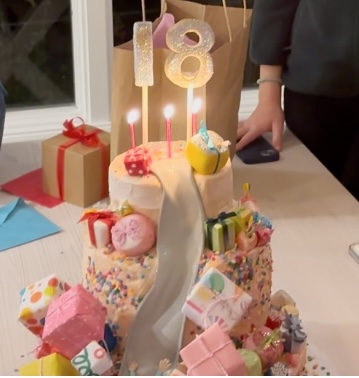
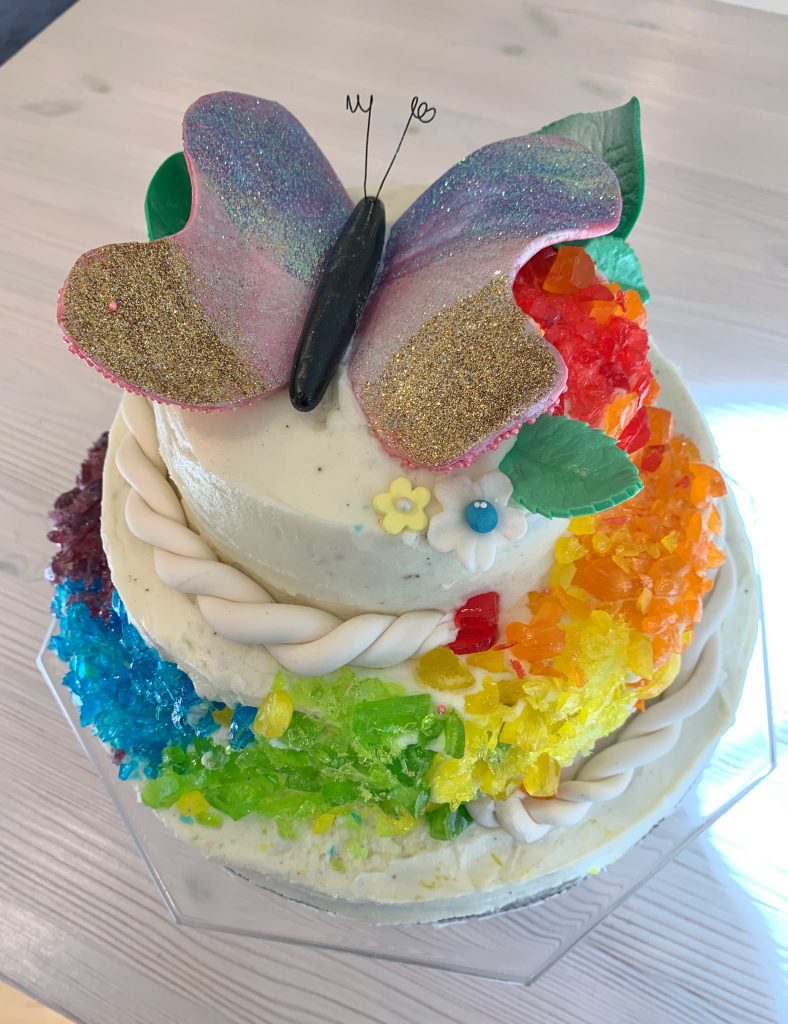
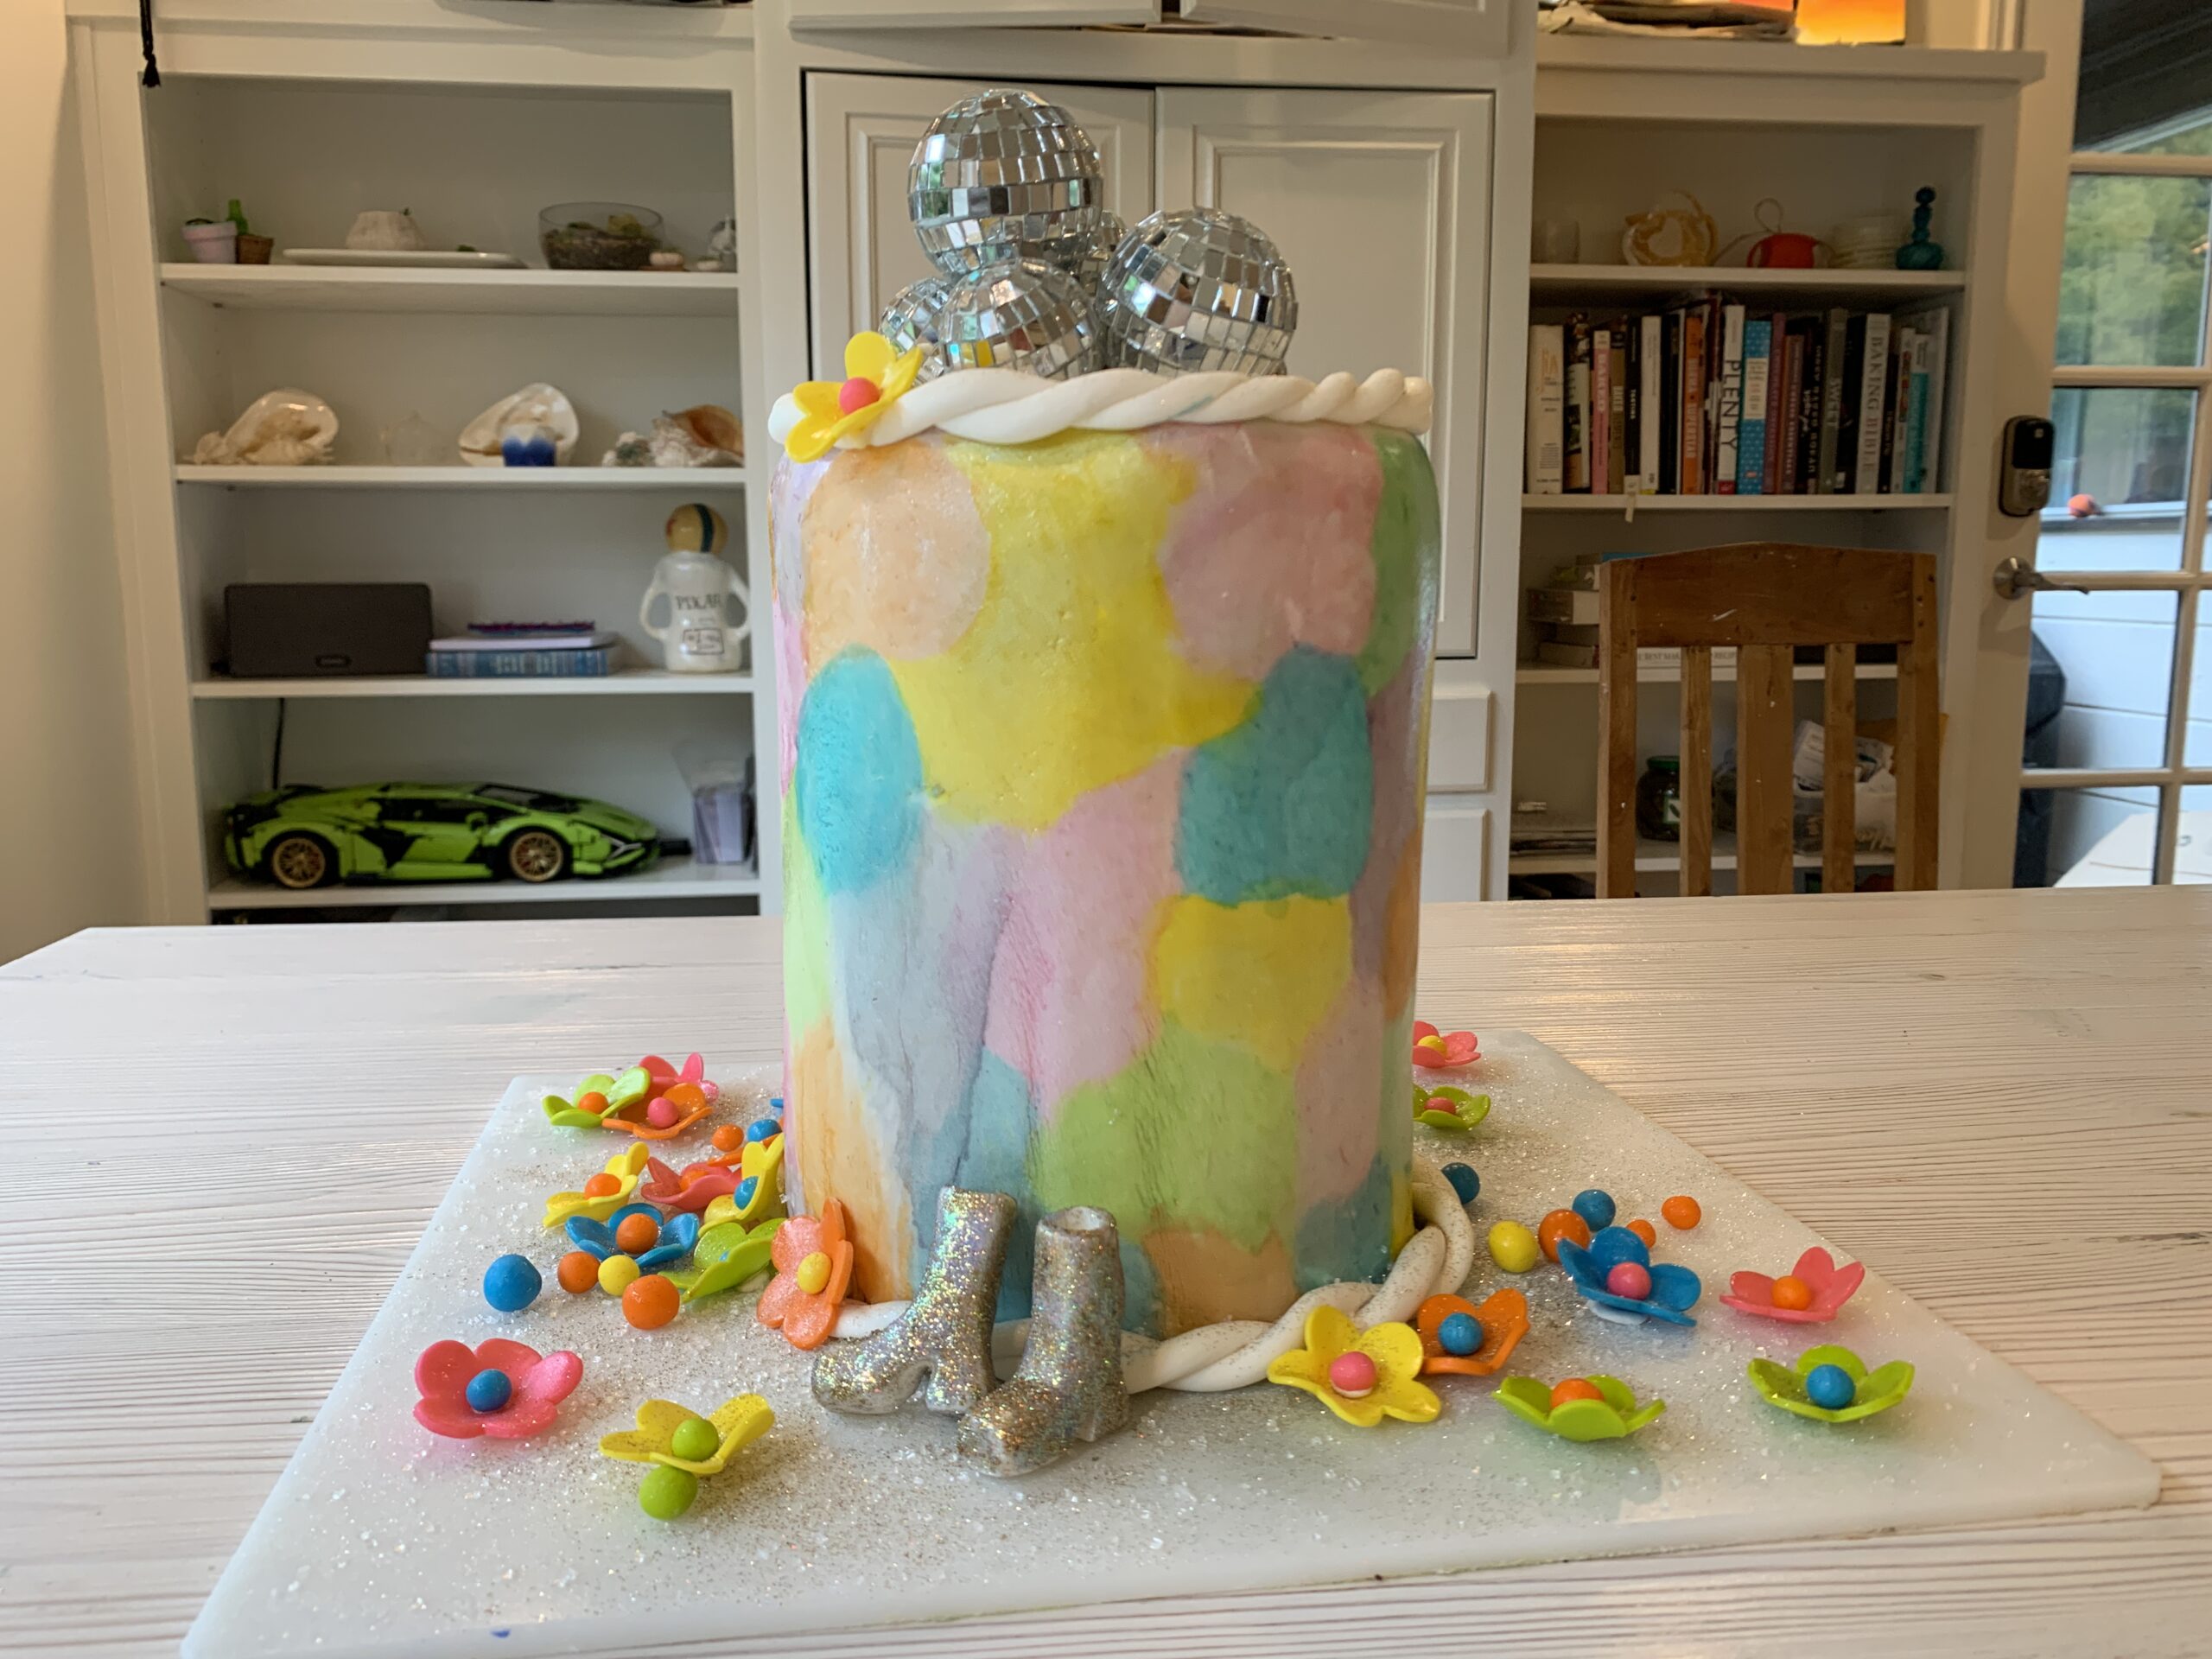
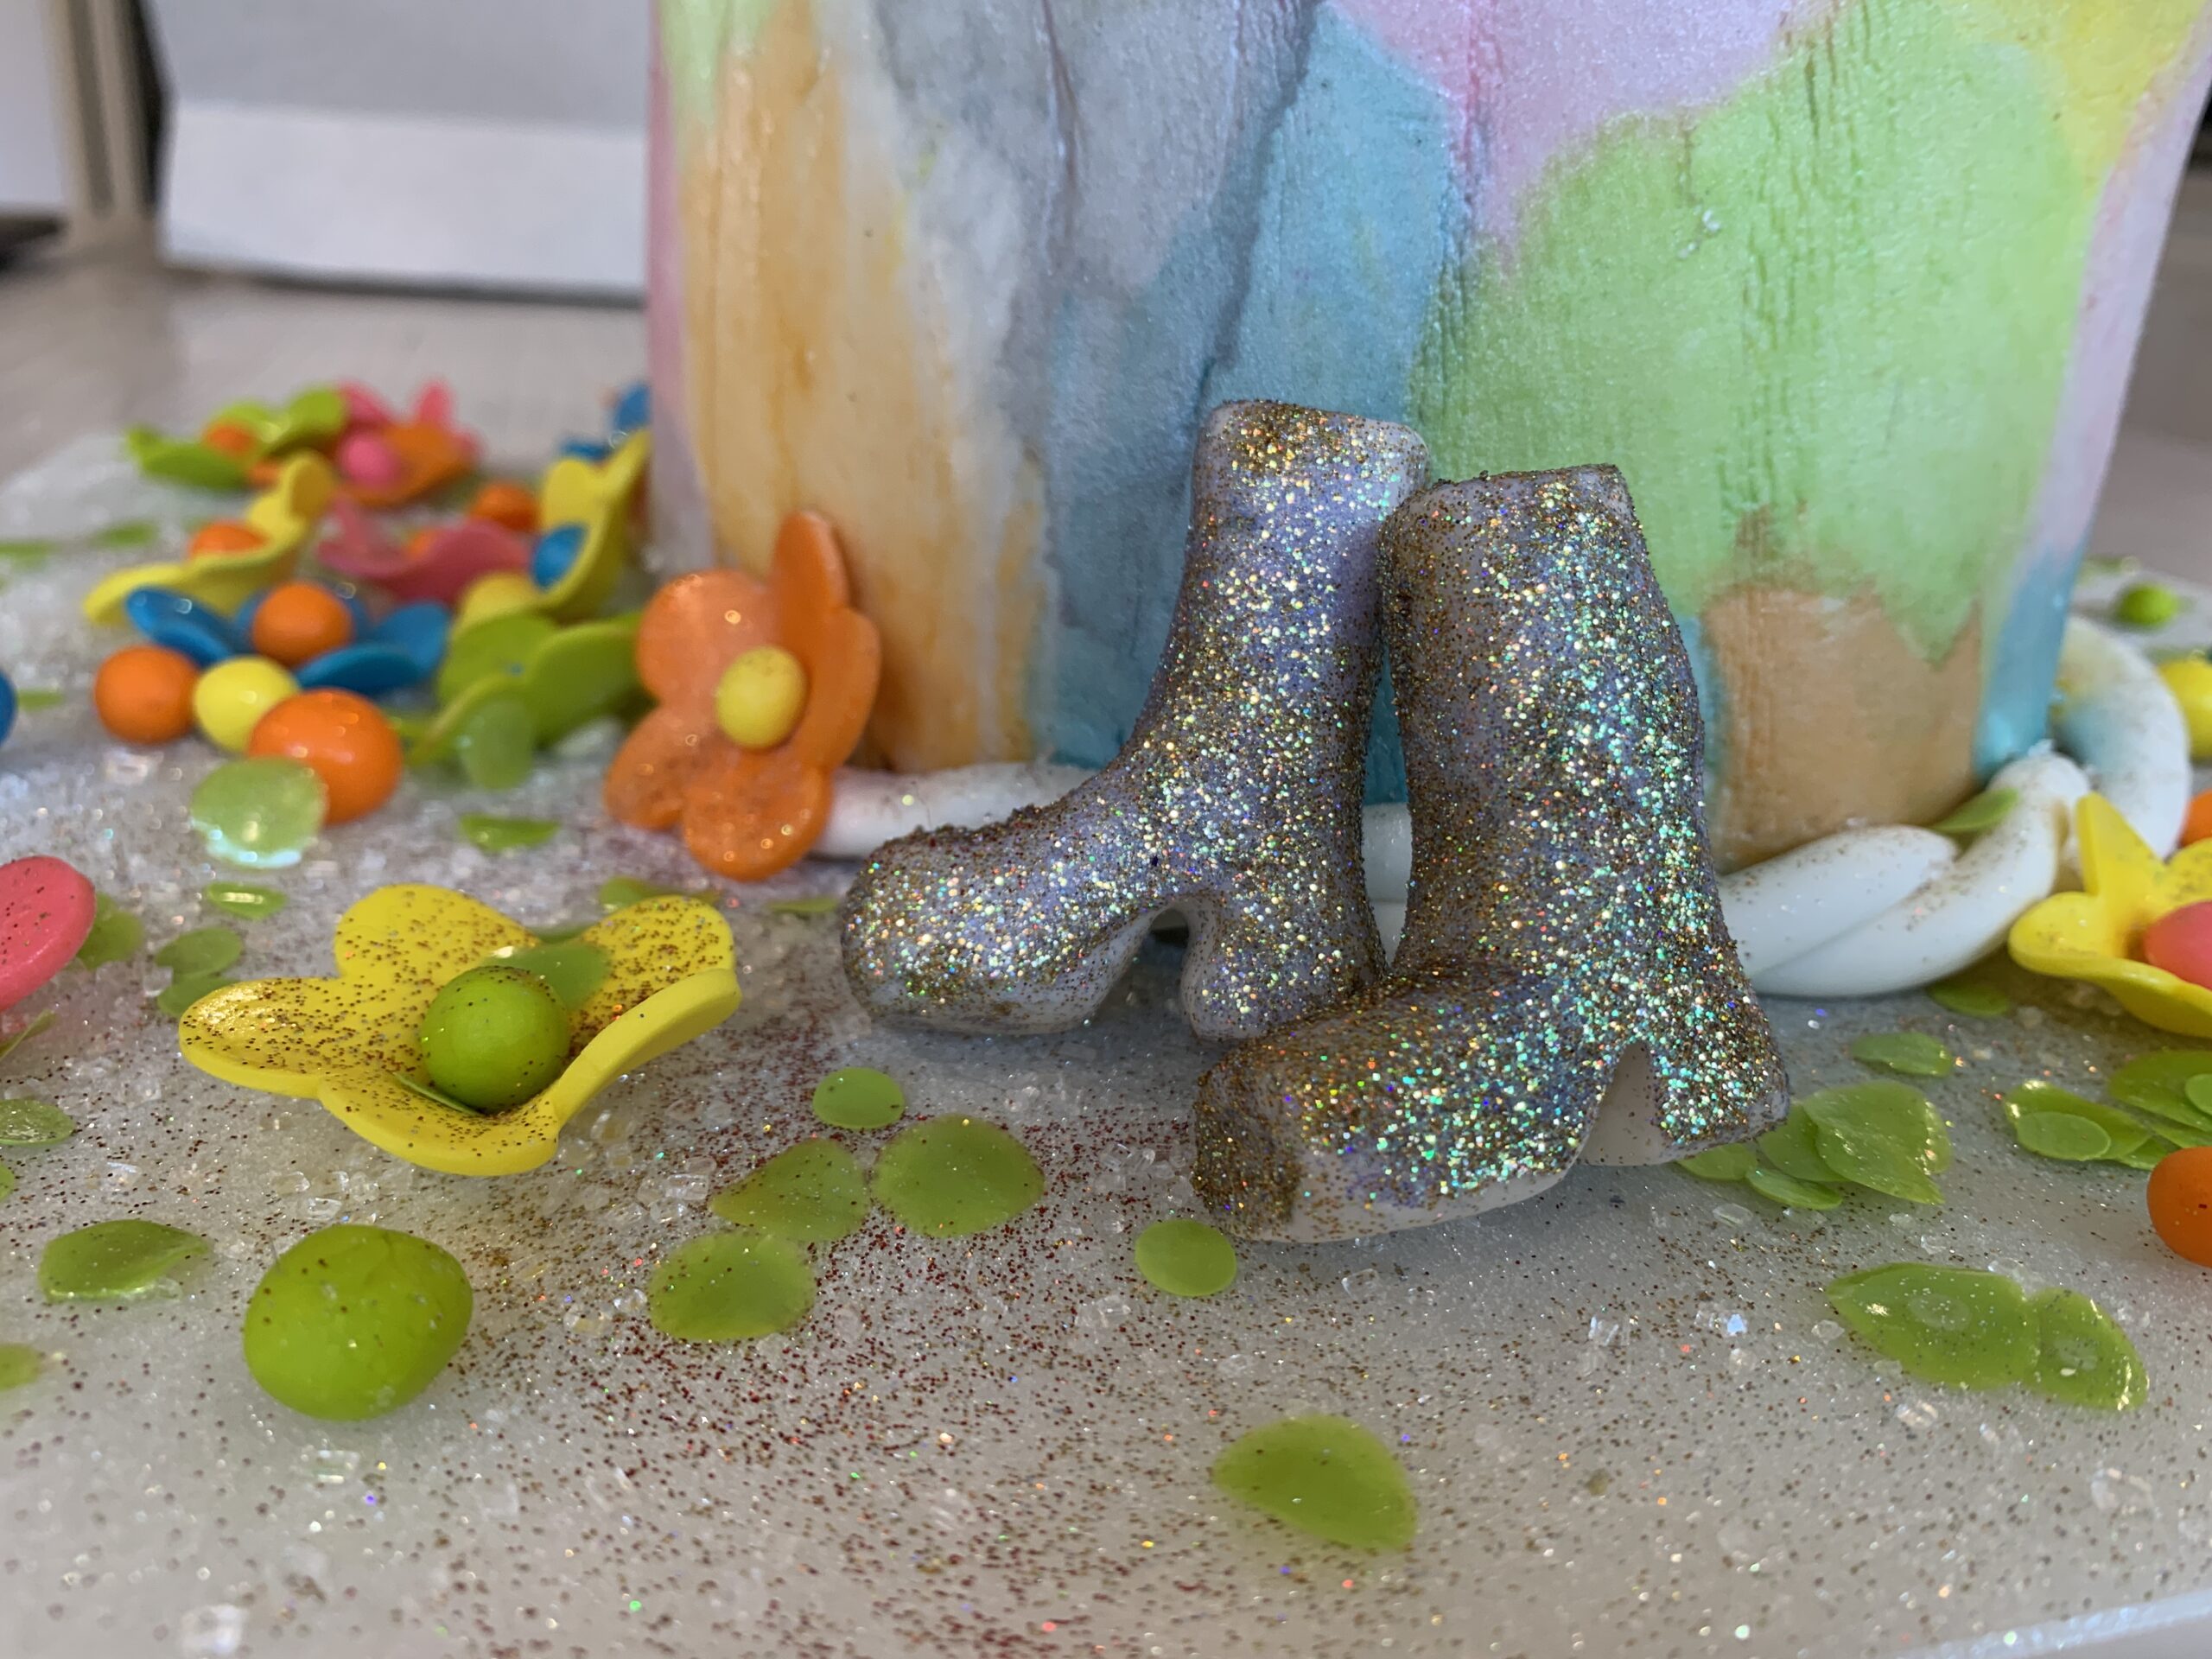
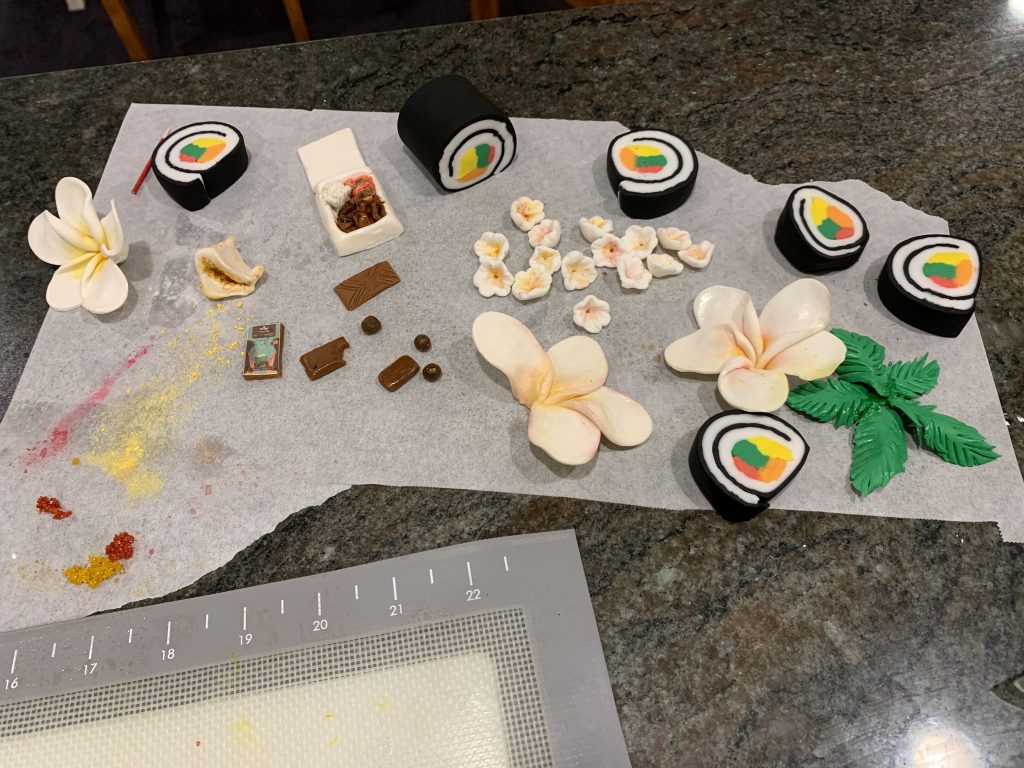
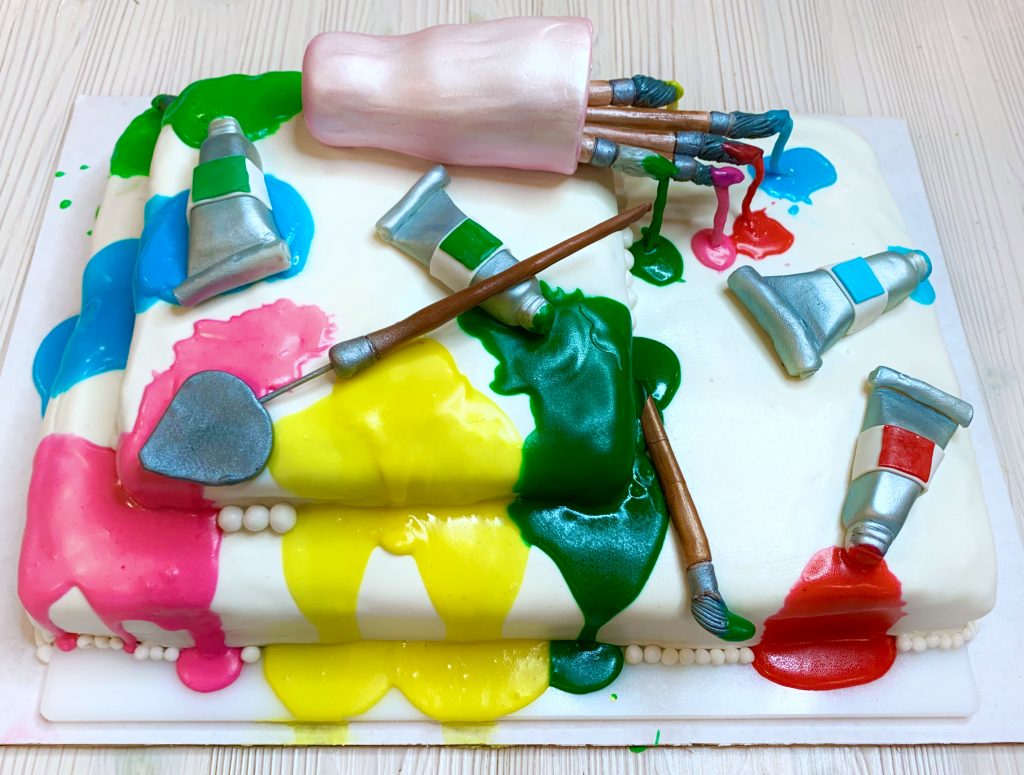
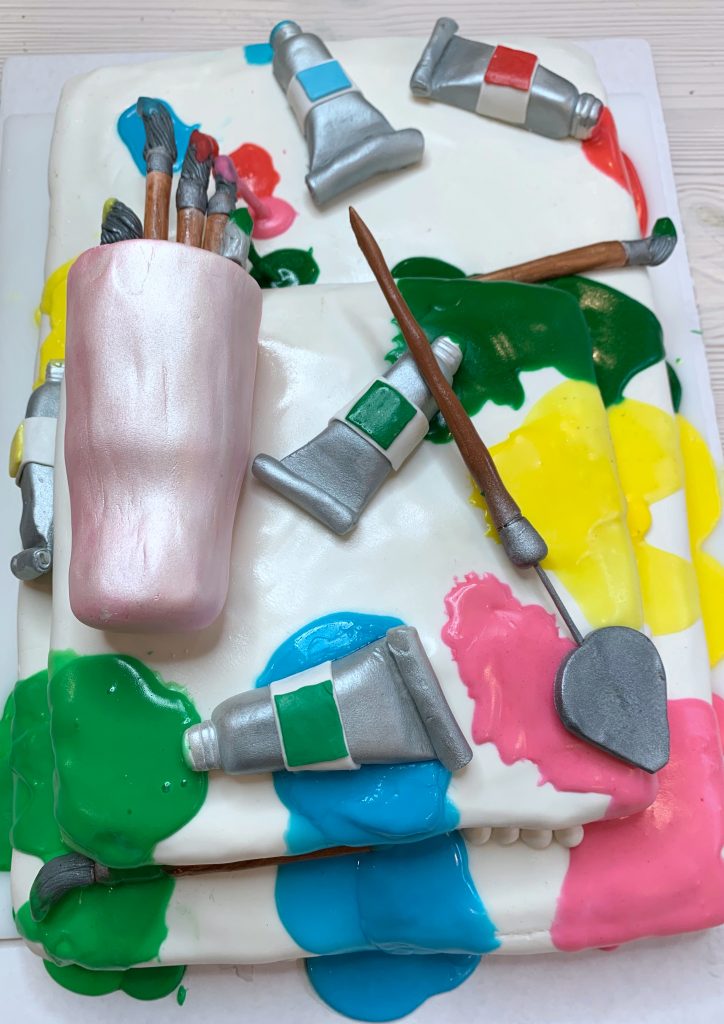
The “18” topper was also made from fondant
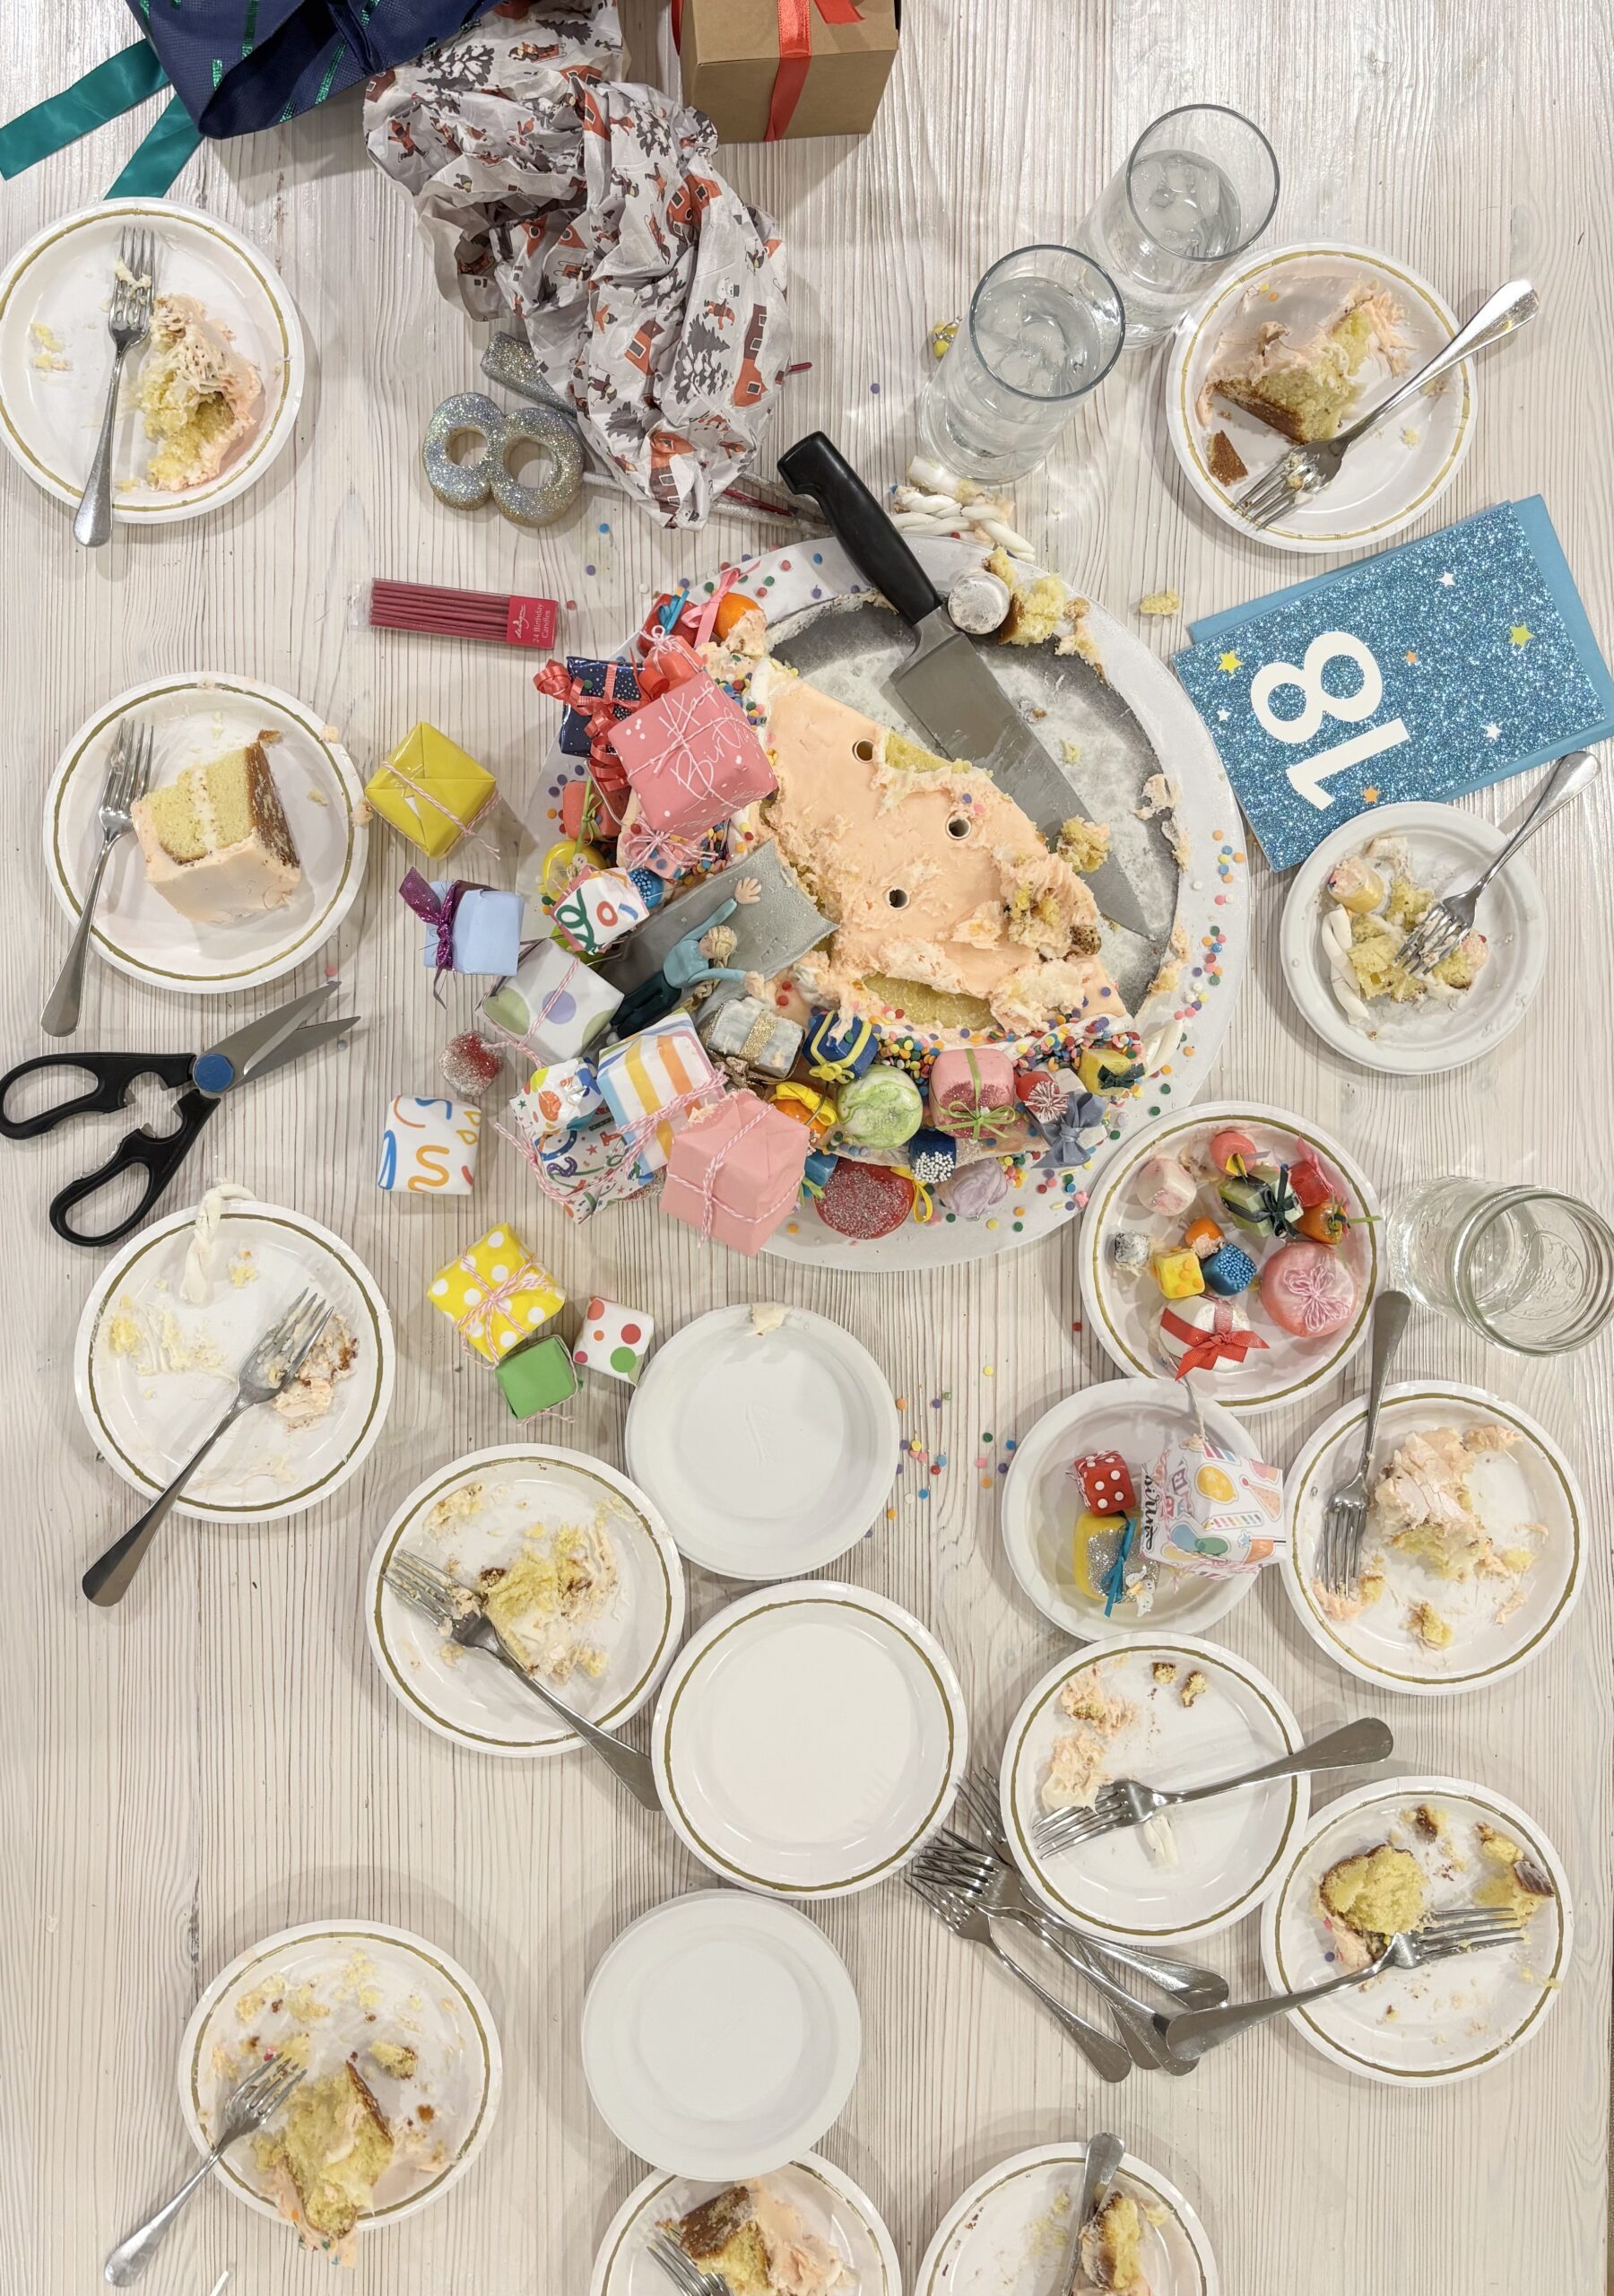
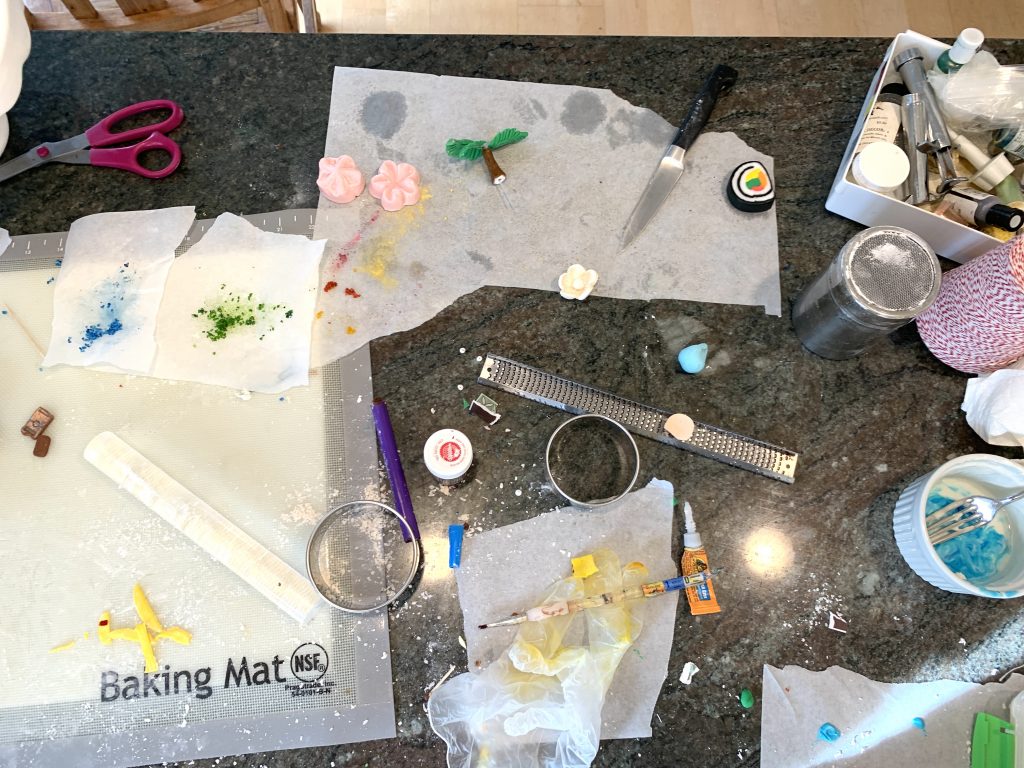
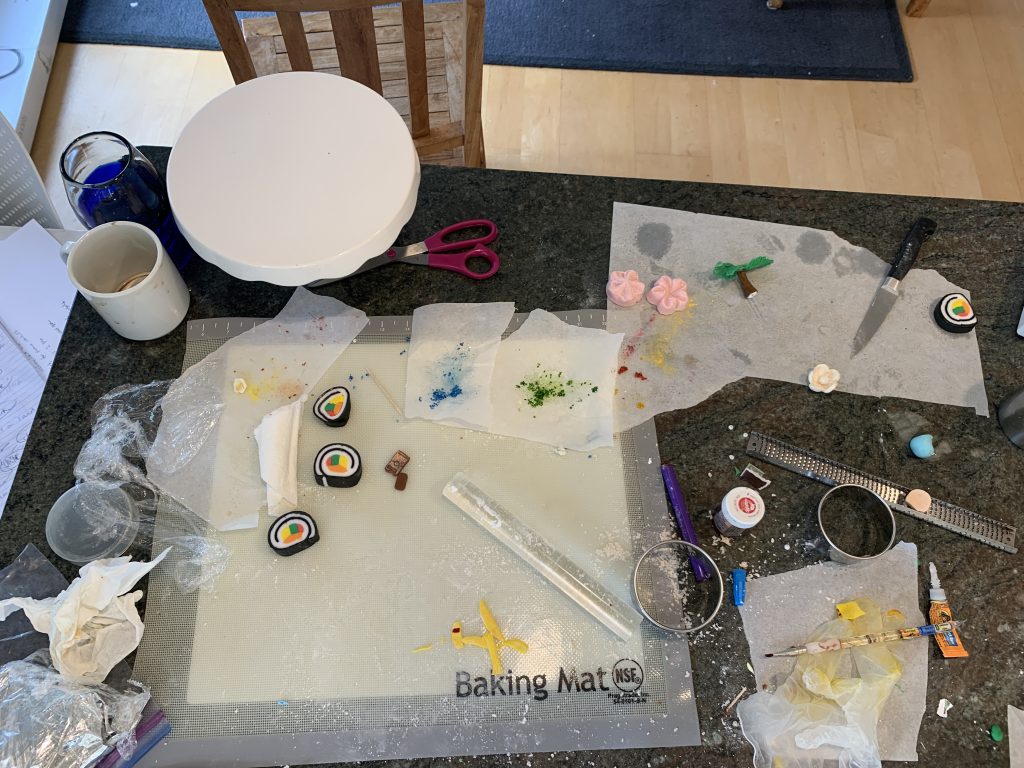
The Aftermath….


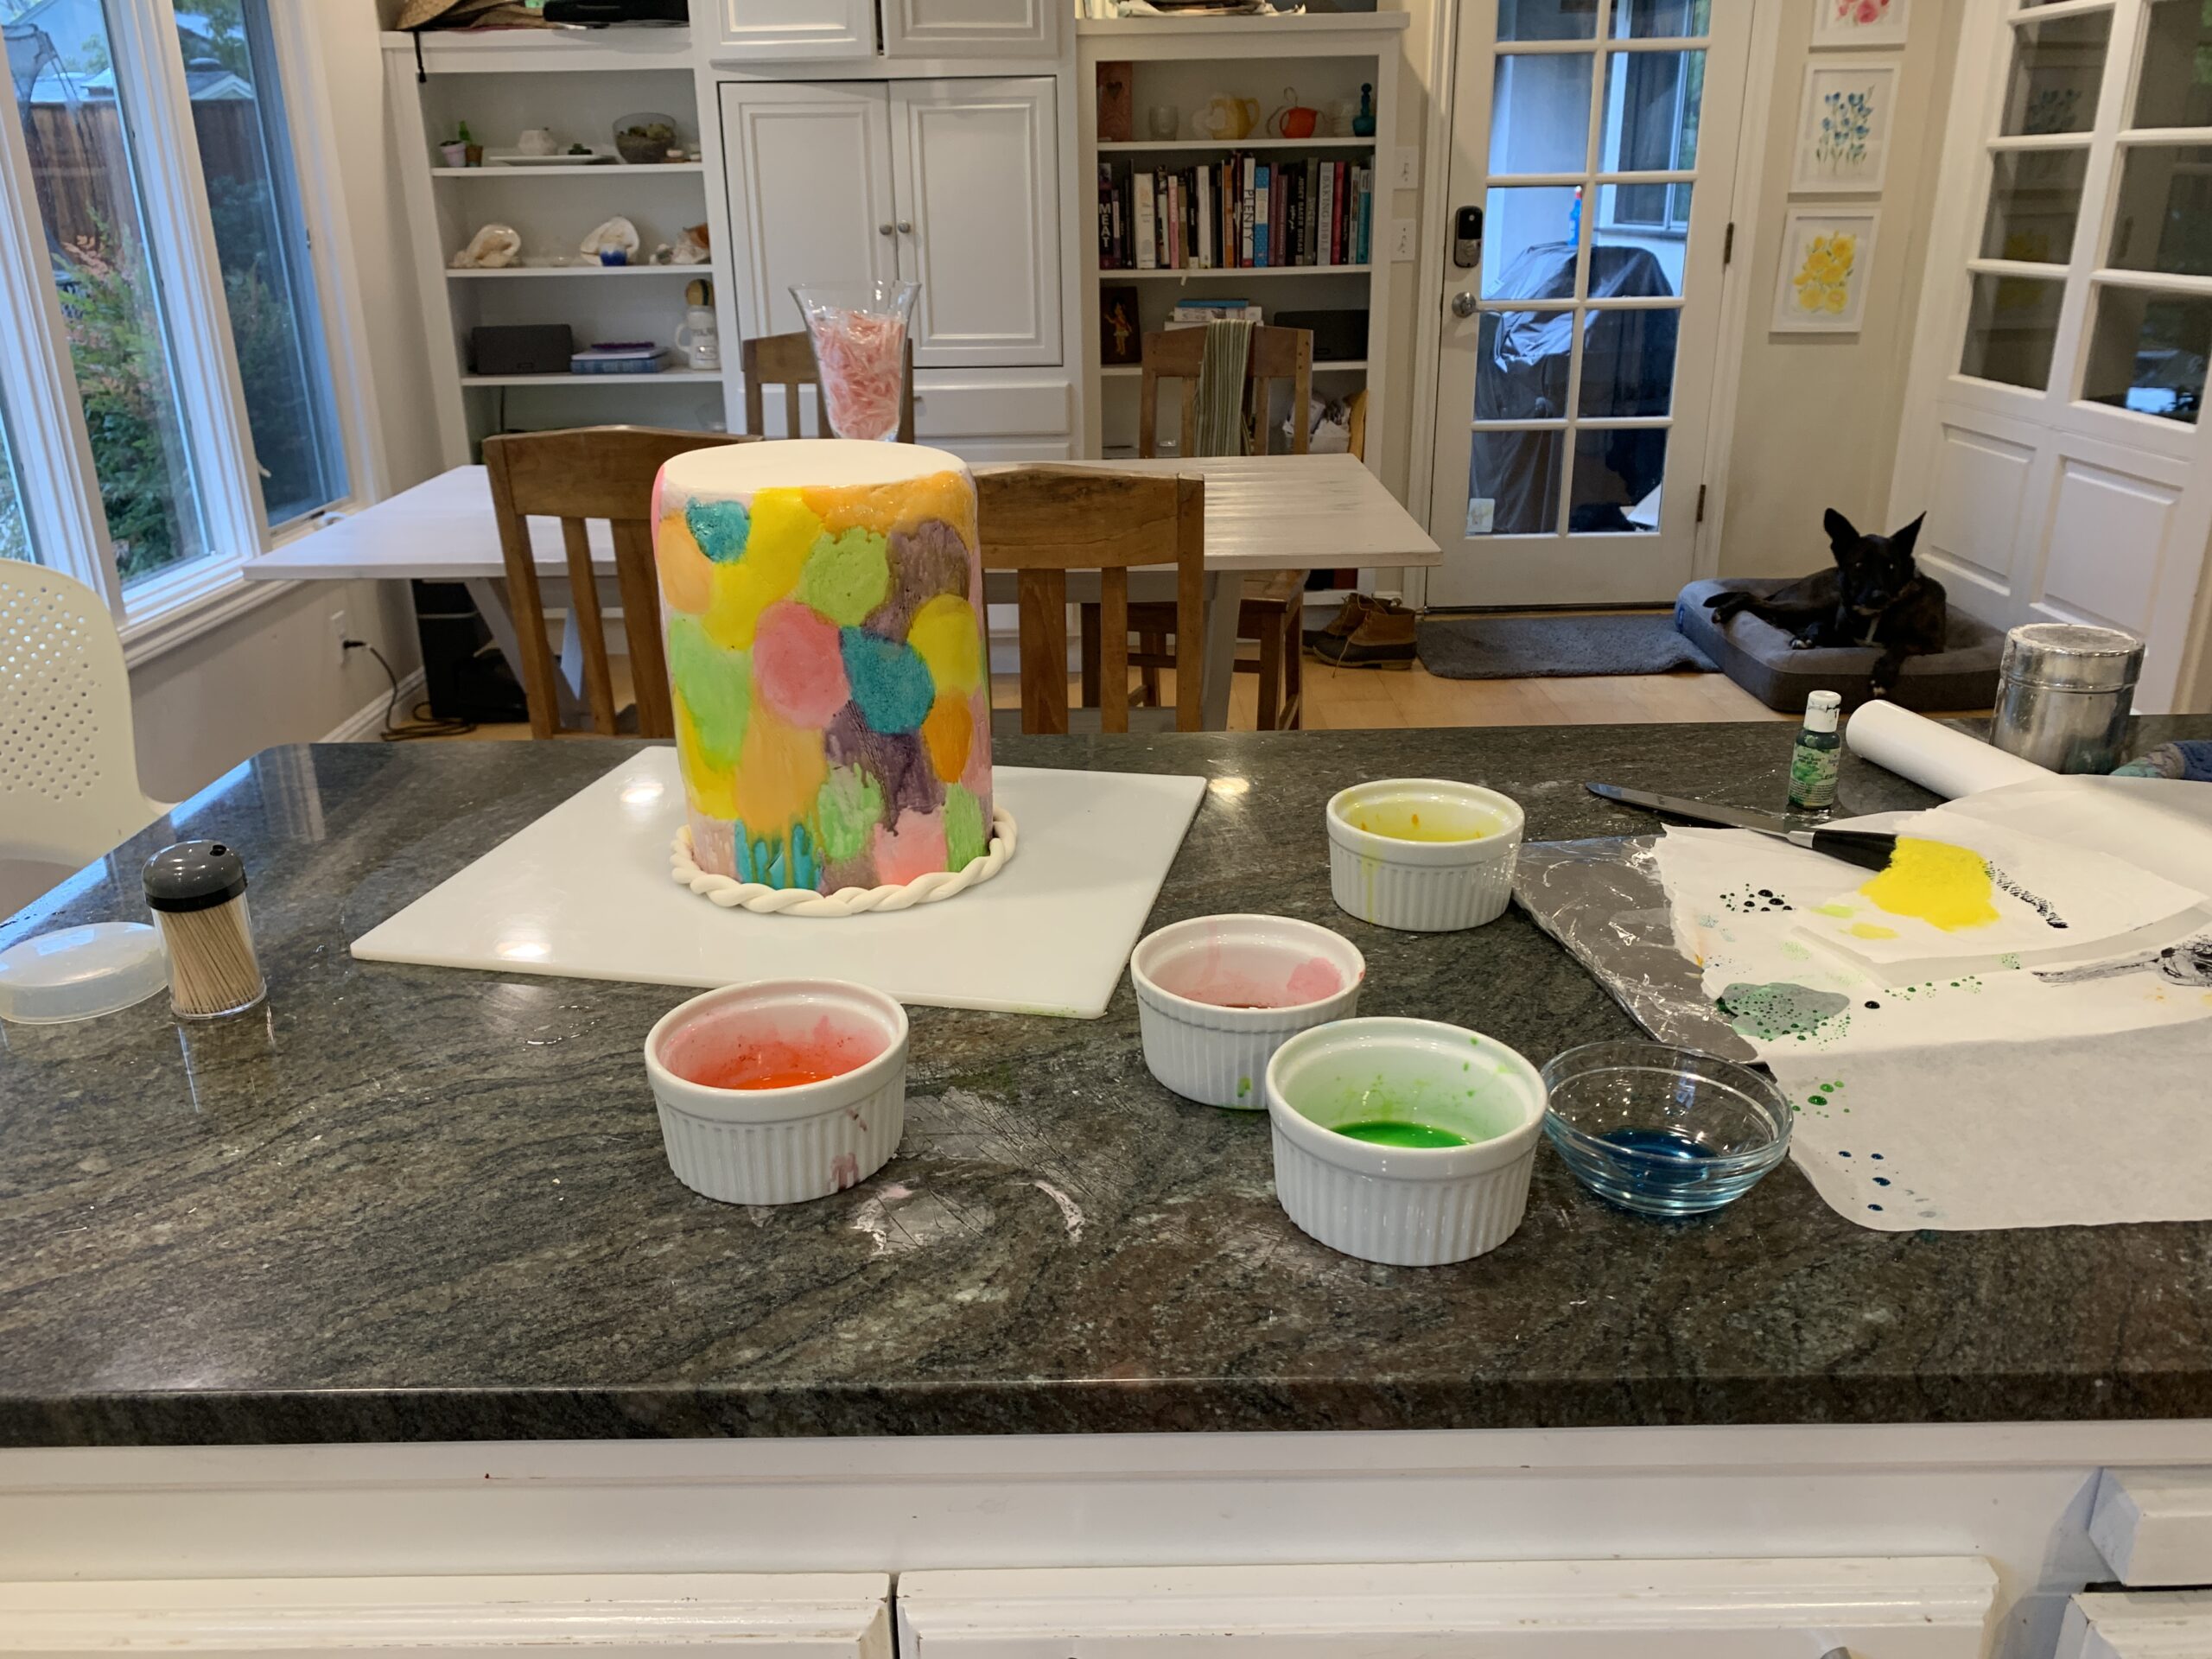


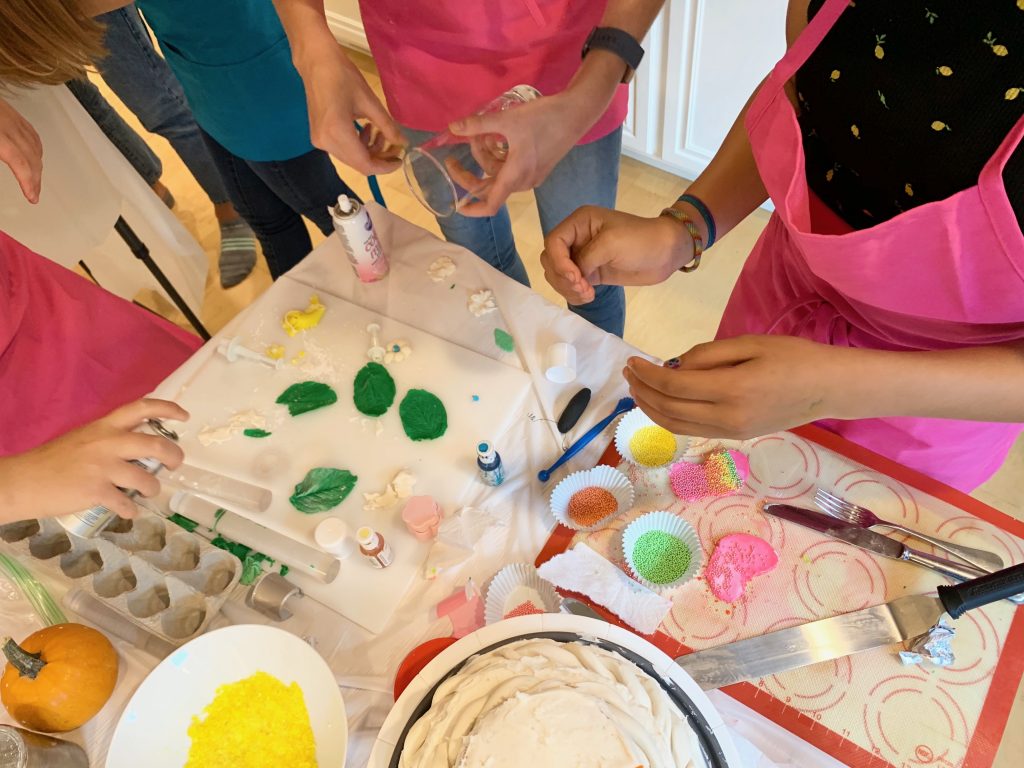
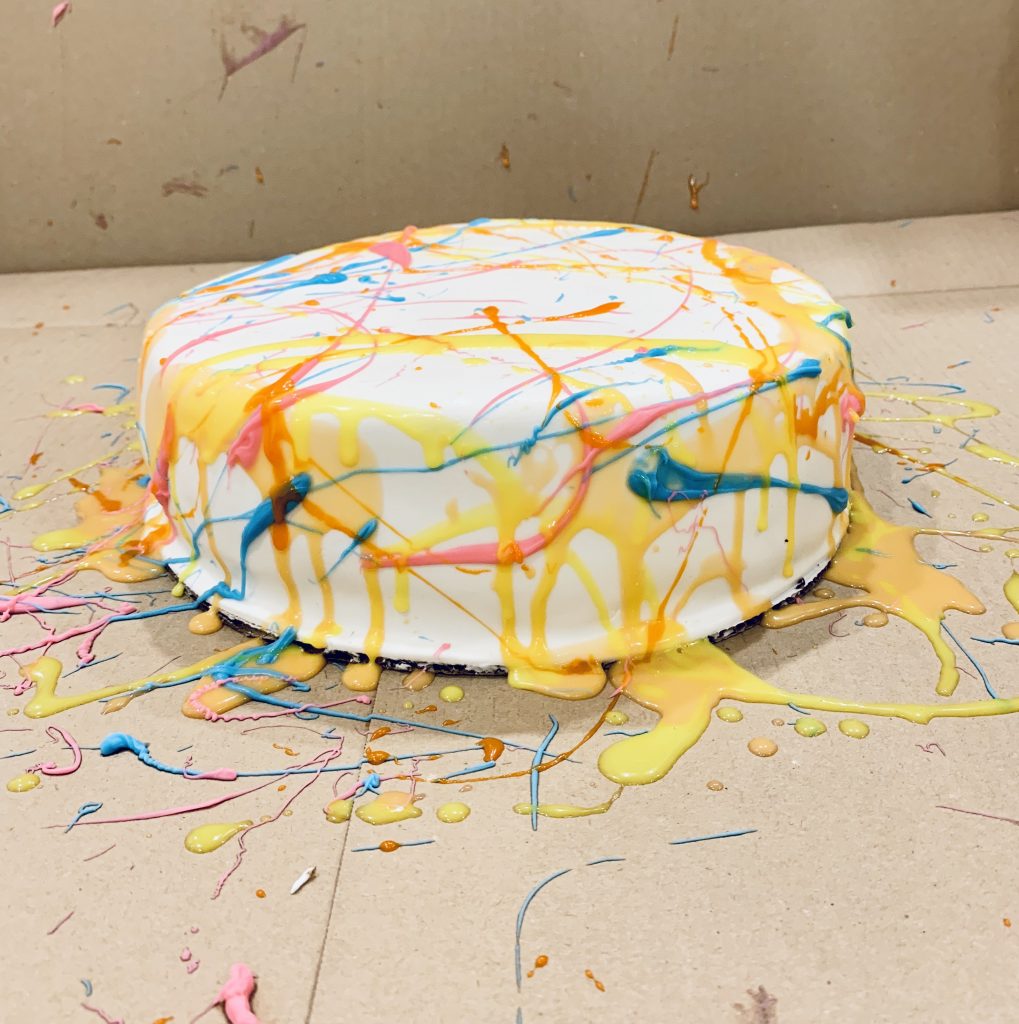
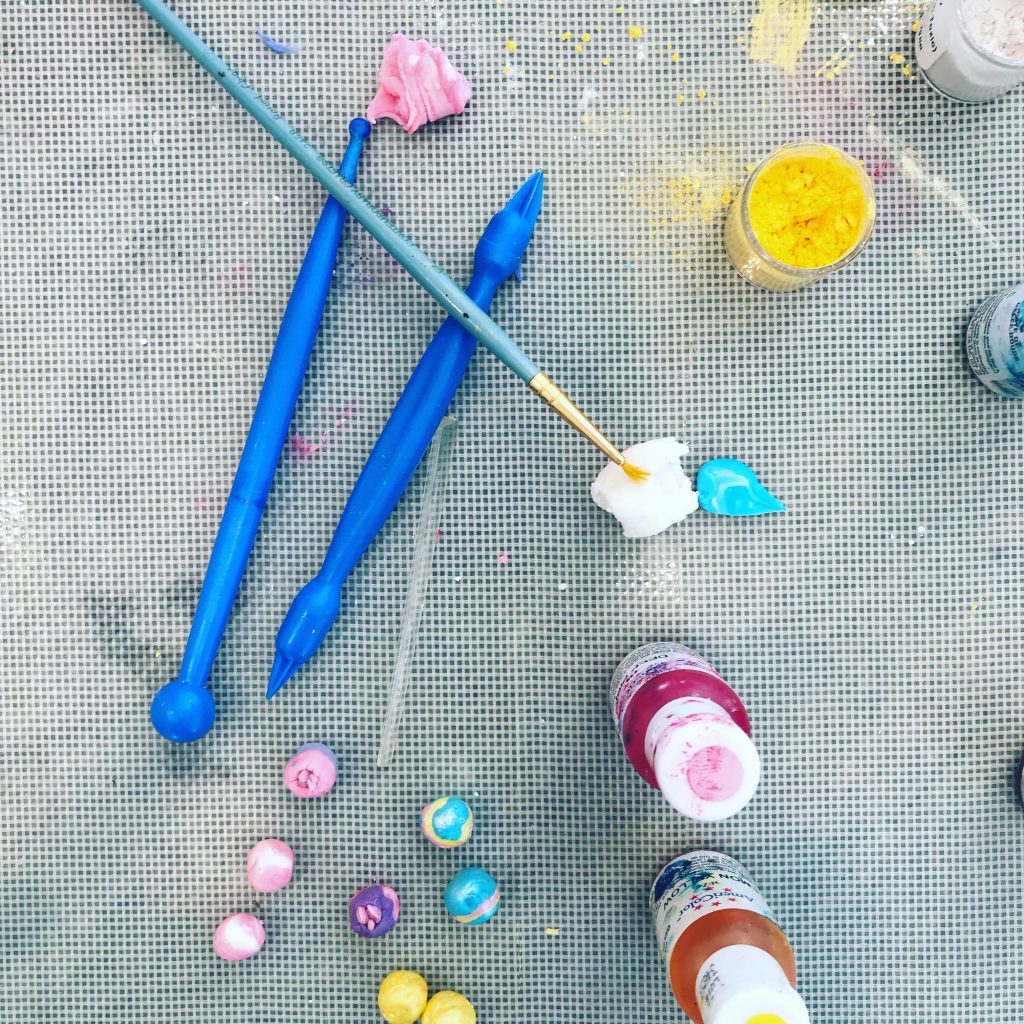
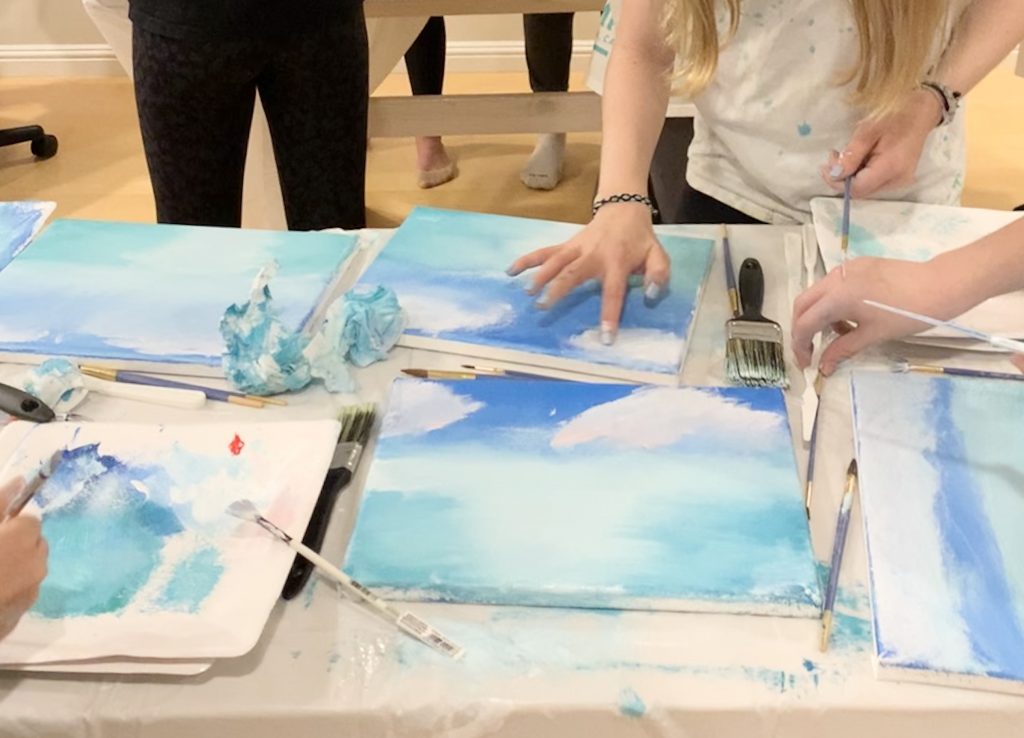 Here are the in-progress paintings….some of the girls didn’t get much further than this stage. And I have vowed never to do a painting party again 😬. BUT, everyone had a great time and I had to keep reminding myself that *fun* was the whole point.